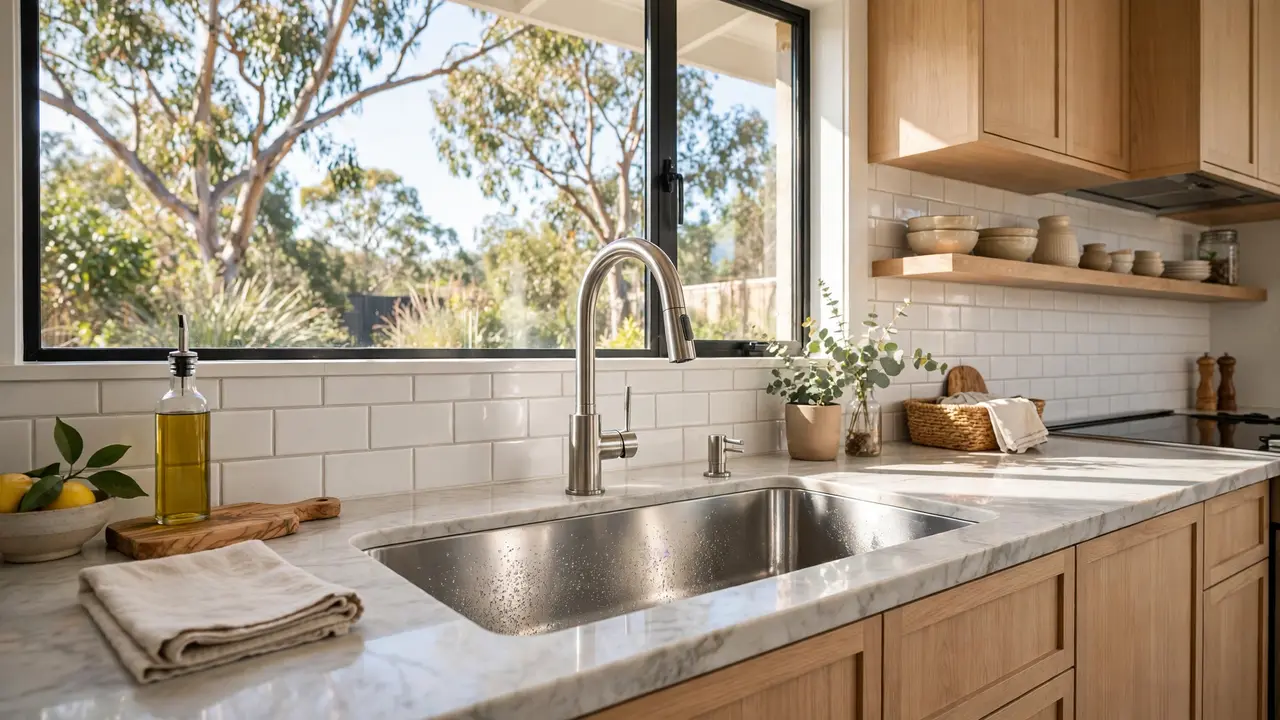
The kitchen sink takes the worst of the day — greasy pans, coffee grounds, pasta water, the pan that soaked overnight — and it usually gets cleaned with whatever happens to be under it. Then the water marks bloom on the stainless, the tea stains set in, and the tap starts crusting at the base.
None of that needs a specialist product. It needs the right method matched to the right job, because a hack that polishes stainless beautifully can damage enamel, and one that shifts limescale will do nothing for grease.
These ten kitchen sink cleaning hacks are matched to jobs and materials, drawn from Australian-tested methods and a few pantry staples. Check what your sink is made of first — the table further down maps every hack to the surfaces it suits and the ones it must never touch.
The ten hacks
Bicarb and dishwashing liquid paste scrub
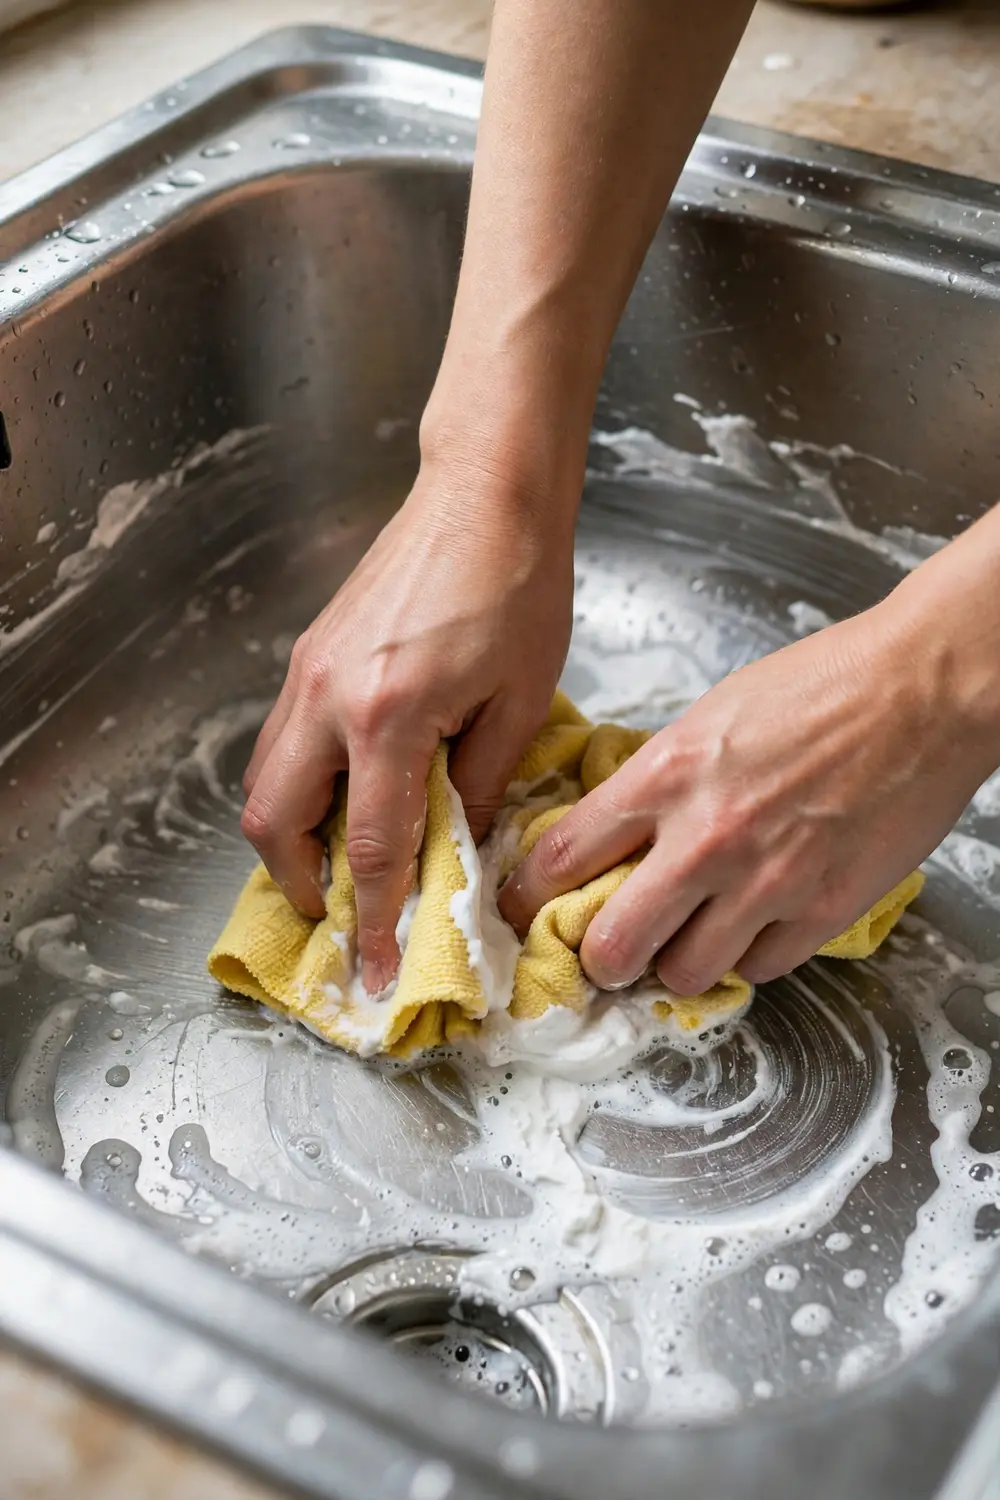
The grease worker, and the place to start most weekly cleans. While the sink is still damp, sprinkle a generous layer of bicarb soda over the basin and add a few drops of dishwashing liquid.
Work it in with a microfibre cloth or a non-abrasive sponge. On stainless steel, scrub in the direction of the grain — you can find it by the faint brush marks that show under good light. The bicarb is the gentle abrasive here, and the dishwashing liquid does the cutting through oil.
- In the sink: bicarb soda, a few drops of dishwashing liquid, the dampness already there
- Tool: microfibre cloth or non-abrasive sponge
- Direction: follow the grain on stainless steel
- Job: grease and everyday food film
The five-minute vinegar fizz for water marks
For the chalky white marks that bloom around the taps and draining board. Bicarb goes on the surface first, as the gentle abrasive, then a light spritz of white vinegar over the marked areas.
Be clear about what the fizz does. Bicarb and vinegar neutralise each other as they react, so the fizz is not a power cleaner — it loosens loose mineral film, and the bicarb and your cloth do the actual cleaning. Give it about five minutes, no longer. Airtasker’s Australian guide warns that prolonged vinegar contact can damage the protective chromium oxide layer on stainless steel, causing discolouration or pitting, so set the limit and wipe with the grain, then rinse and dry.
- Works on: stainless steel water marks and light mineral film
- Give it: about five minutes, no longer
- Keep off: enamelled porcelain and natural stone
- Finish: wipe with the grain, rinse, dry
Lemon, salt and cornstarch stain scrub
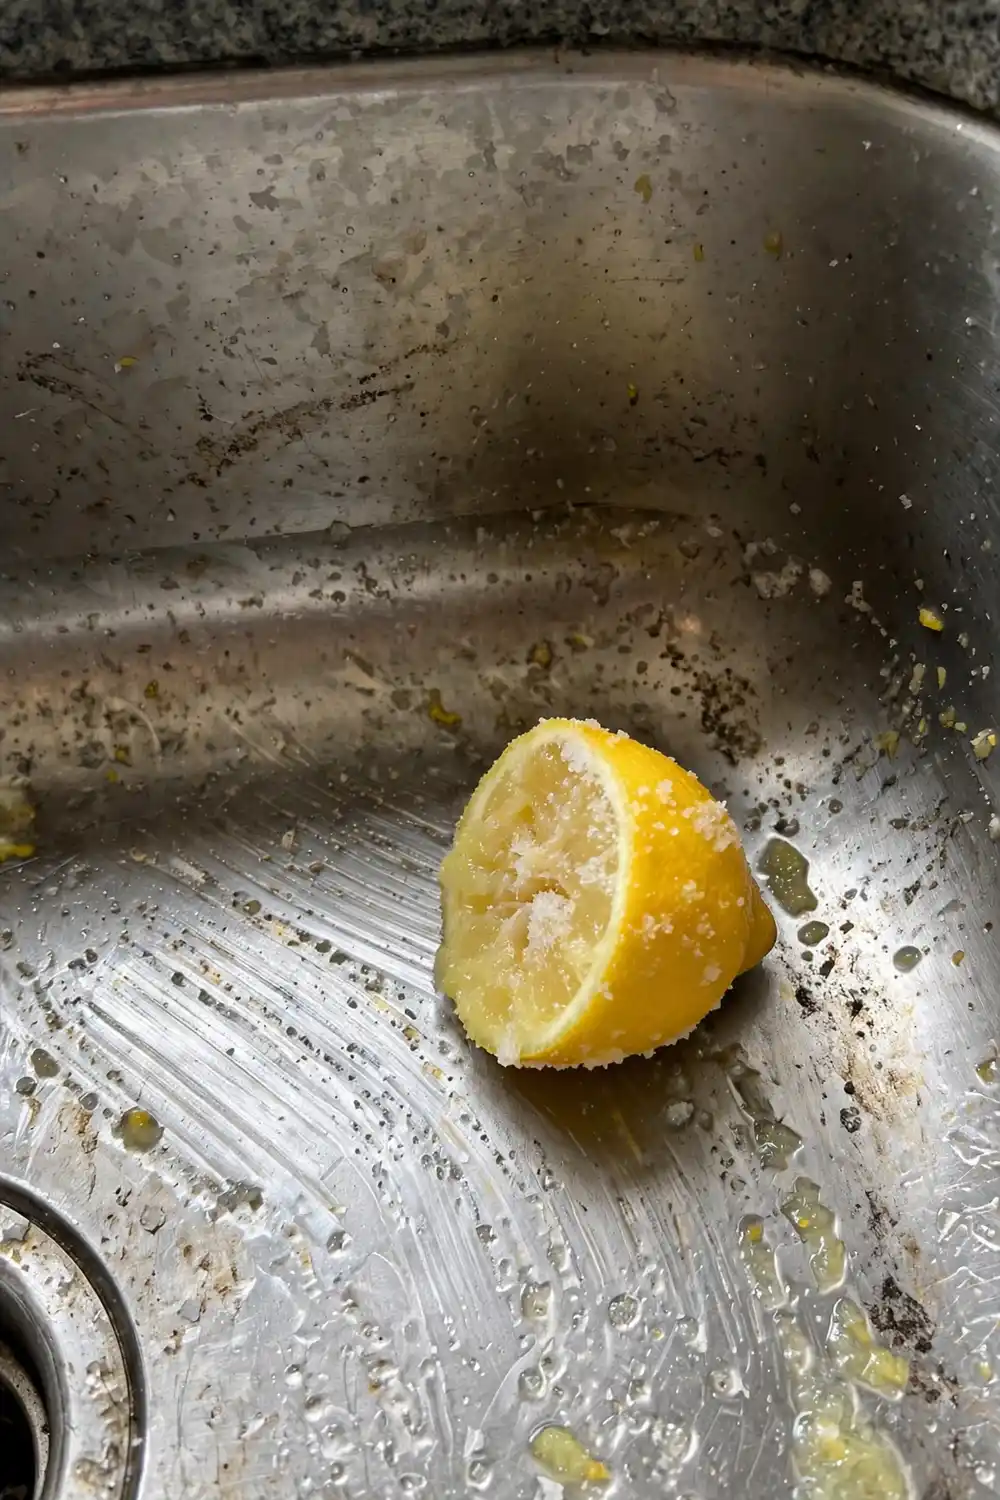
A cut lemon becomes the scrubber for this one. Halve a lemon, sprinkle a layer of cornstarch and salt over the cut face, and work the stain directly with the lemon half.
The salt and cornstarch act as the gentle abrasives while the lemon’s acidity loosens the mark, and the basin smells considerably better afterwards. Work in small circles and rinse well.
- Cut face down: half a lemon loaded with cornstarch and salt
- Pressure: gentle circles, right on the stain
- Scent: citrus instead of last night’s dinner
- Never on: marble or other natural stone, which acid etches and dulls
Cream cleanser, two minutes
The counterweight to every pantry remedy on this list — Bunnings’ own pick for the easiest way to clean a sink. Gloves on, drizzle cream cleanser over the sink area and spread it with a sponge.
Let it sit for two minutes, then scrub the dried-on debris, wash everything off with water and wipe the sink dry. Not every sink needs a homemade paste, and this is the retail-standard baseline the rest of the list is measured against.
- From: Bunnings’ top kitchen cleaning tips
- Set time: two minutes
- Motion: spread, wait, then scrub the dried-on bits
- Finish: wash off and wipe dry
Descale the tap, the short way
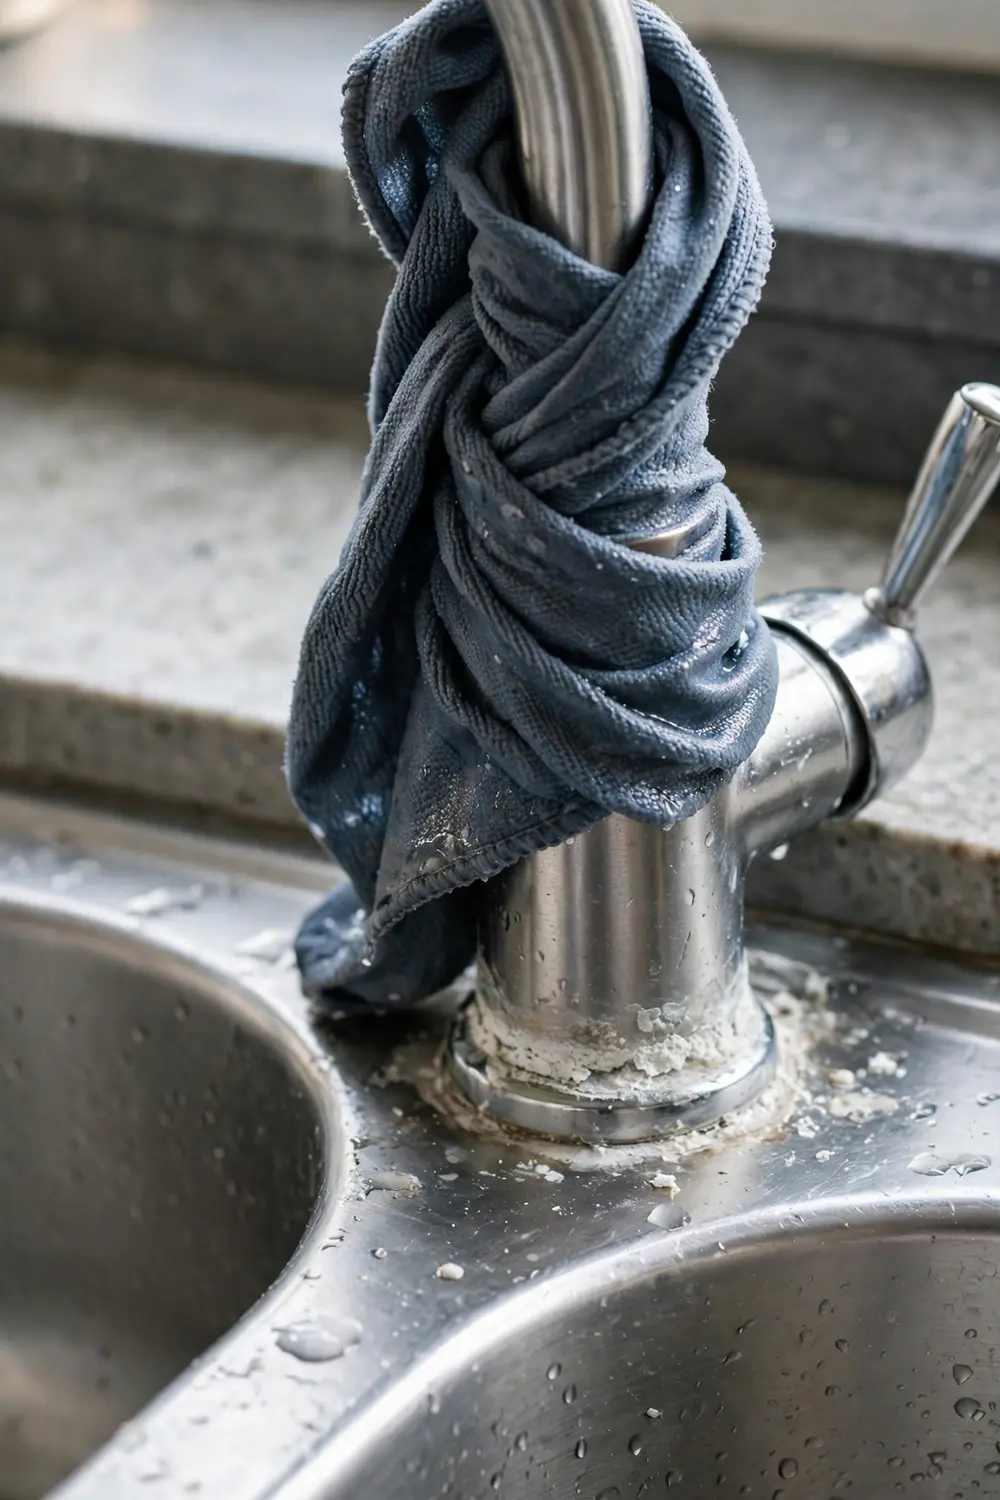
Limescale builds where the tap meets the sink, and the Australian version of this fix is measured in minutes, not hours. Soak a cloth in white vinegar diluted with water, wrap it around the mixer tap and leave it for a few minutes only.
Rinse and dry once the wrap comes off. Check the finish first — vinegar’s acidity can etch some tap finishes, so the manufacturer’s guidance wins if it says keep acids away. Keep drips off an enamelled porcelain basin and off stone, and if you want the full picture on where vinegar should never go, our vinegar cleaning hacks guide carries the complete list.
- Mix: white vinegar diluted with water, on a cloth
- Time: a few minutes — set a timer rather than wandering off
- First: check the tap finish against the maker’s guidance
- Drips: keep them off enamelled porcelain and stone
Toothbrush detail work
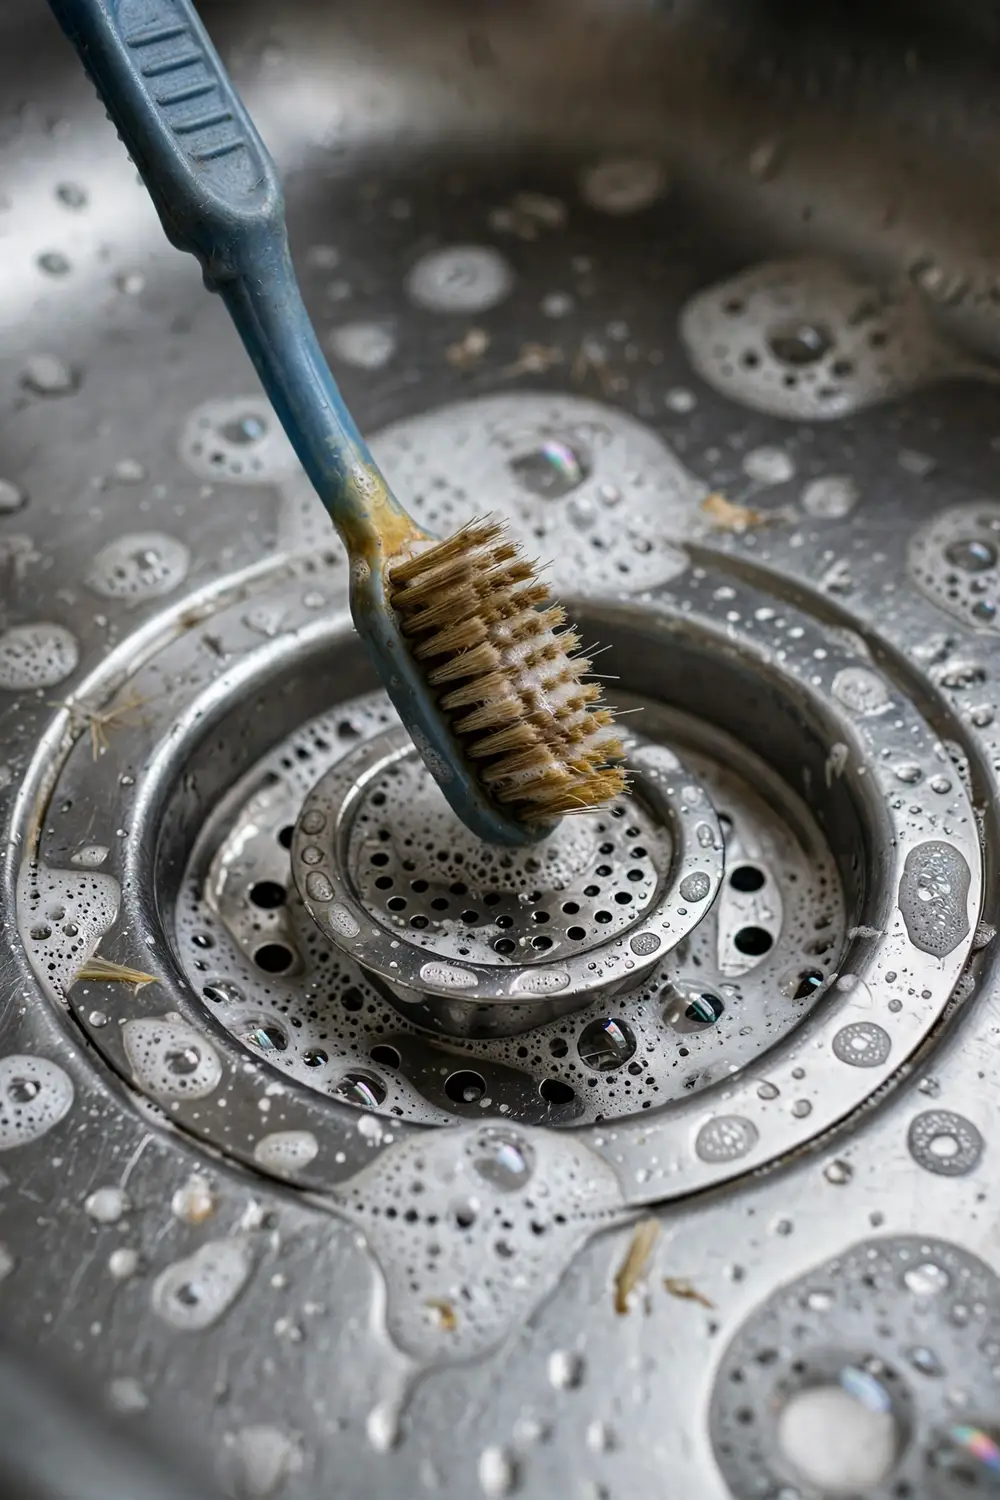
The open basin is the easy part. The grime lives in the joins — around the drain rim, inside the strainer basket, in the grooves of the draining board and at the base of the tap.
An old toothbrush or a soft brush gets into all of it. Dip it in warm water with dishwashing liquid and work each join in turn. Retire the brush after a few uses and keep a fresh one under the sink for the job.
- Targets: drain rim, strainer basket, tap base, board grooves
- Dip: warm water with dishwashing liquid
- Swap: retire the brush after a few uses
- Why: the build-up hides in the joins, not the open basin
Flour polish for stainless steel
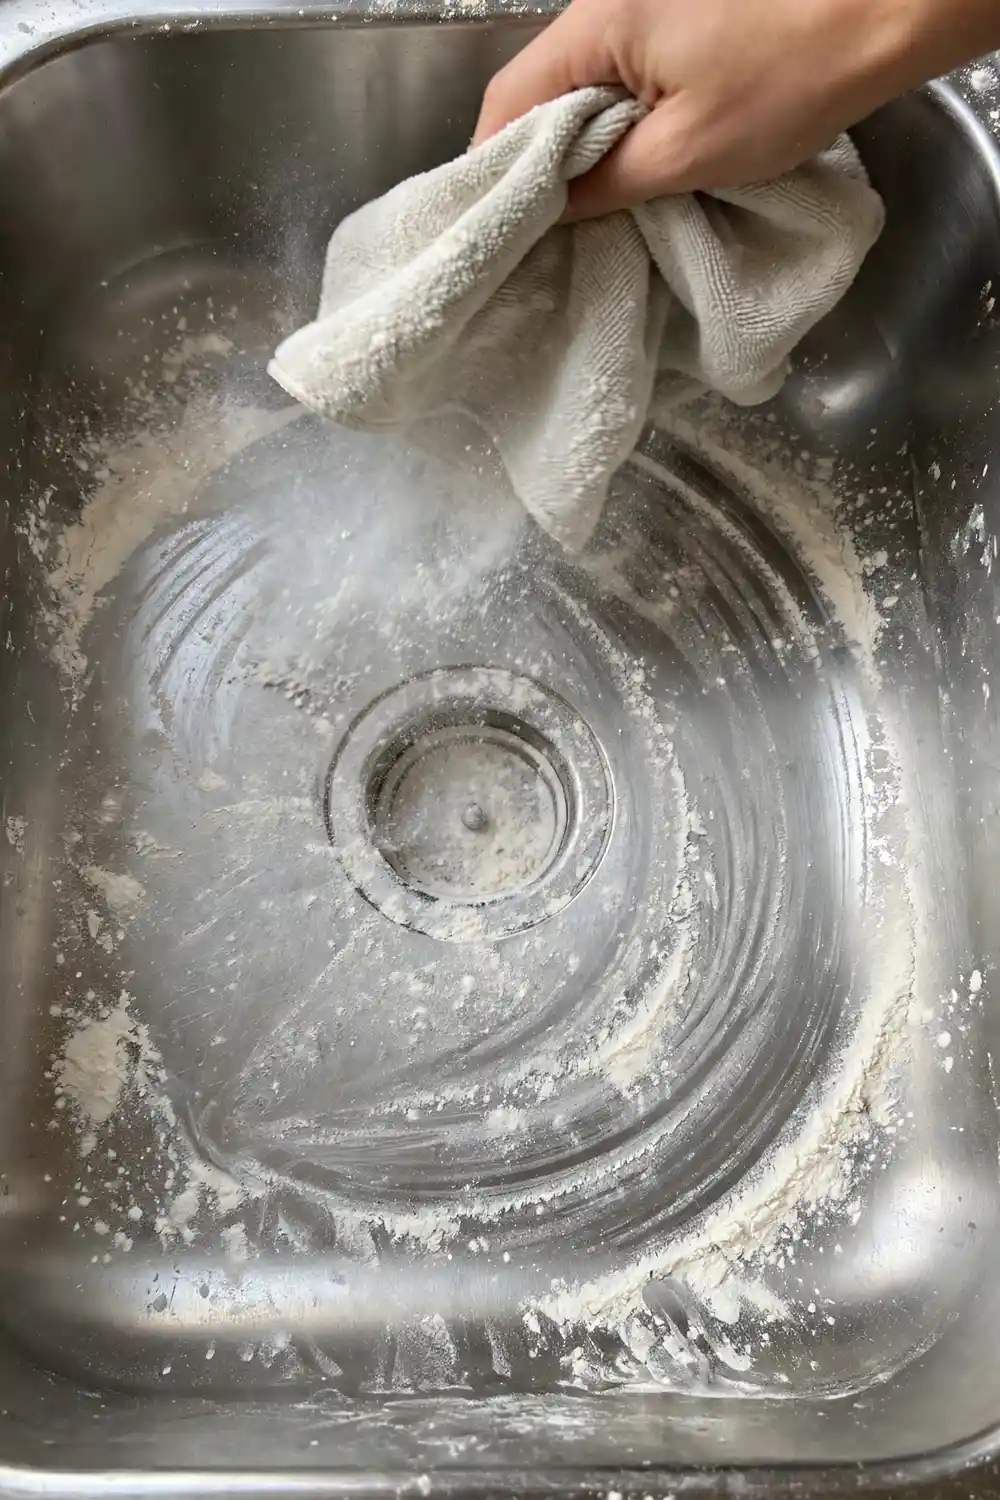
Flour sounds like a pantry accident, but on stainless it buffs up a proper shine. The sink has to be washed and completely dry first — damp flour sticks to the surface and can clog the drain, which undoes the whole exercise.
Sprinkle a thick layer over the basin, about half a cup for a standard-sized sink, and rub it in with a soft cloth. A few minutes of buffing lifts smudges and light stains that washing left behind.
- Start: sink washed and bone dry
- Amount: about half a cup of plain flour
- Tool: a soft cloth, small circles
- Only for: stainless steel
Olive oil buff
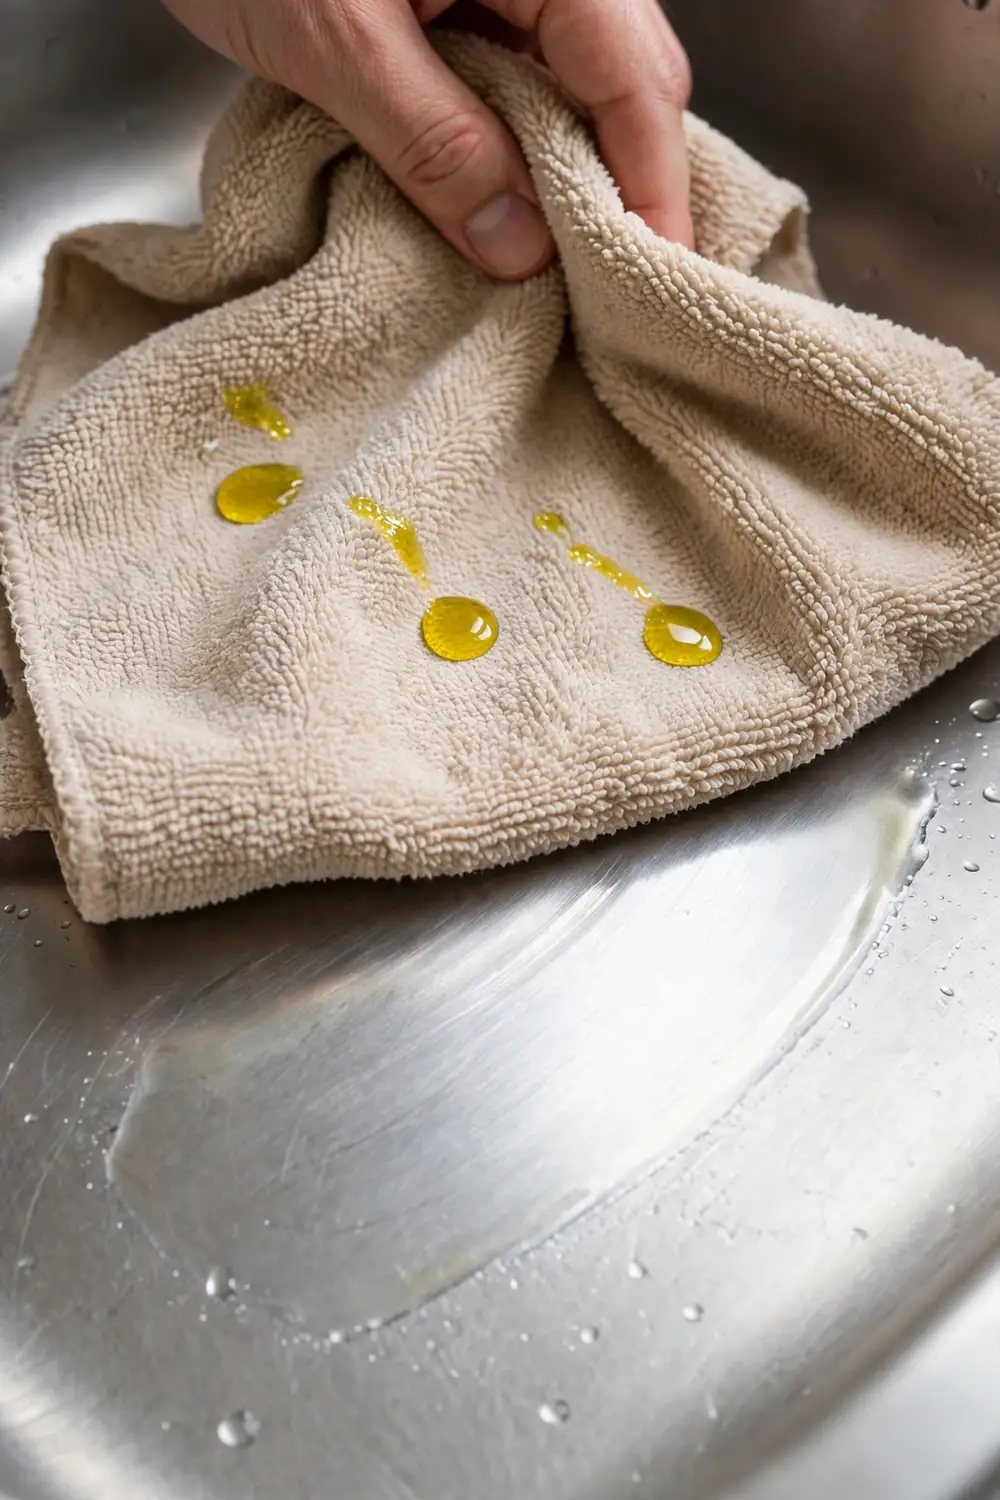
The last step on a clean, dry sink. A few drops of olive oil on a soft cloth, buffed in thin and even, leaves stainless looking polished rather than scrubbed.
Buff along the grain, and be sparing — too much oil leaves a greasy film that collects dust and fingerprints. Airtasker’s guide names baby oil as the alternative if that is what the cupboard holds. The thin oil film helps water bead and run off instead of sitting and spotting.
- When: the final step, on a clean and dry sink
- Drops: a few only — more is not better
- Direction: along the grain
- Alternative: baby oil, per the Australian guide
Soda water rinse
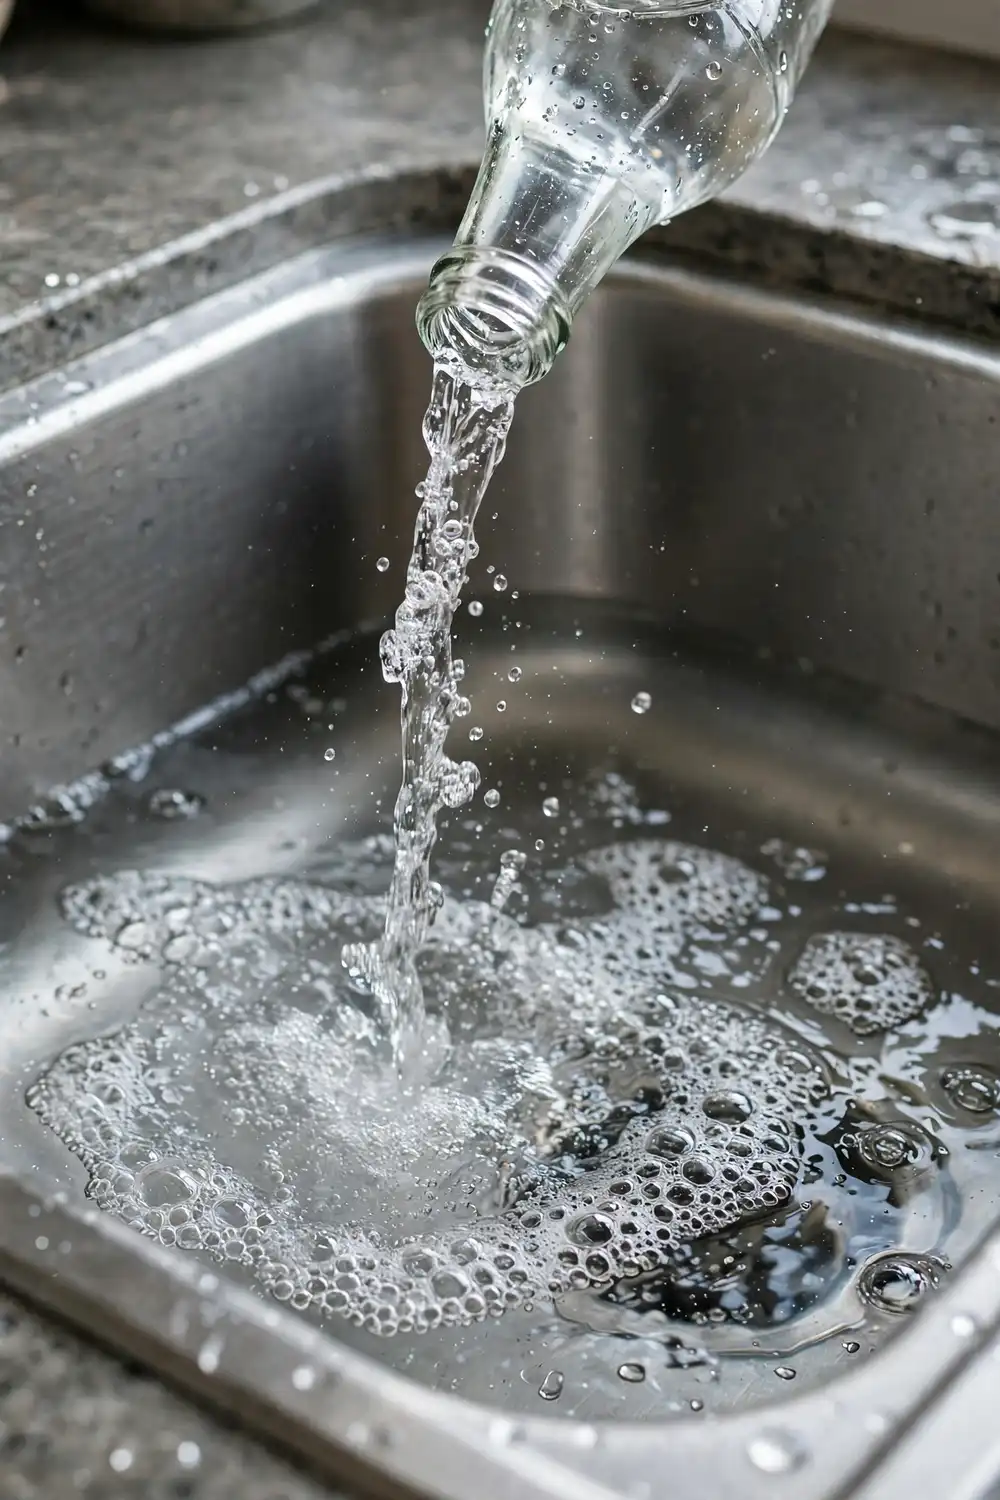
Pour a bottle of soda water over the whole basin, let it drain away by itself, then buff the surface dry with a soft cloth.
The weak carbonic acid in the fizz lifts light residue and water spots as it goes, which makes this one a good finishing rinse after a wash rather than a deep clean on its own. It suits chrome fittings as well as stainless.
- Pour: one bottle of soda water over the whole basin
- Wait: let it drain away on its own
- Buff: soft cloth until dry
- Best on: chrome and stainless steel
Borax and lemon paste for stubborn stains
For the marks that survive everything above. Add lemon juice slowly to a cup of borax until it forms a thick paste, spread it over the sink with attention to the stubborn spots, and leave it for 15 to 20 minutes.
Scrub with a sponge or brush, then rinse — thoroughly, and then once more. This is a food-preparation surface, so no paste residue stays behind. Wear gloves while you work, because the mix is abrasive and the lemon acid irritates skin.
- Ratio: one cup of borax, lemon juice added to a thick paste
- Wear: gloves — the mix irritates skin
- Sit: 15 to 20 minutes
- Rinse: thoroughly, twice over, because food is prepped here
The ten hacks at a glance
| Hack | Best for | Works on | Keep off |
|---|---|---|---|
| Bicarb and dishwashing liquid paste | Grease and food film | Stainless and most basins | — |
| Five-minute vinegar fizz | Water marks, light mineral film | Stainless steel | Enamelled porcelain, natural stone |
| Lemon, salt and cornstarch scrub | Tea and food stains | The basin surface | Marble and natural stone |
| Cream cleanser | Dried-on debris | An everyday sink clean | — |
| Vinegar tap wrap, the short way | Limescale on taps | Tap fittings, finish checked first | Enamelled porcelain, delicate finishes |
| Toothbrush detail work | Grime in the joins | All sink materials | — |
| Flour polish | Smudges and light stains | Stainless steel only | A damp sink; other materials |
| Olive oil buff | Shine and water spotting | Stainless steel | — |
| Soda water rinse | Light residue and spots | Chrome and stainless steel | — |
| Borax and lemon paste | Stubborn stains | The basin surface | Bare hands — gloves on |
Two jobs this list leaves to other guides
A blocked or smelly drain is not a sink-surface problem, and none of these hacks will fix one. The bicarb-and-vinegar fizz routine for drains lives in our bathroom cleaning hacks guide, where it belongs — and even there it is maintenance for minor build-up and odours, not a cure. A drain that will not clear needs a plunger, a snake or a plumber.
Black mould on the silicone around the sink is the other job to hand over. Mould grows through the bead of sealant rather than sitting on it, so surface cleaning cannot reach the middle of it. Our mould removal guide covers what actually works.
Know your material before you scrub
Stainless steel rewards the grain rule — every scrub, wipe and buff in this list runs with the faint brush lines, never across them, and steel wool and harsh scourers stay away from it entirely. Bleach and chlorine-based cleaners are also out, for reasons the FAQ below covers.
Enamelled porcelain asks for gentleness of a different kind. Bunnings warns that cleaning vinegar may damage enamelled porcelain, so the vinegar entries above stay off it, and any new product gets a test patch in an out-of-sight spot first. Natural stone, in a sink or in the bench around it, is etched and dulled by acids — vinegar and lemon both.
Composite and ceramic sinks sit in the check-first group. The manufacturer’s instructions govern what touches them, because no general guide can speak for every composite blend. The full vinegar safety picture — surfaces, mixing warnings and all — is laid out in our vinegar cleaning hacks guide.
Frequently asked questions
Can you use bleach to clean a stainless steel sink?
No. Airtasker’s Australian guide is blunt about it — bleach and chlorine-based cleaners damage stainless steel, causing discolouration, pitting and corrosion. The bicarb scrub and the flour polish in this list get a stainless sink clean without risking the surface.
How do you make a stainless steel sink shiny again?
Wash it, rinse it and dry it properly first — air-drying leaves mineral spots behind. Then buff a few drops of olive oil or baby oil along the grain with a soft cloth, sparingly. That thin film is what brings the shine back and helps water bead off afterwards.
Keeping it that way
The full routine is a weekly job. The daily version takes a minute — warm water and dishwashing liquid, a quick wipe, and drying with a microfibre cloth instead of leaving the basin wet.
Do that, and the ten hacks above become touch-ups for marks and scale rather than a rescue mission — which is exactly what a kitchen sink, of all things, deserves.