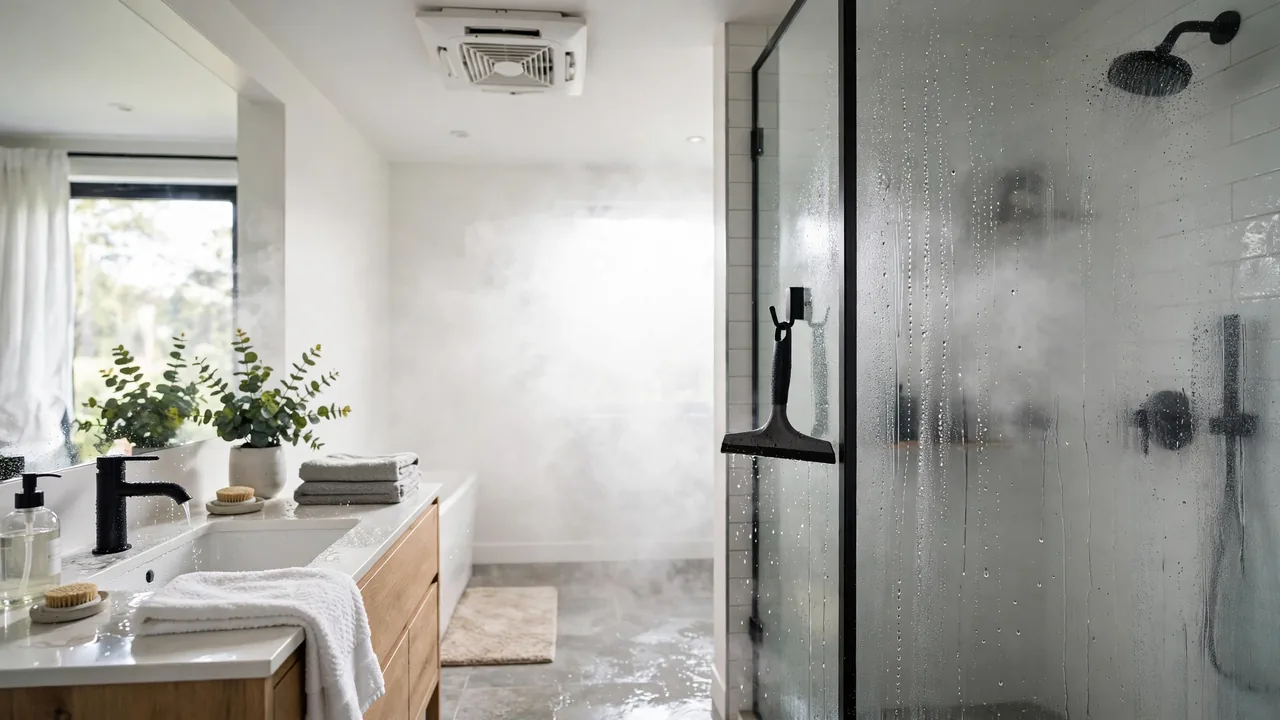
You scrub the black spots off the grout, and a fortnight later they are back. It feels like a cleaning failure, but it usually is not. The method rarely matches the surface, and the moisture that fed the mould never actually left the room.
This guide shows how to remove mould from bathroom grout, silicone, ceilings and walls properly, with an honest comparison of vinegar, bleach and mould sprays based on the NSW Health method. You also get the ventilation fix that stops the cycle, a renter-safe list, and the point where DIY should stop.
Start with the safety section, pick your method from the table, and do the prevention steps the same day. Removal without prevention is just a subscription.
Before you start — gear up and size up the job
Gloves, mask and eye protection are not optional
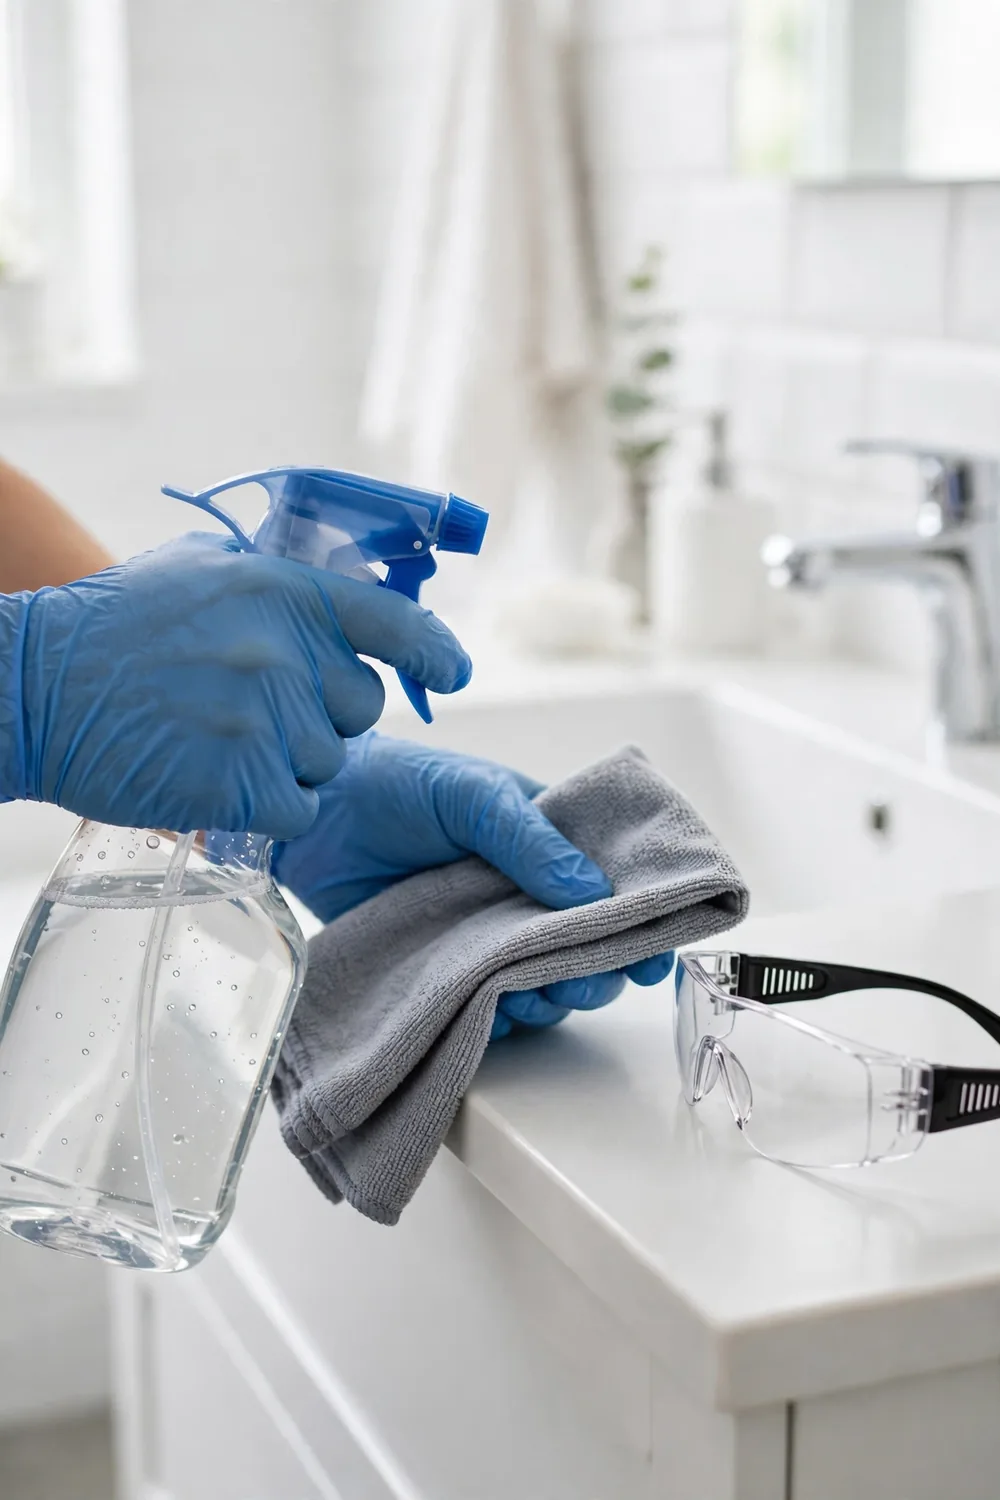
Mould cleaning stirs up spores and splashes chemicals, so gear comes before scrubbing. NSW Health’s clean-up guidance starts with protective equipment, and this job is no different.
- Hands — PVC or nitrile gloves, not the thin kitchen kind that tear on grout
- Eyes — safety glasses or goggles, because spray bounces off tiles at face height
- Lungs — a P2 or N95 mask is worth wearing, especially for anything bigger than a small patch
- Air — open a window or run the fan while you work, and keep kids and pets out of the room
One rule outranks everything else here. Never mix cleaning products. Bleach combined with vinegar or ammonia makes toxic gas, so one product per job, rinsed away fully before anything else touches the surface.
Ten minutes of detective work first
Before you spray anything, work out what you are dealing with. A few spots on surface grout is a cleaning job. Soft or bubbling paint, a musty smell that lives behind the wall, or mould that returns within days points at water getting in where it should not.
At a glance — surface patch, cleaning job · soft walls or bubbling paint, find the water first · mould back within a fortnight, skip ahead to the prevention section before you clean again.
If the detective work turns up hidden water, cleaning alone will not hold. There is a professional section at the end of this guide for exactly that situation.
Three ways to remove it, compared honestly
| Method | What it actually does | Best on | Where it falls short | Safety notes |
|---|---|---|---|---|
| Diluted vinegar | Kills mould on contact on hard surfaces, given dwell time | Tiles, glass, painted surfaces, routine grout | Slow on heavy build-up; the smell lingers an hour or so | Low fumes; still wear gloves and ventilate |
| Diluted bleach | Whitens surface growth fast | Hard, non-porous surfaces like baths and basins | Roots survive inside porous grout and silicone, so it regrows | Strong fumes; never mix with other cleaners |
| Commercial mould spray | Formulated fungicide, often a clinging gel | Silicone edges, ceilings, stubborn patches | Costs more; can affect some paints and sealants | Follow the label exactly; test first |
| Baking soda paste | A gentle scrub, not a killer | Grout lines and textured surfaces as a helper | Does not kill mould on its own | Mild; do not premix with vinegar, they neutralise each other |
Vinegar — the routine clean
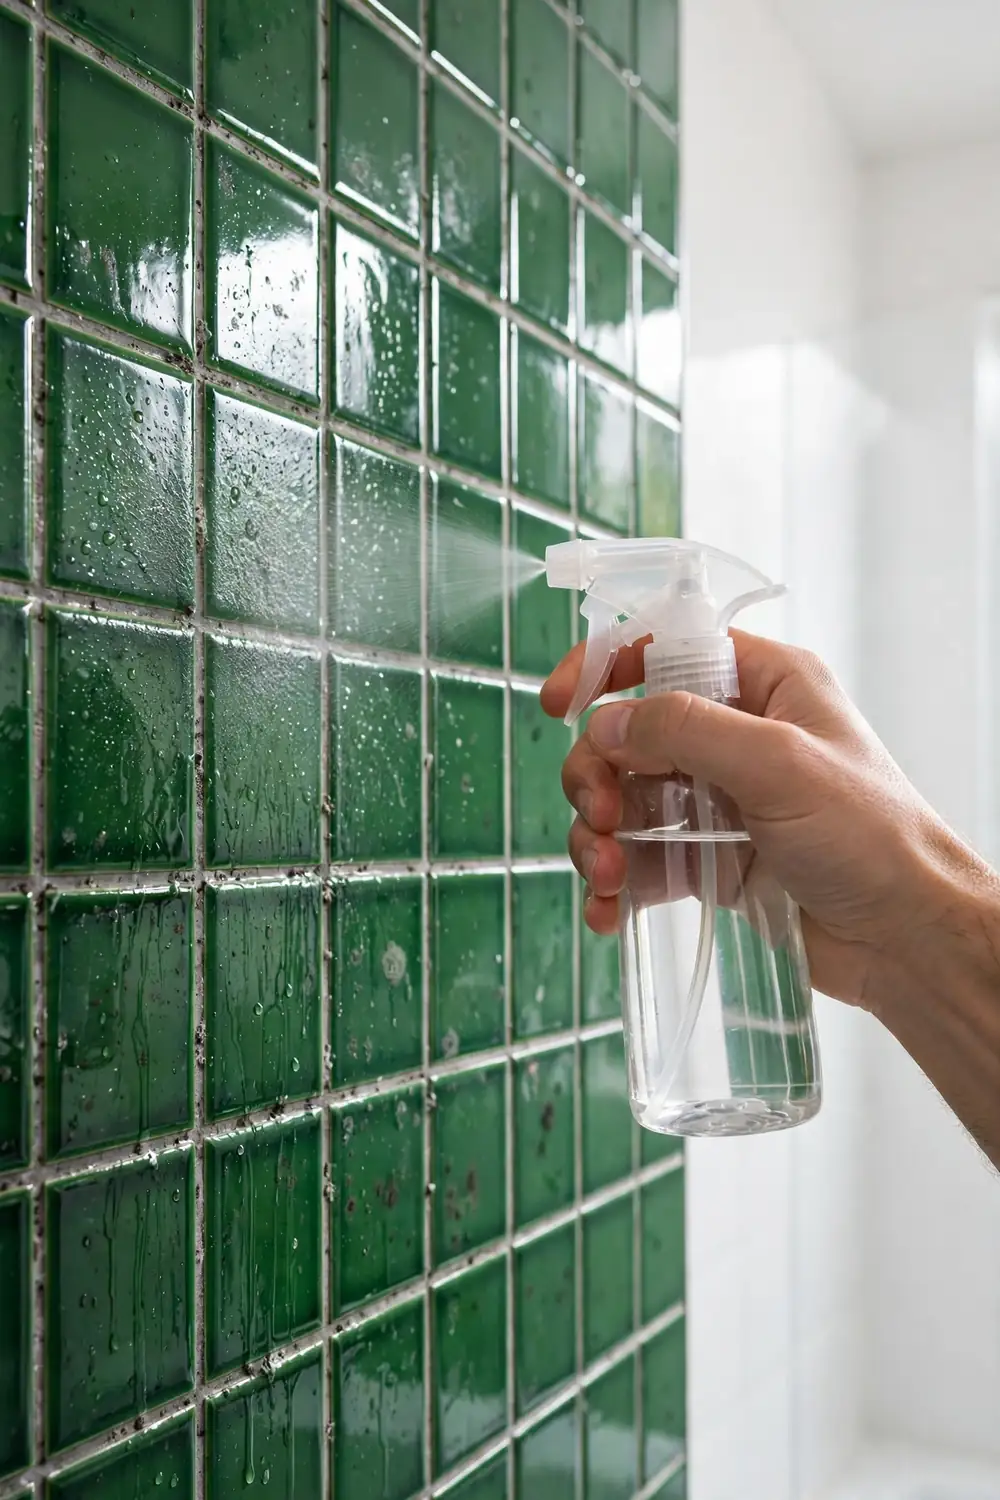
Vinegar is the method NSW Health builds its household clean-up advice around, and it earns that place. It does the quiet work on hard surfaces without filling a small bathroom with fumes.
- Mix — four parts vinegar to one part water in a spray bottle, after a first wash with mild detergent and water
- Dwell — spray until the mould is wet through and leave it for up to an hour on stubborn patches
- Finish — wipe or scrub, rinse with clean water, then dry the area completely with an old towel
Drying is part of the method, not an afterthought. Mould that is killed but left damp has simply been watered.
Bleach — strong on hard surfaces, weak where it matters
Bleach has one genuine talent. It strips the colour out of surface mould quickly, which makes a bath or basin look clean in minutes.
The catch is what happens underneath. On porous grout and silicone, the roots of the mould sit deeper than the bleach reaches, so the white grout line is a disguise. The growth comes back from the roots, often within weeks.
- Best for — a fast cosmetic lift on hard, non-porous surfaces before guests arrive
- Watch out — NSW Health treats bleach as the fallback for mould that will not shift and cannot be thrown away, at 250 millilitres of bleach in four litres of water, with full protective gear and strong ventilation
Commercial mould sprays — formulated for the job
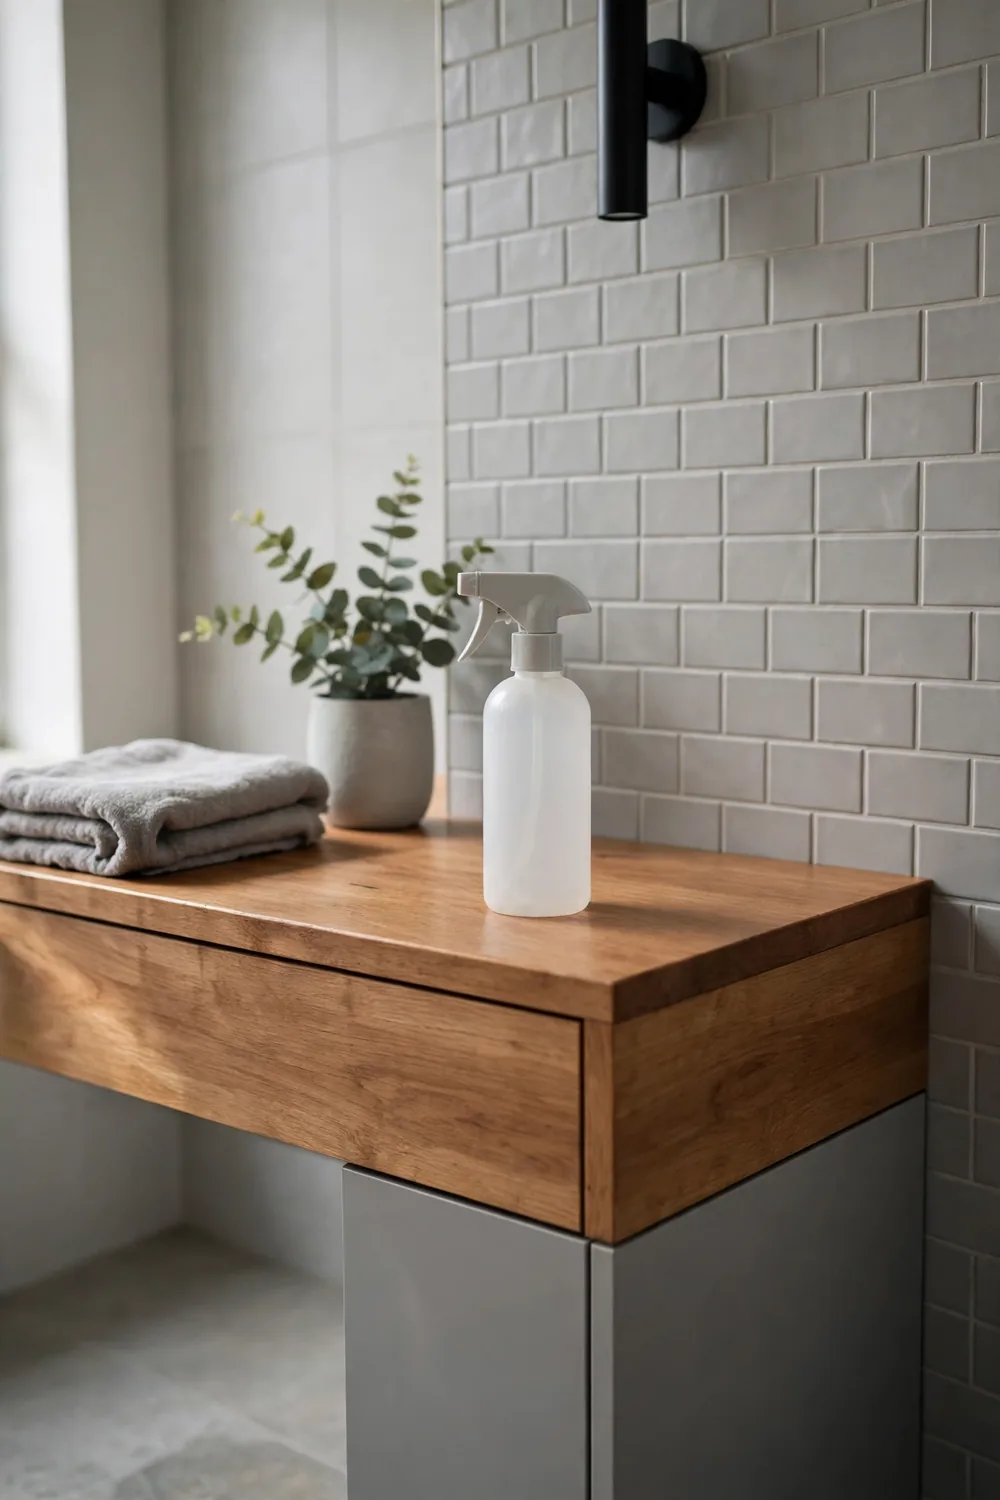
A proper mould spray adds two things vinegar does not. The formula includes a fungicide made for the task, and gels cling to vertical silicone and ceiling edges instead of running off.
That cling is why sprays earn their keep on shower screens and silicone joints. Spray, leave for exactly as long as the label says, and resist scrubbing early. The dwell time is doing the work.
Quick facts — test on painted walls first · never exceed the label’s dwell time · keep the room ventilated until the smell clears.
Baking soda paste — the grout scrub
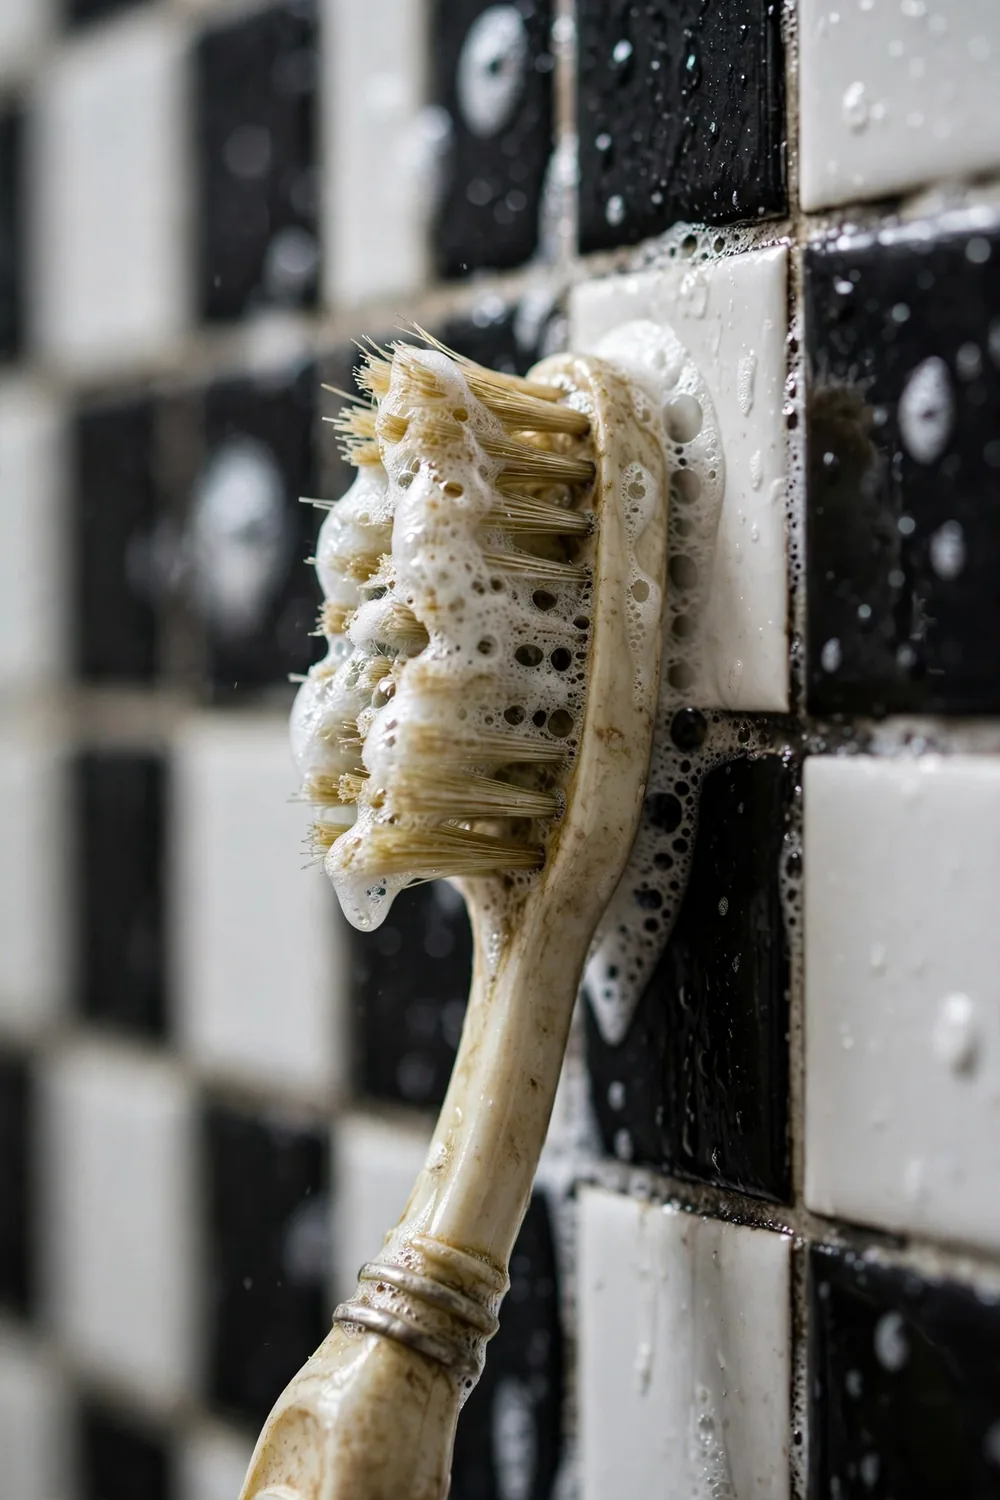
Baking soda is the helper, not the hero. Made into a thick paste with a little water, it gives a brush something gentle and gritty to work grout lines and textured tiles with.
- Mix the paste to the texture of toothpaste
- Work it along the grout lines with an old toothbrush
- Rinse, then follow with the vinegar spray above so something in the job actually kills the mould
When cleaning is not enough
Mould inside silicone — strip it out and reseal
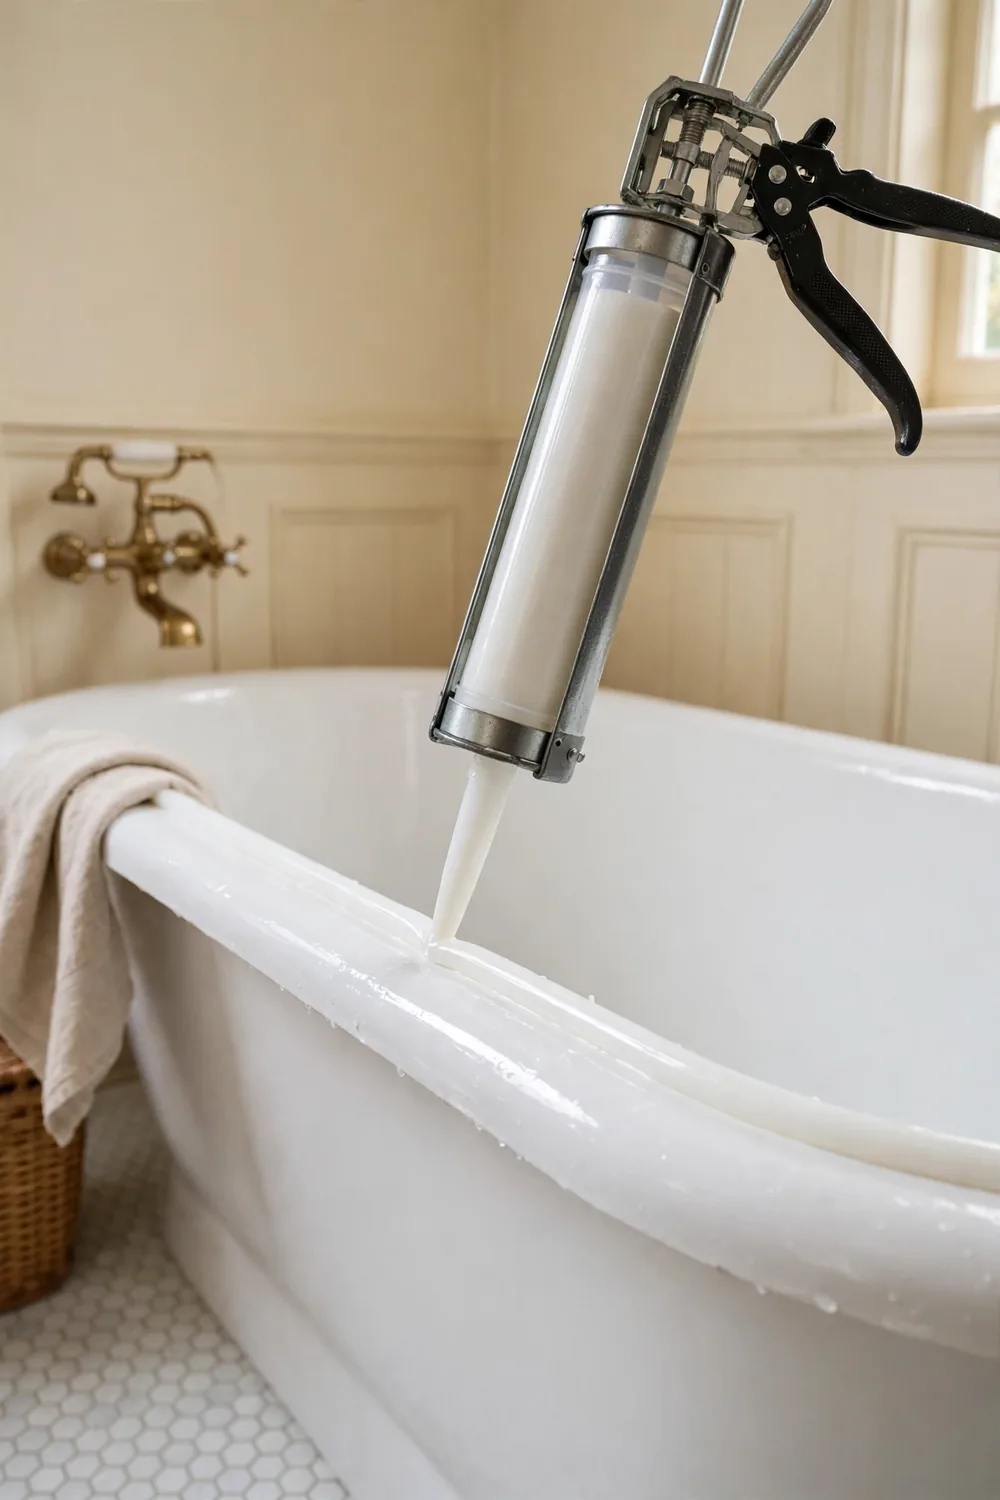
Every method above fails on mouldy silicone, for one simple reason. The mould grows through the bead, not on it, so no spray reaches the middle of it.
Cut the old bead out with a utility knife or a silicone remover tool, clean the bare joint, and let it dry fully. Then run a fresh bead of mould-resistant silicone and leave it to cure for the time on the tube before anyone showers.
Grout that is crumbling or stained through
Grout that powders when you scrub it has lost its strength, and grout stained deep black through its body will never come back to white. Rake out the worst sections and re-grout them.
Once the new grout has cured, sealing it keeps the next round of mould on the surface where you can reach it. The sealing step below covers the how, including the mistakes that waste the effort.
Surface quick map
| Surface | First choice | Avoid |
|---|---|---|
| Tiles and grout | Vinegar spray, then a baking soda scrub on the lines | Bleach as the only treatment; the roots stay |
| Silicone sealant | Replace the bead if mould is inside it | Scrubbing harder; the growth is through it, not on it |
| Painted walls and ceiling | Vinegar spray or a clinging mould gel | Soaking the plasterboard with any liquid |
| Glass and shower screens | Vinegar spray, then a squeegee | Abrasive pads that scratch the glass |
| Shower curtains, bathmats, fabric | Hot machine wash, dried fully in the sun | Leaving them damp and bunched after washing |
Stop it coming back
Make the exhaust fan earn its keep
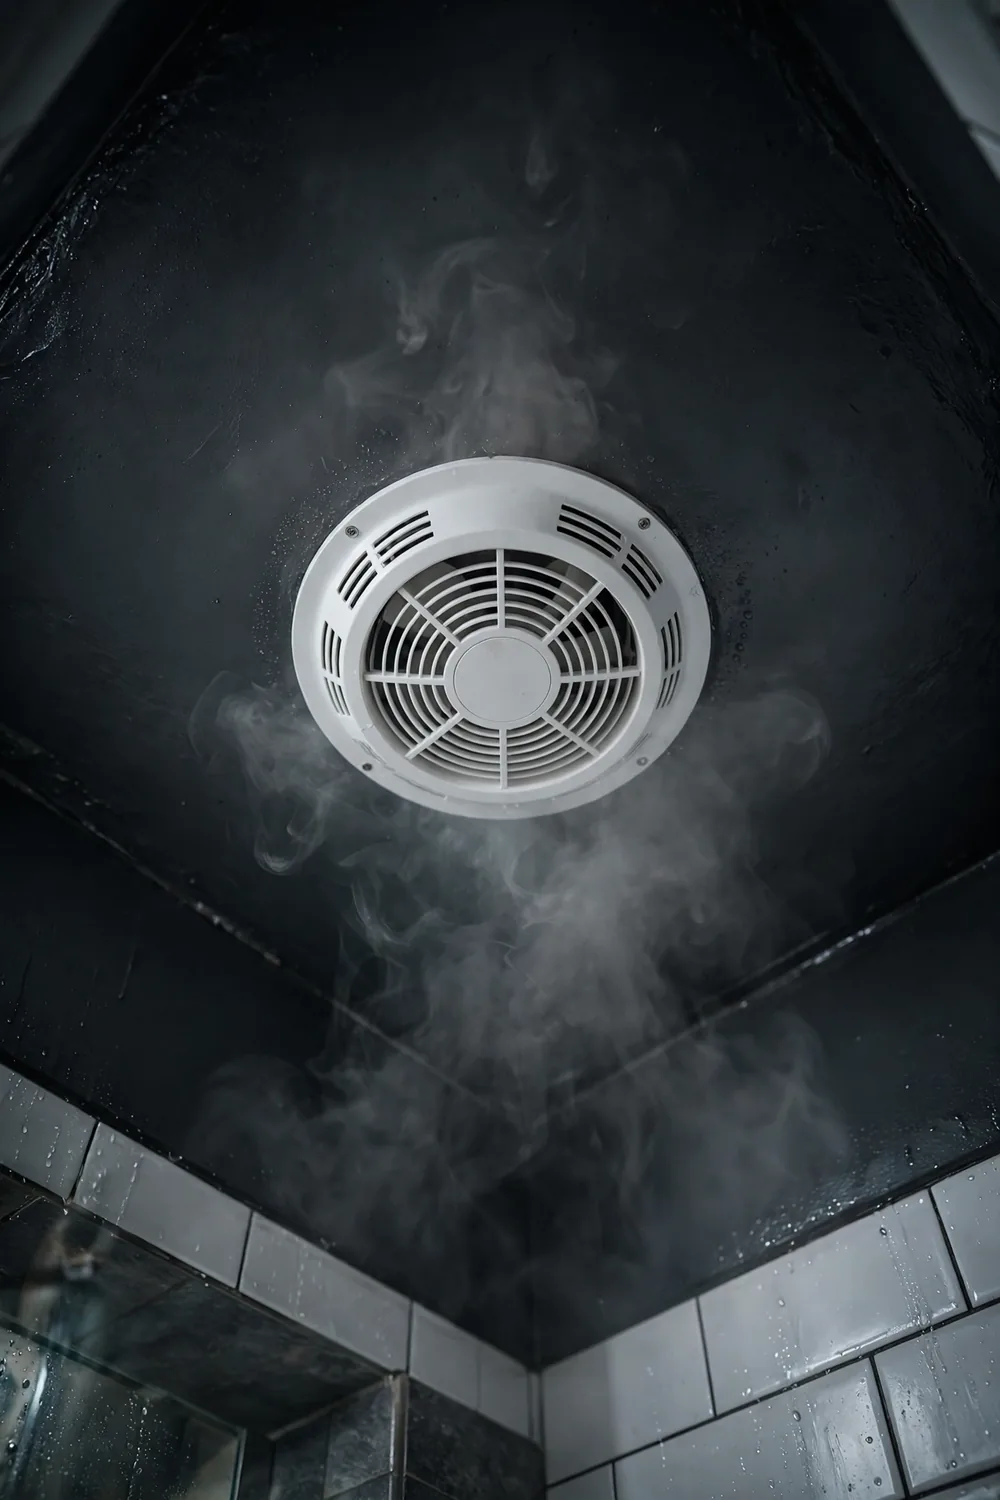
The exhaust fan is the single biggest difference between a bathroom that stays clean and one that re-moulds every month. Hold a square of toilet paper near the running fan. If the paper barely clings, the fan is moving too little air to matter.
Dust is the usual culprit. A cover clogged with fluff can halve a fan’s pull, and popping it off for a wash takes five minutes. Run the fan during every shower and keep it going afterwards. Ten minutes is the floor; twenty to thirty is better.
If you are installing or replacing a fan, know the benchmark. Under the National Construction Code, bathroom exhaust in a new or replacement installation runs at 25 litres per second and ducts to outside air, not into the roof space. Anything hardwired is a licensed electrician’s job. It is also worth saying that the retro bathroom looks everyone loves need this sorted first — our guide to retro bathroom ideas makes the same point about running a fan every shower and keeping the invisible parts modern.
- Test — toilet paper should stick firmly to the running fan cover
- Clean — wash the dusty cover every few months
- Upgrade — a humidistat model switches itself on when the air turns steamy
Keep the humidity under the line
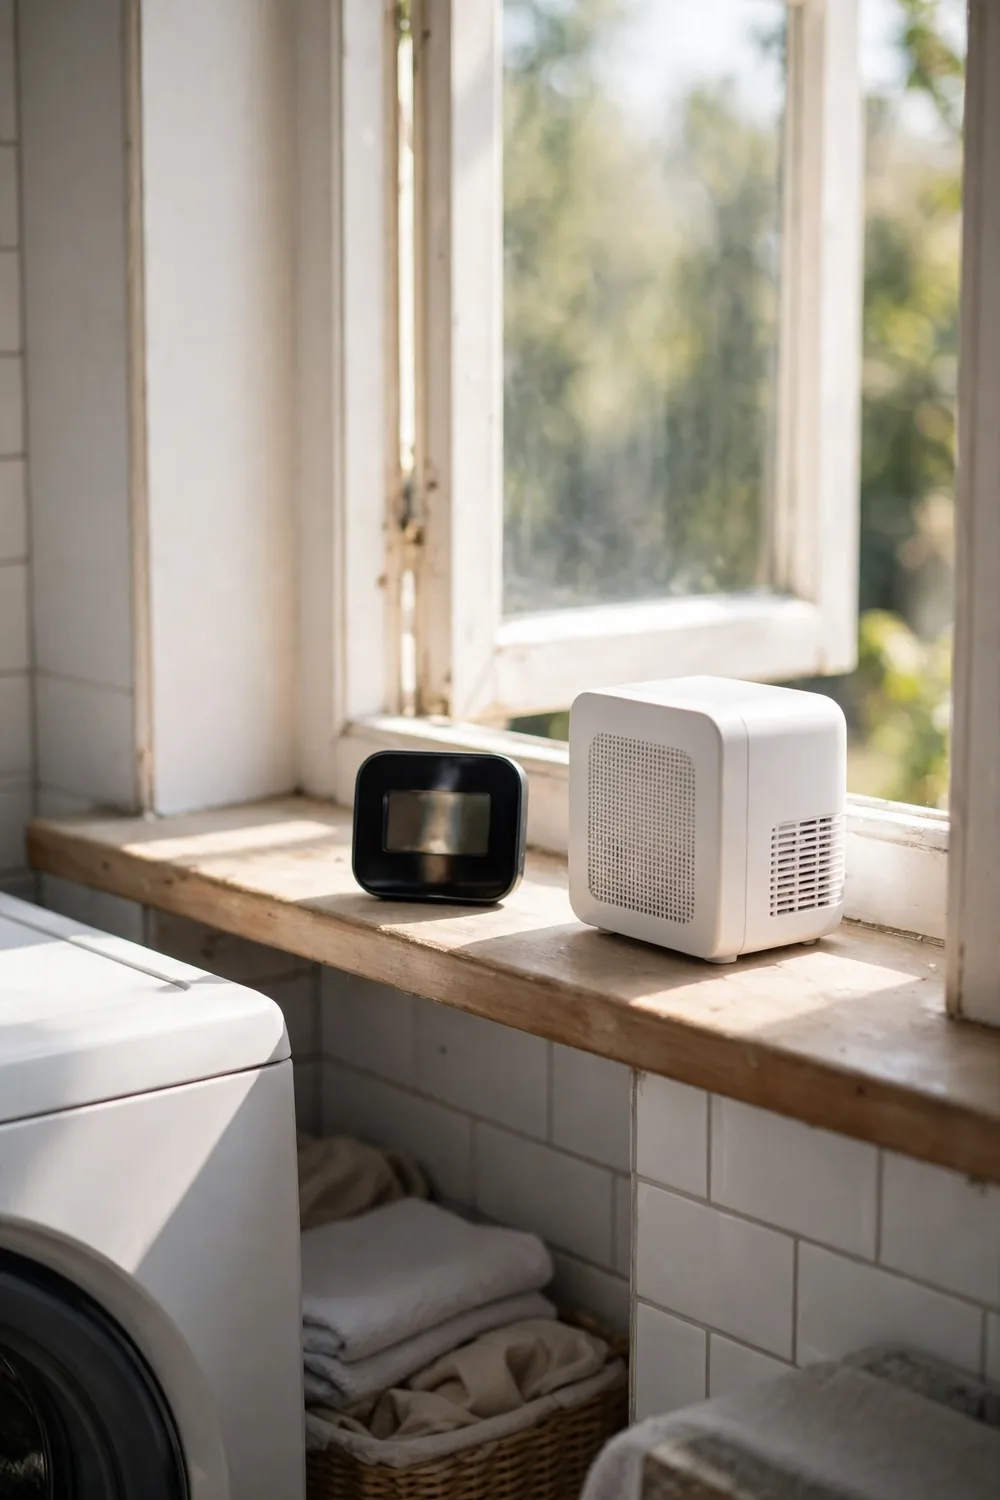
Mould needs damp air more than it needs dirt. The National Asthma Council Australia puts the healthy indoor target at 30 to 50 per cent relative humidity, and the practical rule is to keep a bathroom under 60.
A hygrometer costs very little and ends the guessing. Sit it on the vanity for a week and you will see exactly which habits push your bathroom over the line. Windowless rooms may need a small dehumidifier to stay under it.
Dry the room down
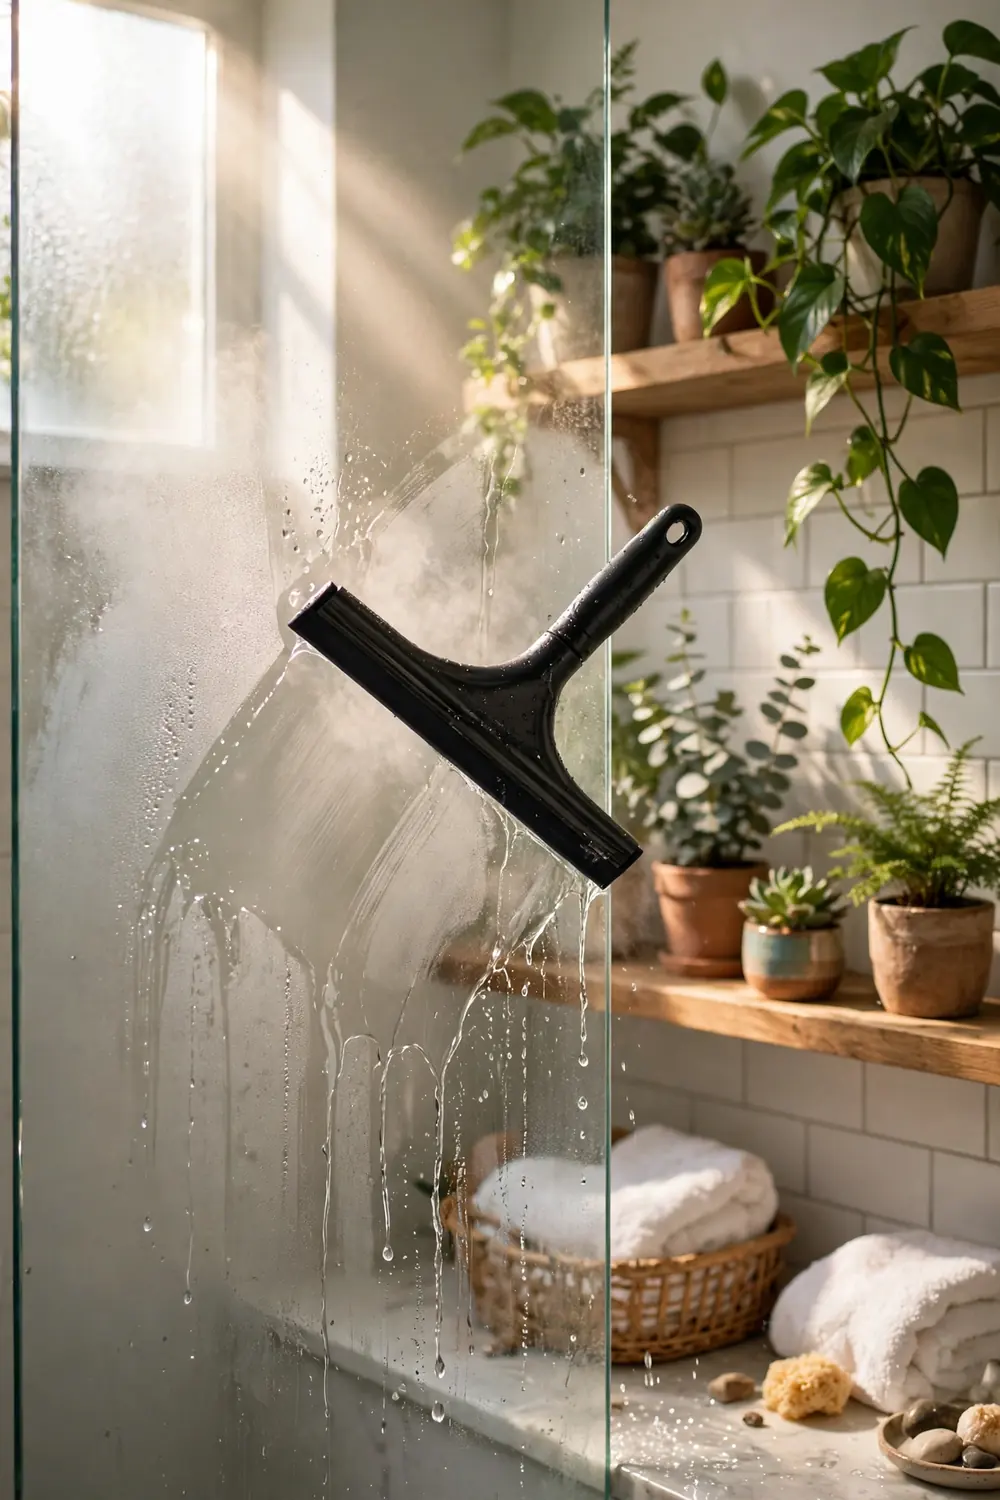
What you do in the two minutes after a shower matters as much as any product. Squeegee the screen and the wettest tiles, and spread towels out to dry instead of leaving them bunched on a hook.
Once a week, wipe the corners, seals and window frames where condensation settles. These are the nurseries where the next round of mould starts, and a dry cloth is usually all they need.
Seal the grout
Sound, clean, fully dry grout can take a penetrating sealer that slows water soaking in. Apply it on a day the bathroom can rest unused, and expect to redo it roughly every year.
Sealing goes wrong in predictable ways — sealer over dirty grout, or over grout that is still damp, locks the problem in. Our guide to common shower tile sealer mistakes walks through the traps before you open the bottle.
Fix the water, not just the stain
Prevention fails while water keeps arriving. A tap that drips all night, a shower screen seal that has let go, or a slow leak inside the wall will feed mould no matter how well you clean.
Obvious drips are a washer or a cartridge away from fixed. Water you can hear but cannot find is different, and it is where this site’s guide to hidden water damage in your home earns a read before the damage spreads.
Renting, or own the place? Different toolkits
| No permission needed | Owner-level job |
|---|---|
| Every cleaning method in this guide | Installing or upgrading an exhaust fan (licensed electrician) |
| Dry-down habits and the weekly corner wipe | Re-grouting and resealing large areas |
| A portable dehumidifier and a hygrometer | Mould-resistant paint systems |
| Opening windows and doors to air the room | Leak and waterproofing repairs (licensed trades) |
| Reporting a dead or missing fan in writing | Ducting a fan to outside air |
Renter-safe fixes
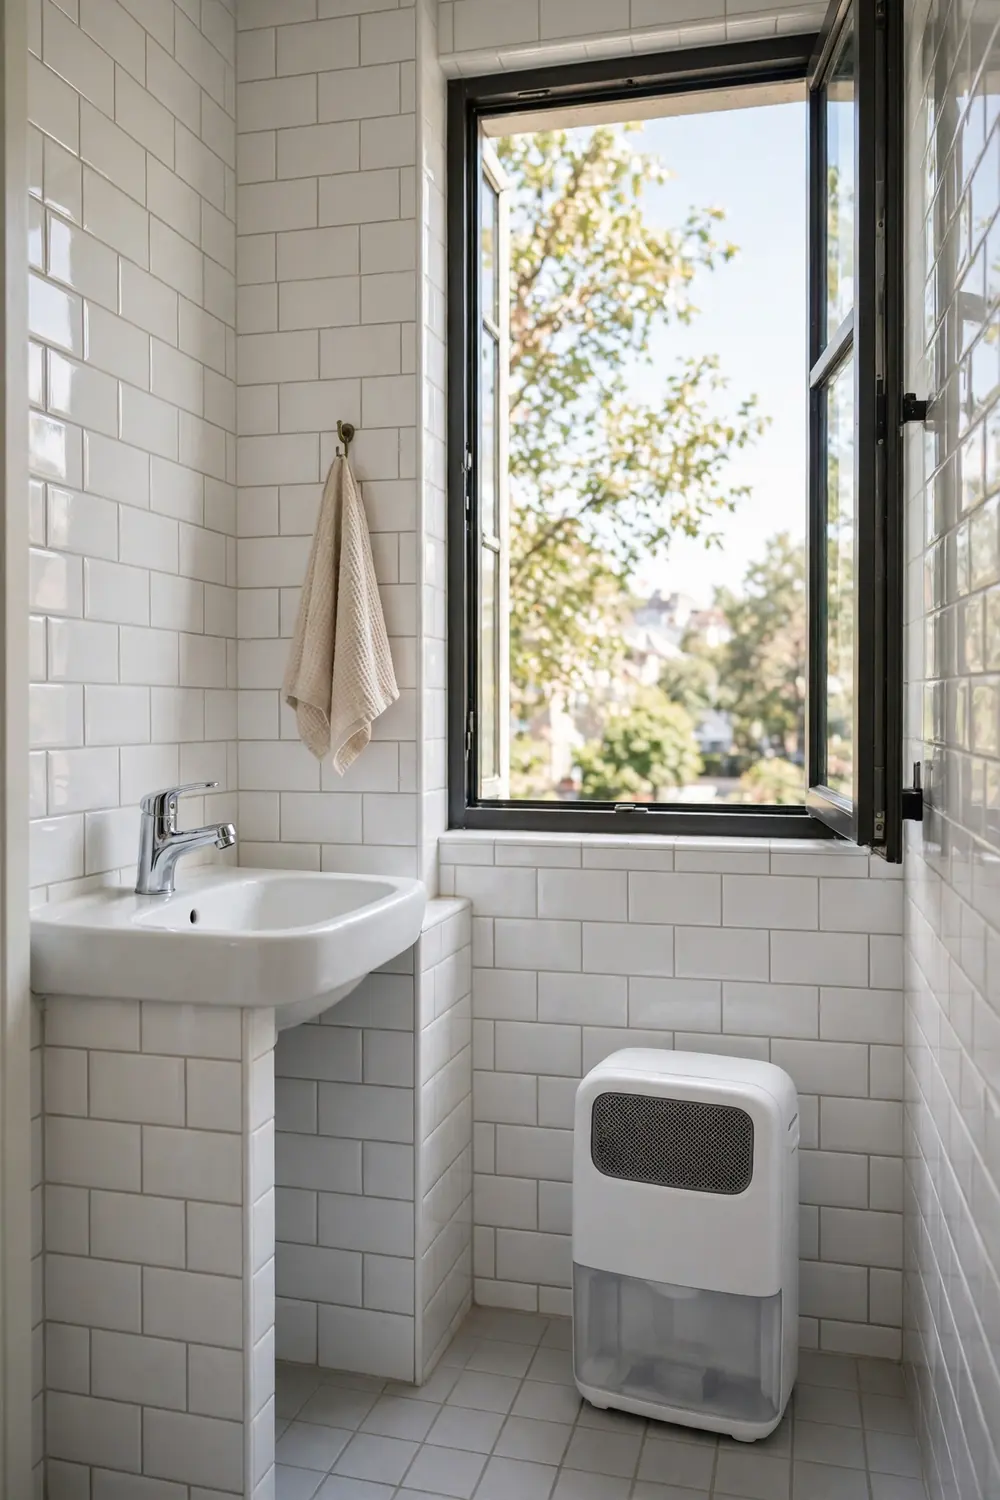
Everything in the cleaning sections is yours to do today, and none of it needs permission. Add the habits — fan on, squeegee down, towels spread — and a portable dehumidifier if the room has no window.
One thing is not your job to fix. If mould keeps returning even though you ventilate and clean properly, NSW Health’s advice is to raise it with the owner or agent, because the cause is usually the building, not the housekeeping. Put it in writing, with a photo and a date.
Owner fixes
Owners can attack causes instead of symptoms. A stronger fan, ducted outside and wired by a licensed electrician, changes the room permanently. So does resealing failed joints, re-grouting tired sections and repairing the leak behind the wall.
Save the cosmetic work for last. Mould-resistant paint over a fixed, dry, clean wall is a finishing touch. Over a damp one, it is just a lid on the problem.
When to call a professional
- It keeps coming back — mould returns within weeks despite proper cleaning and a working fan
- The surface is giving way — walls or ceilings feel soft, sag, or stain from behind the paint
- You can smell it but not see it — a musty smell with no visible source suggests growth inside the wall or under the floor
- Someone at home is in a risk group — asthma, allergies, a weakened immune system or chronic lung disease make big clean-ups a job to hand over (NSW Health names these groups specifically)
- The water source is a mystery — professionals who assess moisture for a living, such as occupational hygienists, exist for exactly this
- Absorbent materials are contaminated — mouldy carpet and underlay hold spores deep inside; our look at how rug cleaning helps indoor air quality covers when cleaning works and when replacement is smarter
- The area is large — if the patch covers a big stretch of wall or ceiling rather than a corner, stop and get quotes instead of gearing up
Questions people actually ask
Does bleach kill mould?
On a hard, non-porous surface it kills what it touches and whitens what is left. Inside porous grout or silicone the roots survive, so the mould usually returns. That is why bleach is the fallback in this guide, not the headline method.
Does vinegar actually kill mould?
Yes, on hard surfaces, given time to work. The NSW Health routine uses vinegar diluted four parts to one part water, sprayed on and left to dwell before wiping. It will not rescue silicone that mould has grown through — that bead has to be replaced.
Why does mould keep coming back in my bathroom?
Because the moisture never left. Mould returns when steam lingers (a weak or unused exhaust fan), when water leaks quietly, or when only the surface growth was removed and the roots survived. Fix the air and the water source first, then clean.
Can I paint over black mould?
No. Paint seals living mould against a damp wall, and it grows through or lifts the new coat. Clean and dry the surface fully first, fix the moisture cause, and only then paint — with a mould-resistant paint if the room stays steamy.
What is the difference between mould and mildew?
Mildew is the flat, powdery grey or white growth that sits on a surface and wipes off easily. Mould sits darker and heavier, looks fuzzy or slimy, and sends roots into porous materials like grout and silicone. Mildew is a warning that conditions suit mould too.
The one-page routine
- Once, properly — pick the method that matches your surface, gear up, give it its full dwell time, and dry the area completely
- Every shower — fan on during and at least ten minutes after, screen squeegeed, towels spread to dry
- Every week — wipe the corners, seals and window frames where condensation settles
- Every few months — wash the fan cover and check the hygrometer reading against the under-60 rule
- Every year — reseal sound grout, and check seals and silicone for the first dark spots
Clean it once like you mean it, then keep the room dry, and the black spots lose their reason to exist. That is the whole secret — the products were always the smaller half of it.