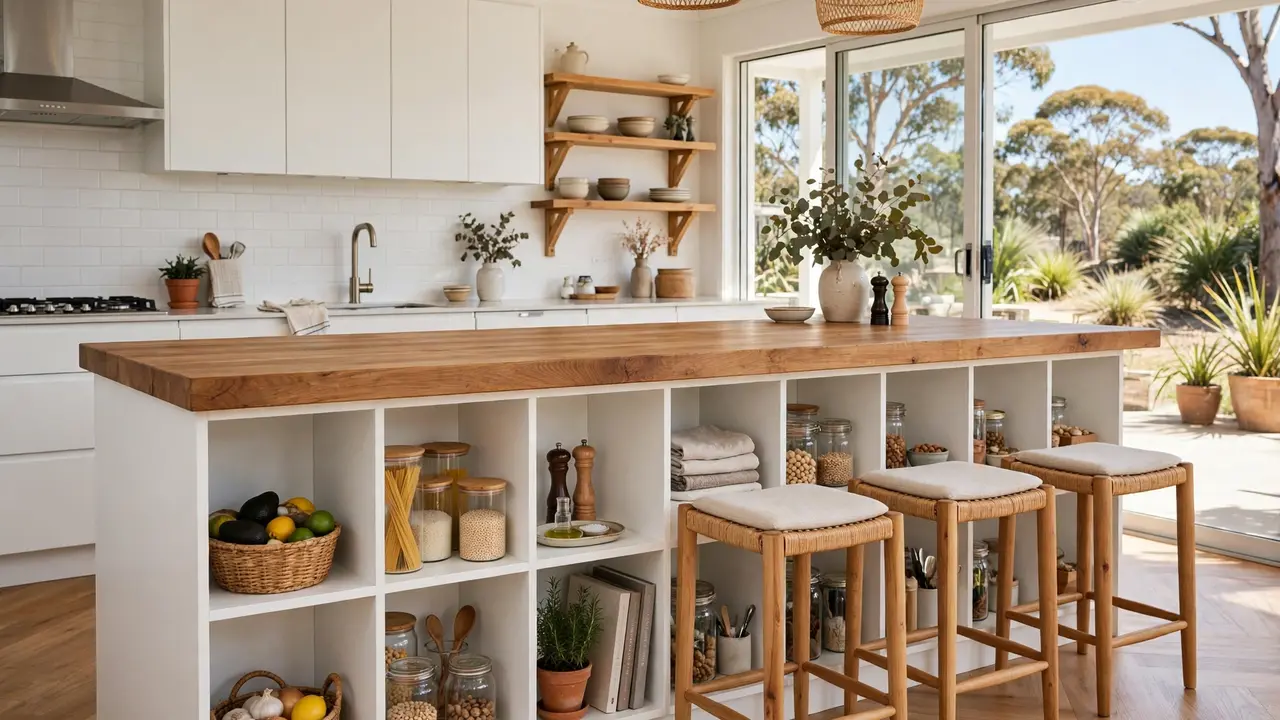
A built-in kitchen island is a renovation. A flat-pack one is a Saturday. If your kitchen is short on bench space and storage, the gap between those two options is exactly where this project lives.
An IKEA Kallax kitchen island hack turns a shelving unit into a mobile island with a proper work top, for the price of the frame, a set of castors and a benchtop offcut. No cabinetry, no tradies, and it rolls out of the way when you need the floor.
Here is the build, step by step. One main version on castors, the fixed-base alternative, and the smaller version for tight kitchens, with the measurements that make it land at bench height. Prefer to buy one ready-made instead? Our kitchen island guide covers the finished options.
What you need
The frame is a Kallax 2×4 used on its long side, which gives eight cubbies and a 147cm run. IKEA Australia listed the white frames at $49 for the 2×2, $89 for the 2×4 and $175 for the 4×4 when the listings were read on 31 October 2026. Check the current listing before you shop, because IKEA adjusts prices.
| Item | Spec to buy |
|---|---|
| Kallax 2×4 shelf unit | 77 × 147 × 39cm, any finish |
| Castors × 4 | Heavy-duty, rated together for the loaded island; at least two locking |
| Screws for the castors | Not supplied with castors; buy to suit the mounting holes (16 in a typical set) |
| Benchtop | Timber, bamboo or laminate, cut about 5–10cm wider and deeper than the frame |
| L-brackets or angle plates | For fixing the top to the frame |
| Support legs × 2 (only for a seating overhang) | Adjustable, to carry the extended top |
| Inserts and baskets | Kallax door or drawer inserts, storage boxes to fit the cubbies |
| Tools | Drill and bits, screwdriver, tape measure, pencil, a soft surface to build on |
Castors or a fixed base?
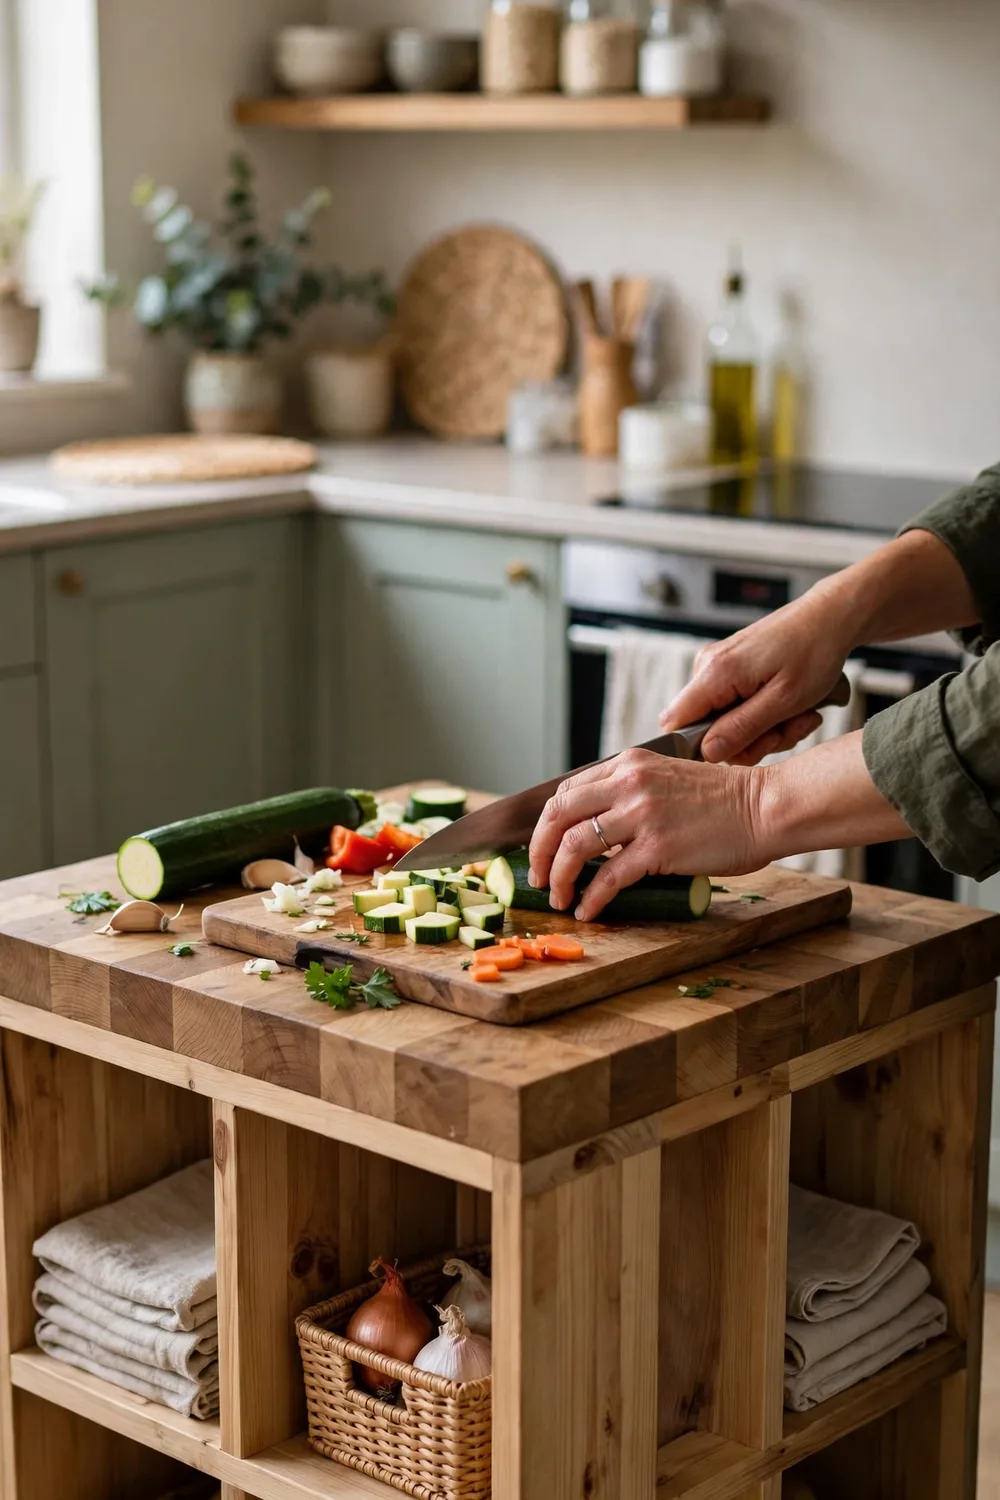
The 2×4 stands 77cm tall on its long side. Australian benches sit around 900mm high, so the island needs roughly another 13cm from somewhere.
Castors of about 10cm plus a benchtop of 2 to 4cm get you to an estimated 89 to 91cm, which is working height. That arithmetic is mine, from IKEA’s published dimensions, so add up your own castor height and top thickness before you buy. The castor version also moves, which is the whole point for a small kitchen.
A fixed base of furniture feet or a plinth reaches the same height and suits an island that will never move. The documented small builds use round cabinet feet this way. Pick mobility or permanence now, because the base is the first thing fitted.
The build
Step 1, assemble the frame
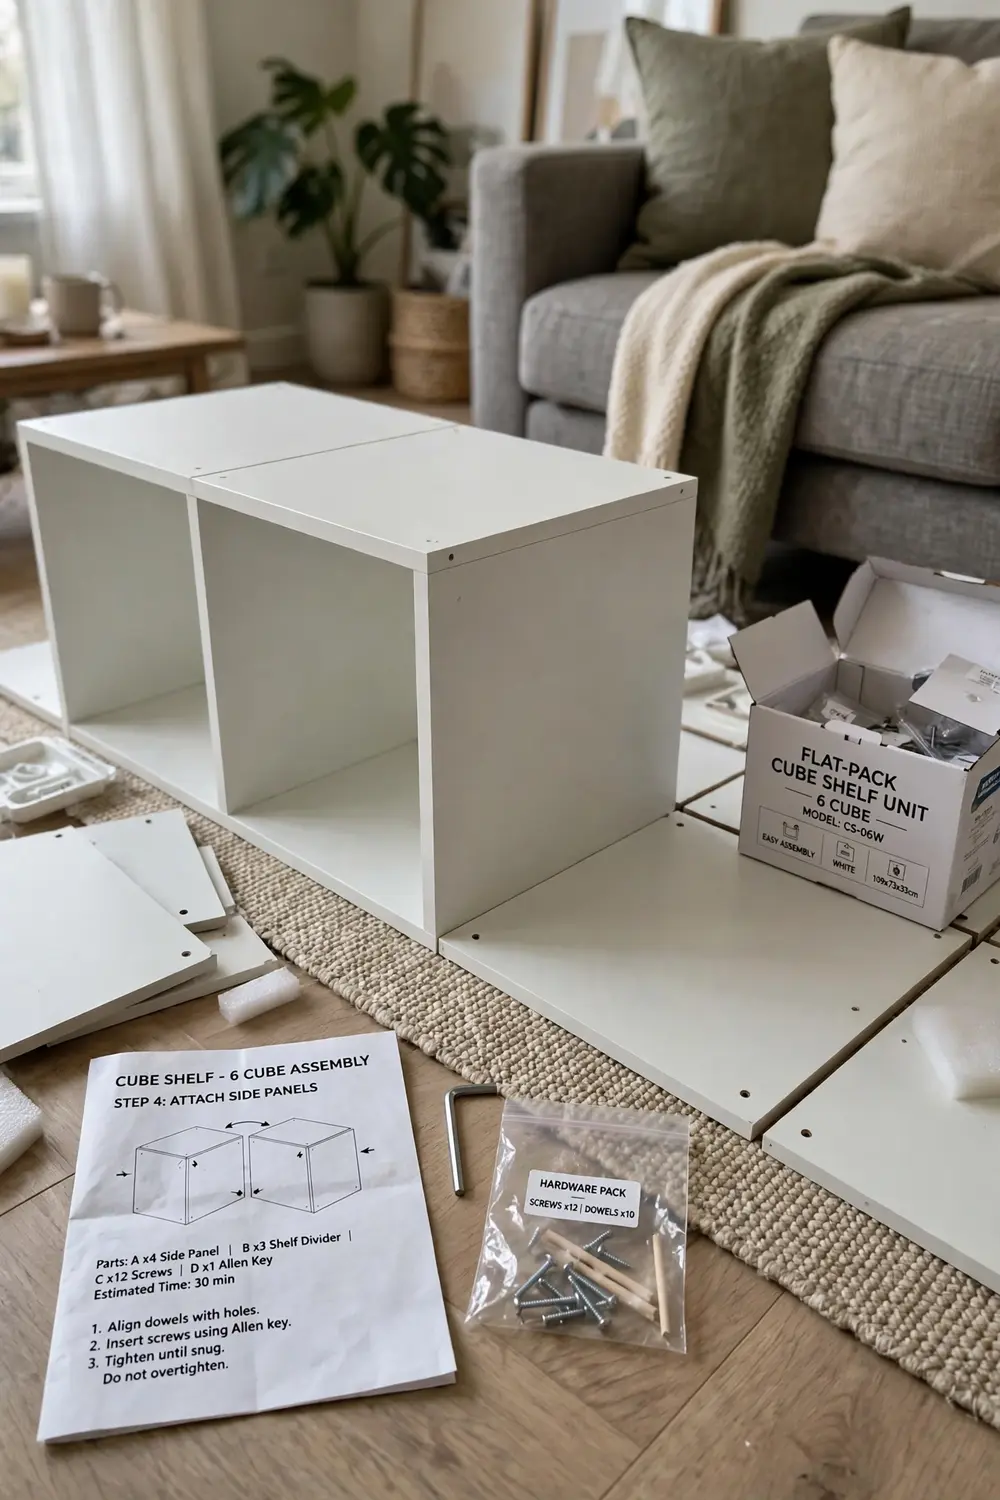
Build the Kallax flat, following IKEA’s own instructions, on carpet or cardboard so the finish survives. Check it is square before you tighten everything down.
- Orientation, long side down, eight cubbies in two rows of four
- Surface, soft and flat, never bare tiles or concrete
- Check, corners square before the final tighten
Step 2, fit the castors

Flip the unit upside down on your soft surface. Screw the castor mounting plates to the base panel, one towards each end and the rest spread between, and put the locking castors on the side you will work from.
Pre-drill the screw holes first, because the base panel is not thick. Choose screws long enough to bite and short enough not to punch through into the bottom cubbies.
- Plates, spaced along the base, locking pair on the working side
- Holes, pre-drilled pilots, always
- Screws, bite without breaking through the panel
Step 3, fit the benchtop
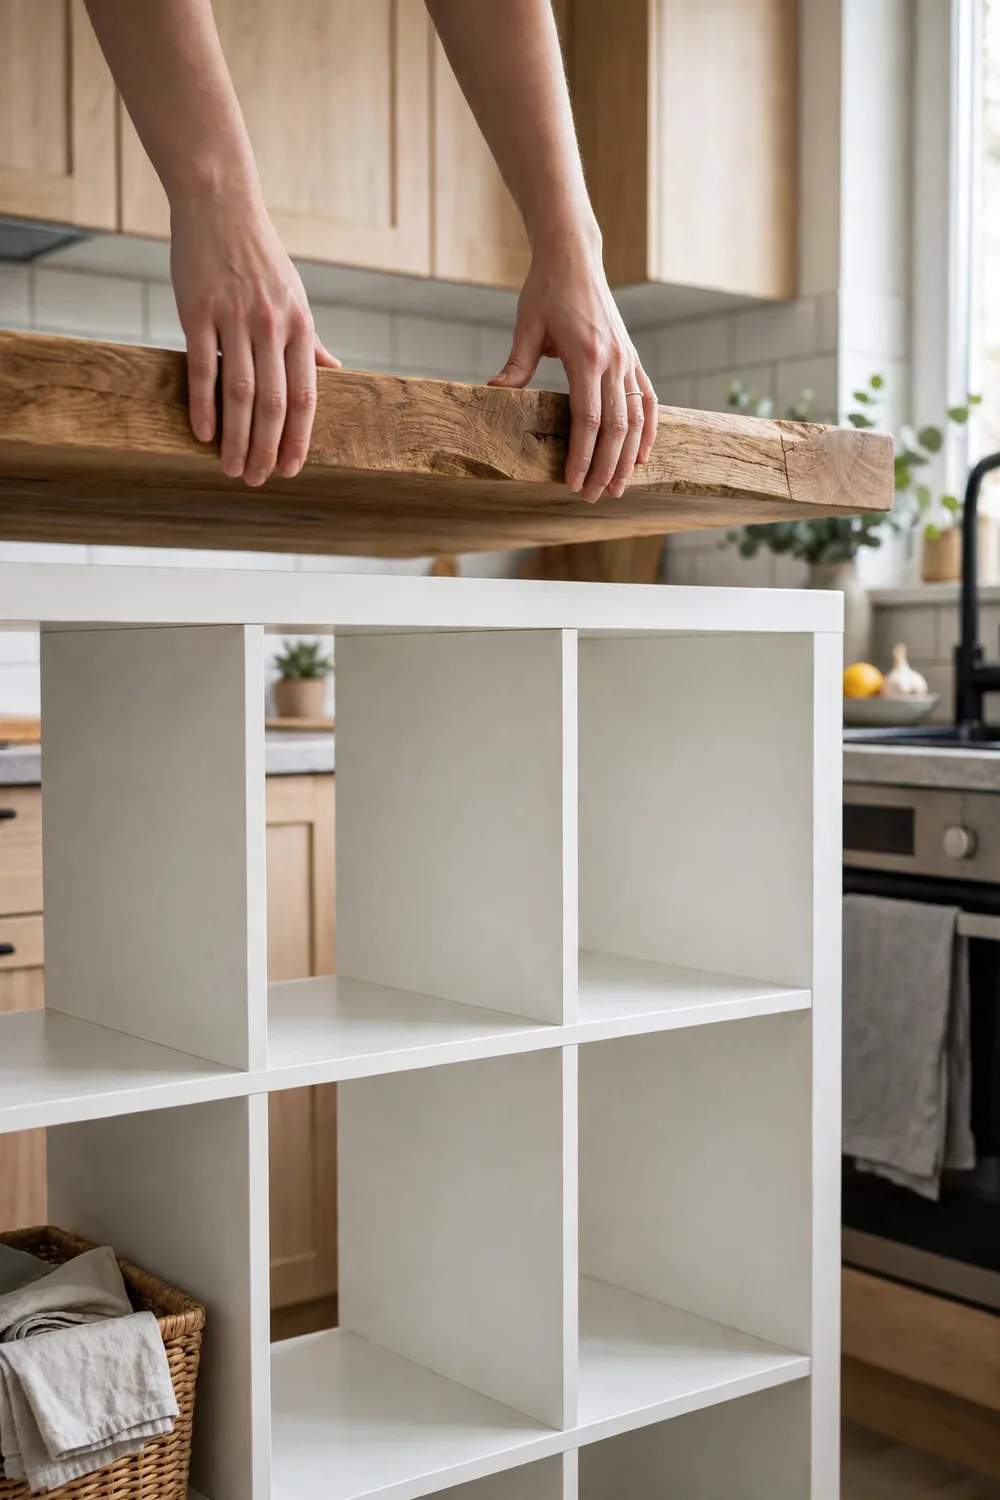
Flip the unit back onto its wheels and lock them. Lay the benchtop upside down, measure where the frame will sit, and trace its outline in pencil so the overhang is where you want it.
Centre the frame on the top before anything is fixed, with an even overhang on the working sides. Then fix the top to the frame with the L-brackets or angle plates, pre-drilling as you go.
- Position, traced and centred before a single screw
- Fixing, brackets up into the underside of the top
- Overhang, even on the prep sides; a seating overhang needs the support legs below
Step 4, support a seating overhang properly
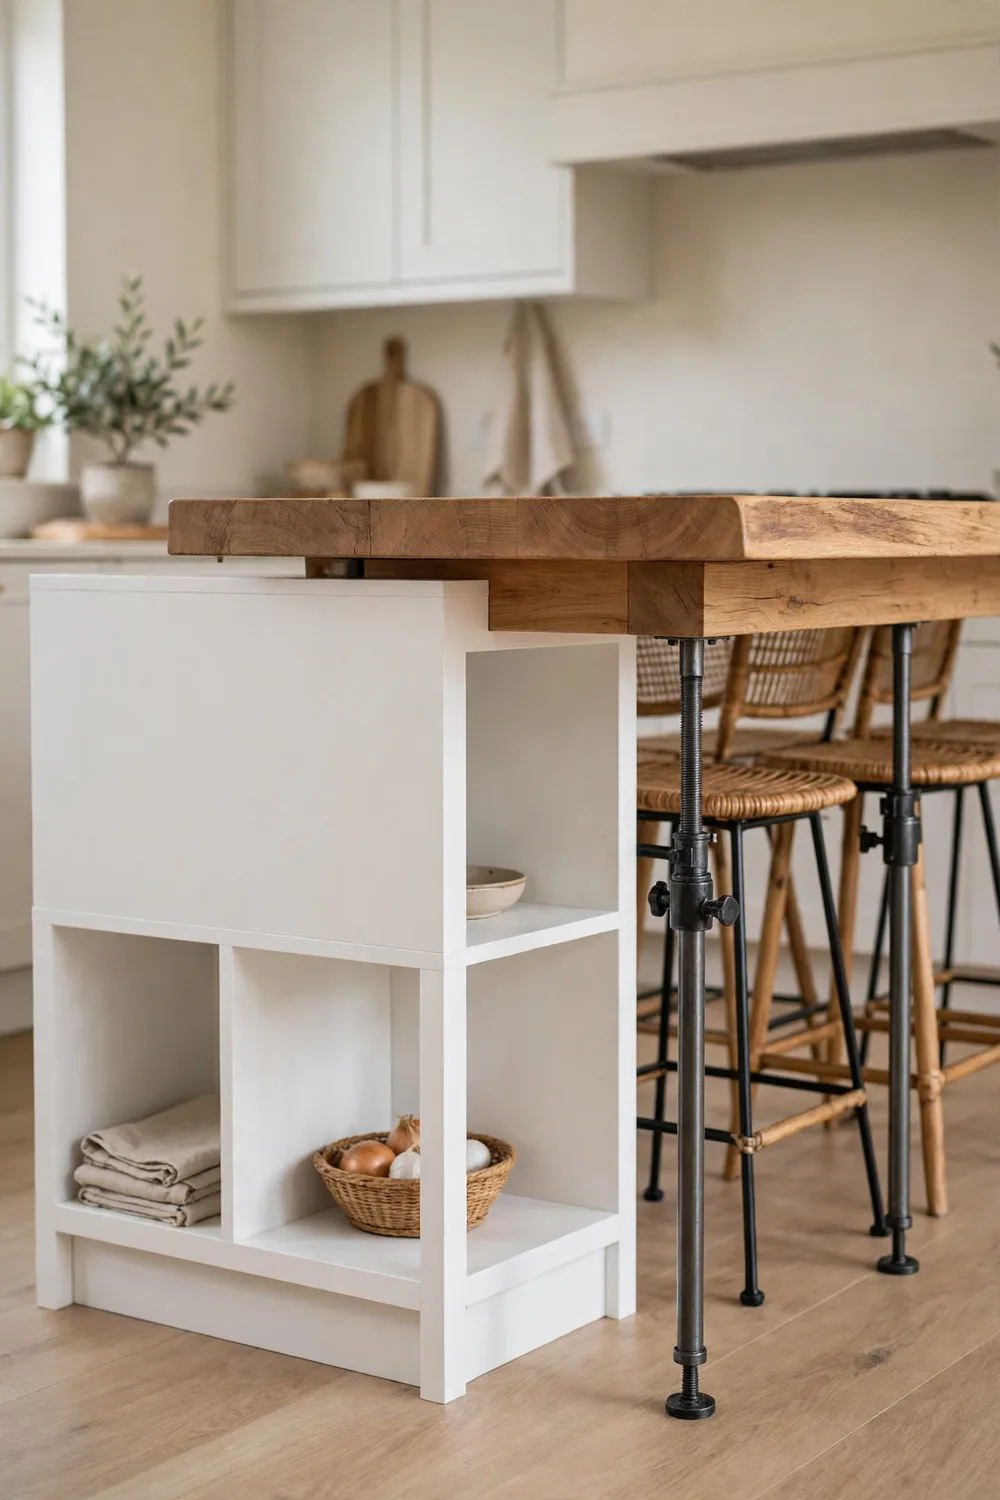
If one side of your top extends well past the frame so stools can tuck under, that extension is a lever, and it needs legs. Documented builds fit two adjustable legs at the far corners of the overhang, set just under bench height, mounted to the top before it goes on the frame.
Skip the legs only when the overhang stays small. A top that tips when someone leans on the edge is not a breakfast bar.
- Needed when, the overhang reaches seating depth
- Placement, the two far corners of the extension
- Height, set a whisker under your island’s working height
Step 5, inserts, baskets and the finishing touches
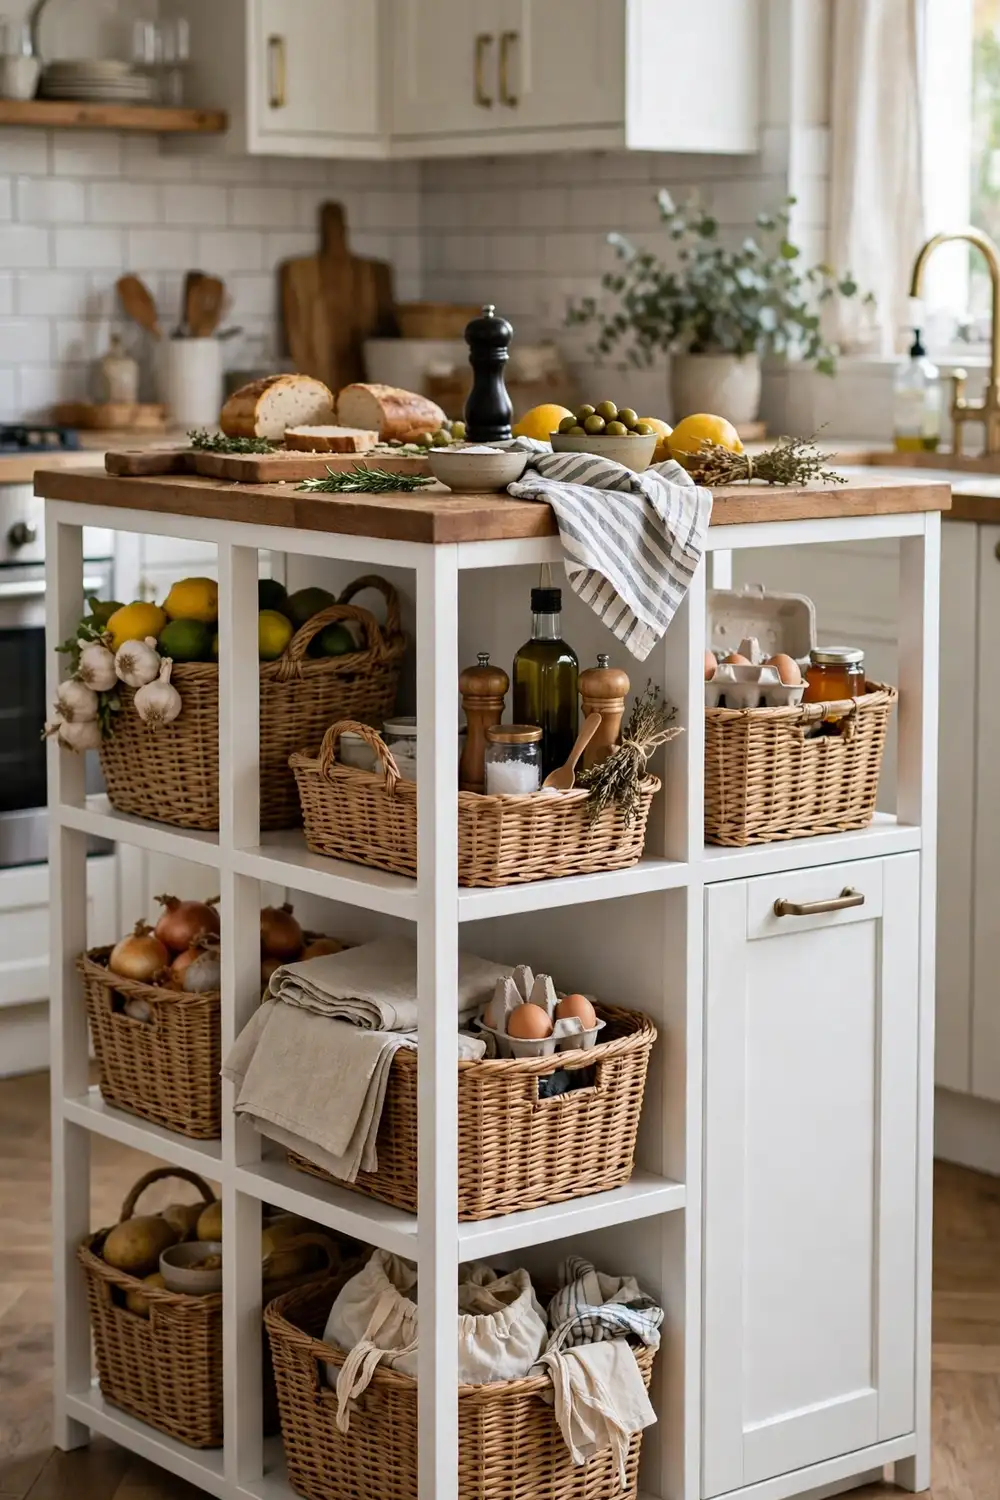
Fit any door or drawer inserts now, lining them up so nothing pokes out the back. Baskets in the open cubbies hide the clutter that islands attract.
A rail on the end holds tea towels, and a timber top wants a coat of food-safe oil before its first shift. Our guide to how to organise a kitchen is worth a read before you decide what lives in the cubbies.
- Inserts, flush at the back, doors aligned
- Open cubbies, baskets for the ugly stuff
- Timber tops, oiled before use, topped up as it dulls
The smaller version
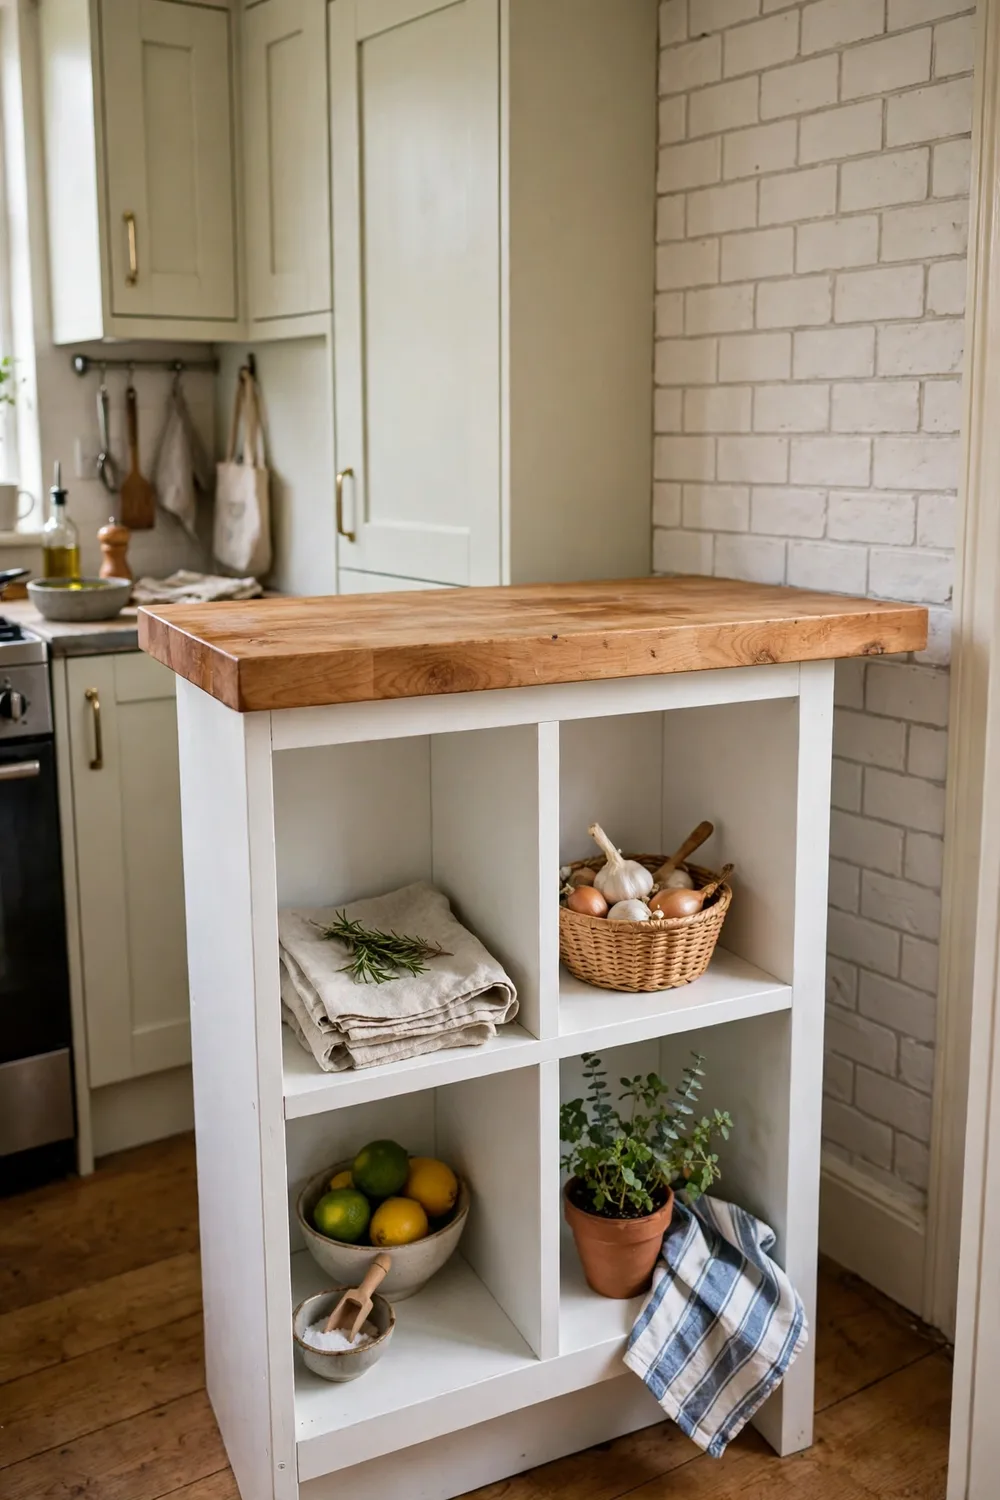
Short on floor? The same build works on the 2×2, a 77cm square that documented builders have finished in a few hours, one in about four. Chopping boards side by side make a legitimate small work top, oiled first, and fixed feet suit a unit that will live in one corner.
Living with it
Respect the load limits IKEA prints for the frame. Each shelf is rated to 13kg, and the top surface to 25kg, so heavy appliances belong low and the top is a work surface, not a storage shelf.
IKEA’s own guidance is to anchor Kallax units to a wall against tipping, and an island deliberately departs from that. The mitigations are the discipline. Keep the load low and even, lock the castors before you lean on it, and never sit, stand or let kids climb on it.
Common mistakes
- Skipping the pilot holes. The panels split or the screws skate. Pre-drill every fixing.
- Screws that are too long. They punch through into the cubby and snag everything stored there. Check the length against the panel.
- Fixing the top off-centre. Once the brackets are in, the overhang is set. Trace, centre, then fix.
- Leaving the castors unlocked. An island that drifts mid-chop is a hazard. Lock the working pair before prep, every time.
Frequently asked questions
Is a Kallax island tall enough for food prep?
Yes, with the base maths done. The documented builds aim for hip-to-waist height, and a 2×4 on roughly 10cm castors with a benchtop lands at an estimated 89 to 91cm against a standard bench height of about 900mm. Sum your own castor and top measurements to confirm yours.
How much weight can it take?
IKEA rates each Kallax shelf at 13kg and the top surface at 25kg. Your castors need their own combined rating above the weight of the unit, the top and everything stored in it, so check the castor spec sheet, not just the frame’s.
Castors or feet?
Castors if the island needs to move, for cleaning, parties or a small kitchen that rearranges itself. Feet or a plinth if it will sit in one place forever, which is the route the documented small builds take. Both reach bench height when you add the top.
How long does the build take?
The documented 2×2 builds took a few hours, one of them about four. The 2×4 version is a bigger frame with the same steps, so plan on a solid weekend session rather than a promised finish time.
The bottom line
Frame, castors, top, brackets. The Kallax island is a weekend of assembly for years of extra bench space, and it un-builds just as fast if you move house.
If making one sounds like your kind of project, our DIY bobble lamp and mirror is the same flat-pack spirit at the other end of the effort scale.