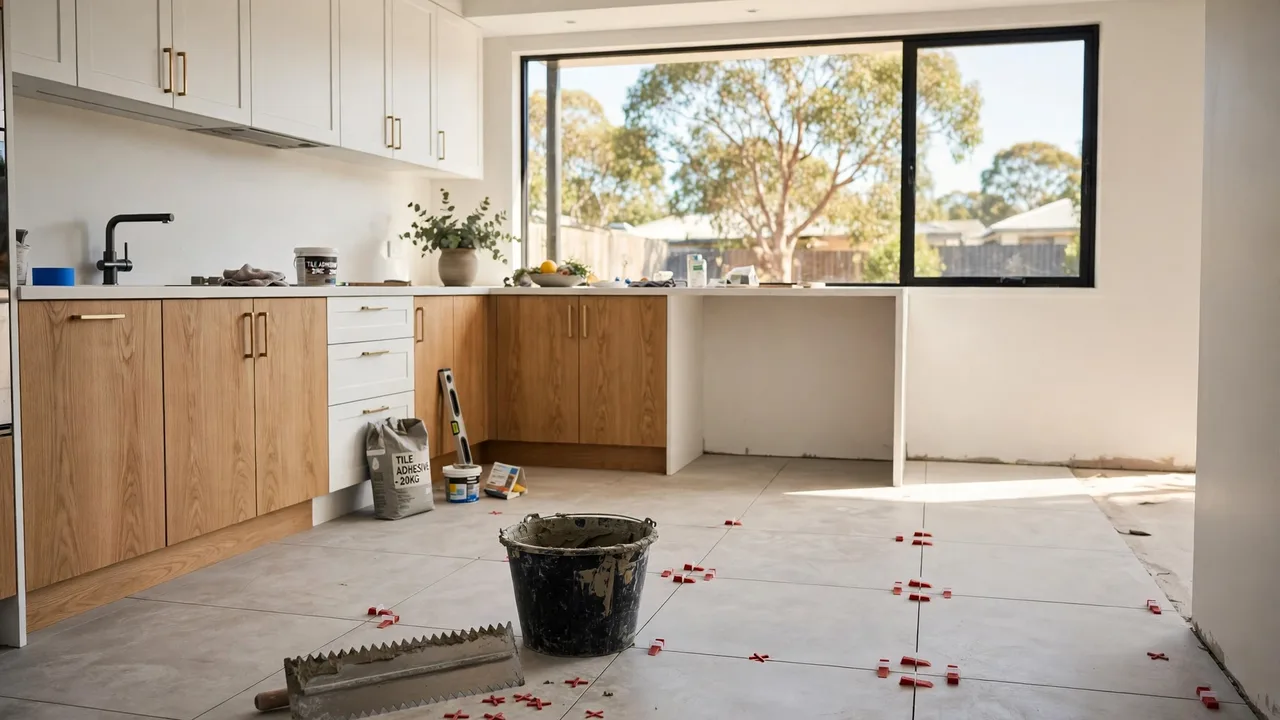
A new floor changes a whole room, and tiling it yourself is one of the most satisfying DIY jobs a beginner can take on. The work is slow and dusty rather than difficult, and the difference between a floor that lasts decades and one that sounds hollow underfoot is usually preparation, not talent. This guide to how to lay floor tiles walks you through the twelve steps in order, from measuring the room to the final seal, with the trowel sizes, curing times and safety rules that keep a first attempt straight.
Before you start
Tools and materials
Gather everything before the first tile comes out of the box, because adhesive waits for no one. You need a measuring tape, chalk line, spirit level, tile cutter or wet saw, tile nippers, a notched trowel, buckets for adhesive and grout, a grout float, tile spacers, a grout sponge, a rubber mallet, a caulking gun, a utility knife, a drill with a mixing paddle and a tile file. Materials are floor tiles, tile adhesive (thin-set mortar), grout, tile sealer for natural stone or unglazed tiles, primer or floor leveller, and silicone caulk for the expansion gaps and wall junctions.
- Tape, chalk line and spirit level for measuring and marking
- Cutter, wet saw for straight cuts, nippers for detail work
- Trowel, notched, in the right size for your tiles
- Buckets, one for adhesive, one for grout, kept separate
Choosing tiles for a first job
Ceramic tiles are easier to cut than porcelain, which makes them the friendlier choice for a first floor, and non-rectified tiles are more forgiving on a slightly uneven surface. Porcelain is denser and more durable, so it suits high-traffic rooms and outdoor areas, while natural stone needs regular sealing and is a harder first project. Look for a floor PEI rating of 3 or higher, and keep the pattern simple — a straight lay is the easiest for a beginner, with brick bond and herringbone left for the second floor.
- Ceramic, easier to cut, good for a first floor
- Porcelain, denser and harder wearing, for busy rooms
- Pattern, straight lay first, fancy patterns later
What you are tiling onto
Concrete is the best base for floor tiles, flat, stable and ready to take adhesive. Timber floors must never be tiled directly — they need a cement backer board or decoupling membrane first, because timber moves and tiles do not.
Existing tiles can stay down only if they are firm and stable, with a tile-on-tile adhesive, and vinyl or lino must come up first. Whatever the base, it has to be dry, flat, stable and free of grease, dirt and unsound material before you start.
- Concrete, the best base, dry and flat
- Timber, backer board or membrane first, never direct
- Old tiles, only if firm and stable, with tile-on-tile adhesive
The twelve steps
1. Measure the room and order the tiles
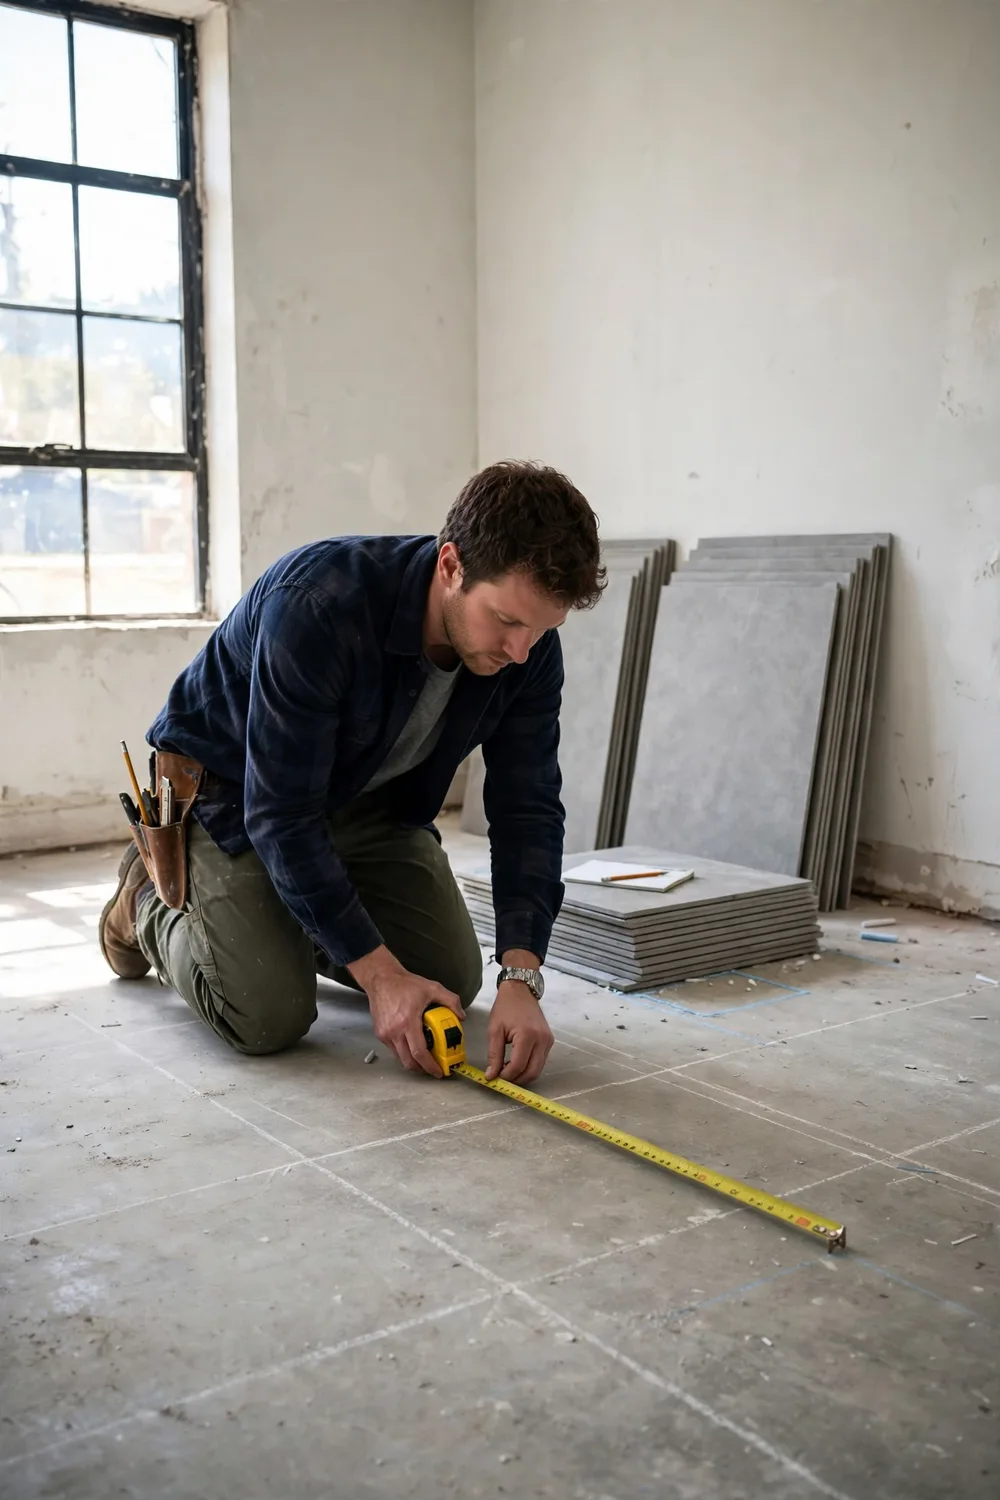
Measure the length and width of the room, and divide irregular rooms into rectangles so nothing is guessed. Order about 10–15% extra tiles over the measured area, with 10% as the floor, because cuts, breakages and the odd wrong shade eat into the count. When the tiles arrive, check them before starting — size, colour, shade and that you have enough, plus spares.
- Measure, length times width, irregular rooms in rectangles
- Extra, about 10–15% over the measured area
- Check, size, colour and shade on arrival, before starting
2. Check the floor is flat and level
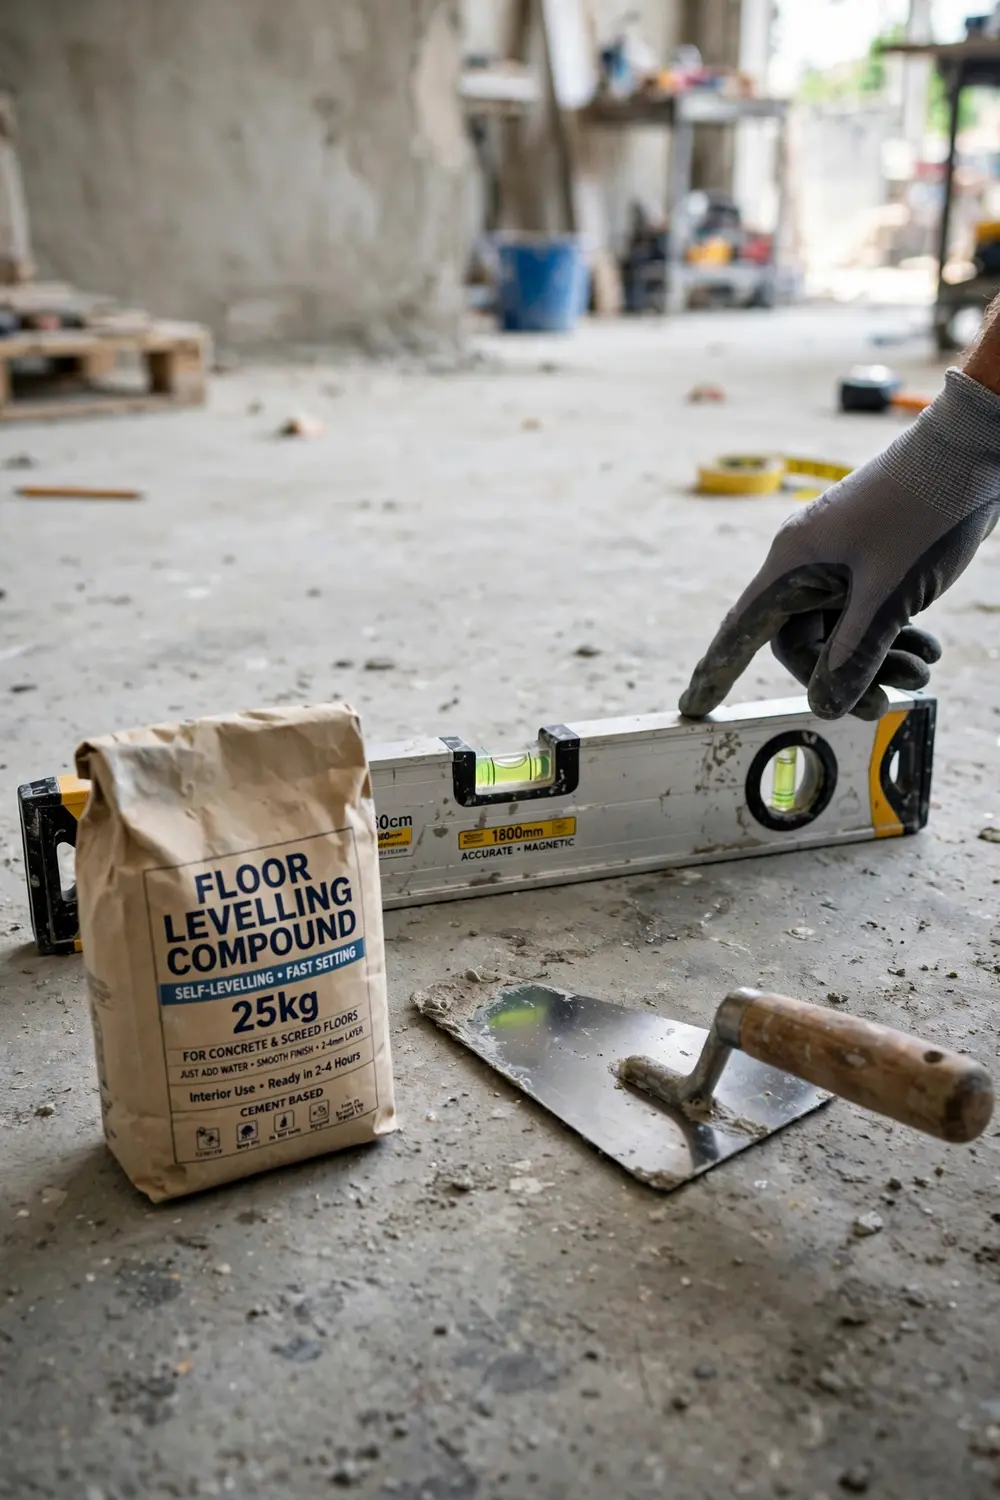
Run a spirit level or straight edge across the floor in every direction, because a floor that looks flat rarely is. Grind humps down with a diamond cup grinding wheel and fill dips with a concrete floor leveller. Skipping this step is the most common cause of loose, drummy tiles, cracking and an uneven finish, and no amount of adhesive will fix a floor that was never level.
- Tool, spirit level or straight edge, every direction
- Humps, ground down with a diamond cup wheel
- Dips, filled with concrete floor leveller
3. Clean and prime the surface
Sweep and vacuum every speck of dust and debris, then wipe the floor with a damp sponge and let it dry completely. Apply primer on porous or untreated surfaces so the adhesive bonds properly. Small cracks and holes get chiselled out and filled with pre-mixed cement, because adhesive will not bridge a weak spot.
- Clean, sweep, vacuum, wipe with a damp sponge
- Dry, let the floor dry completely before priming
- Prime, porous or untreated surfaces, for a proper bond
4. Plan the layout from the centre
Find the centre of the room and mark it with chalk lines, then check the room is square with the 3-4-5 method — 600 mm along one line, 800 mm along the other, and the diagonal must read 1 m. If less than half a tile remains between the wall and the last full tile, shift the centre so the end tiles are as close as possible to half a tile, because a sliver of tile at the edge looks wrong and breaks easily.
- Centre, chalk lines from the middle of the room
- Square, 600 mm by 800 mm, diagonal 1 m
- Shift, end tiles as close to half a tile as possible
5. Dry lay the tiles before any adhesive
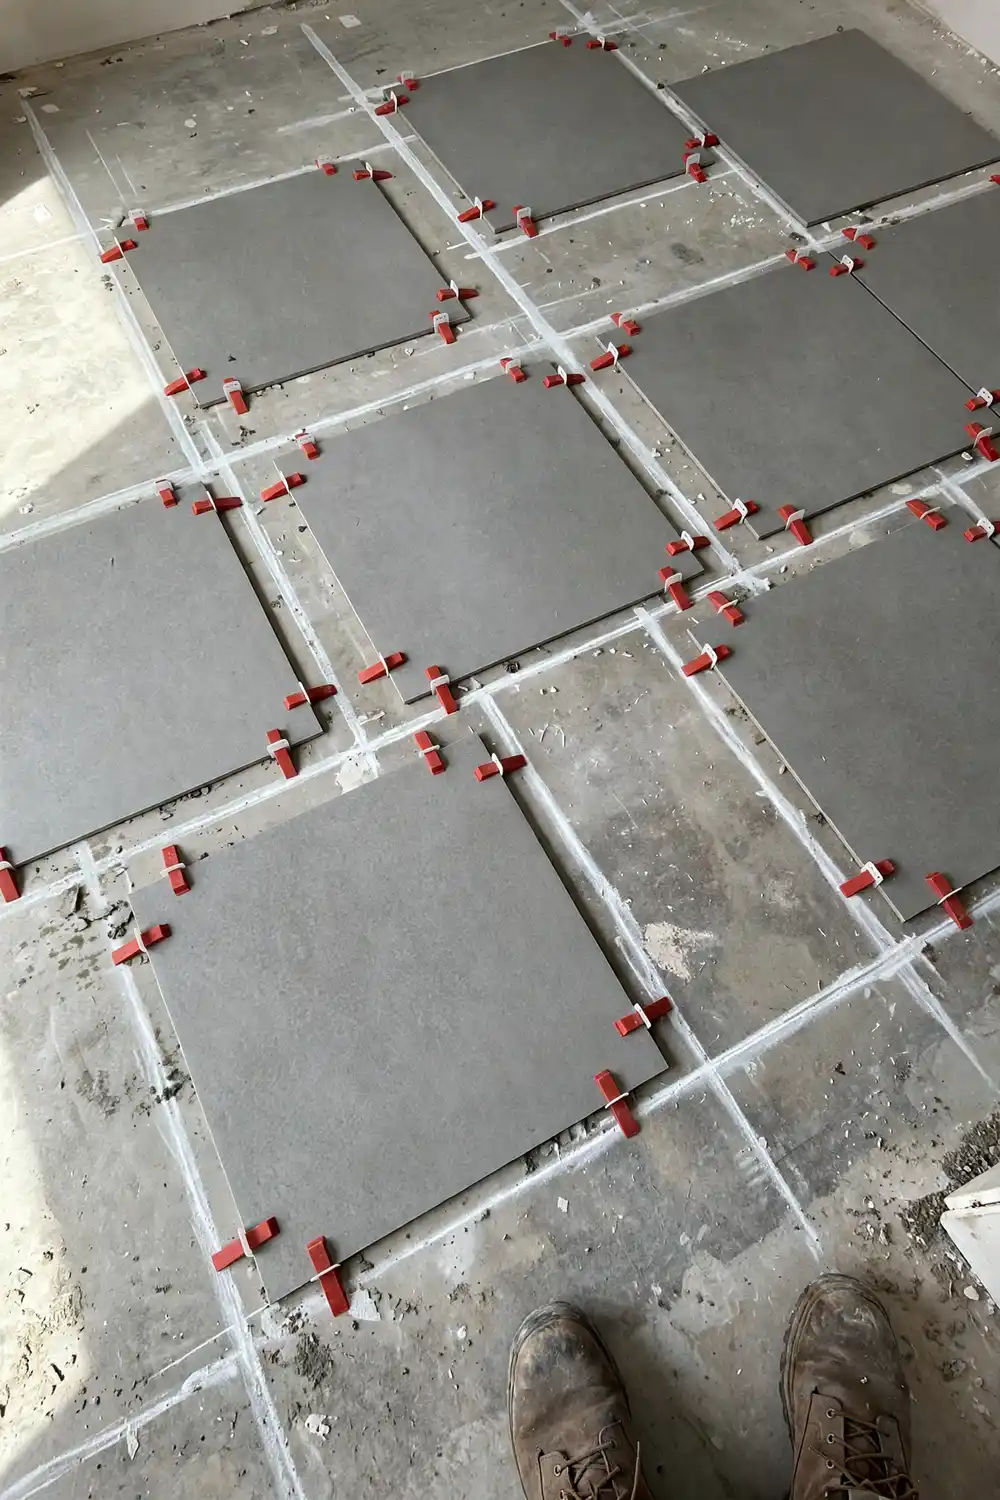
Lay the tiles out without adhesive along the chalk lines, using spacers, to check the fit, the spacing and the blend of shades across the boxes. Once you are happy, stack the tiles in order so they go down in the same arrangement. This dry run is what stops the realisation, halfway across the room, that the last row is a 20 mm sliver.
- Dry, no adhesive, along the chalk lines
- Spacers, in place, to check gaps and blend
- Stack, tiles in order once the layout is settled
6. Cut the edge tiles
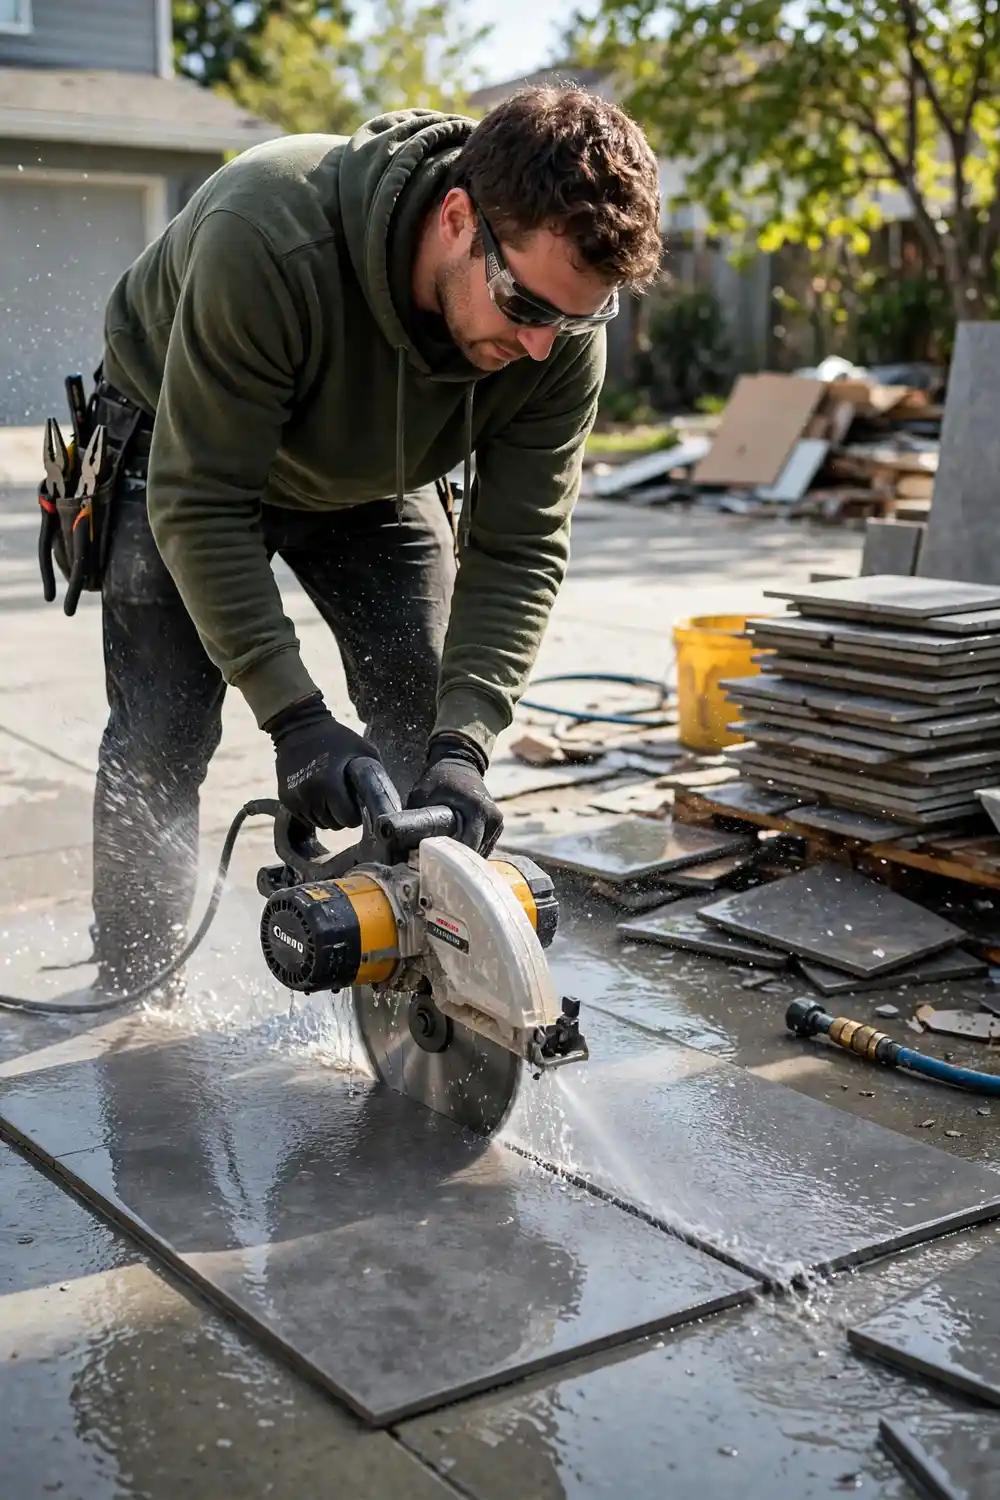
Measure carefully, then cut. A tile cutter handles straight cuts, a grinder with a diamond blade takes corners and complex shapes, and tile nippers handle small detail.
Mark each tile by placing it on the last whole tile, butting a second tile against the wall with a spacer for the grout gap, and marking from its edge. Always wear safety gear when cutting, and prefer a wet saw — the silica dust rules in the safety section below are not optional.
- Straight, tile cutter, score and snap
- Corners, grinder with a diamond blade
- Detail, nippers for small cuts and curves
7. Choose the right notched trowel
The trowel size follows the tile size. Use 6 mm for small tiles up to 100 by 100 mm, 10 mm for medium tiles around 300 by 300 mm and standard floors, and 12 mm for large tiles of 600 by 600 mm or bigger.
Tiles over 450 mm need a larger trowel plus back-buttering for full coverage, so check the tile box or ask the tile shop if you are unsure. The wrong trowel is the quiet reason tiles sound hollow.
- Small, 6 mm trowel, tiles up to 100 by 100 mm
- Medium, 10 mm trowel, around 300 by 300 mm
- Large, 12 mm trowel, 600 by 600 mm and bigger
8. Mix and apply the adhesive
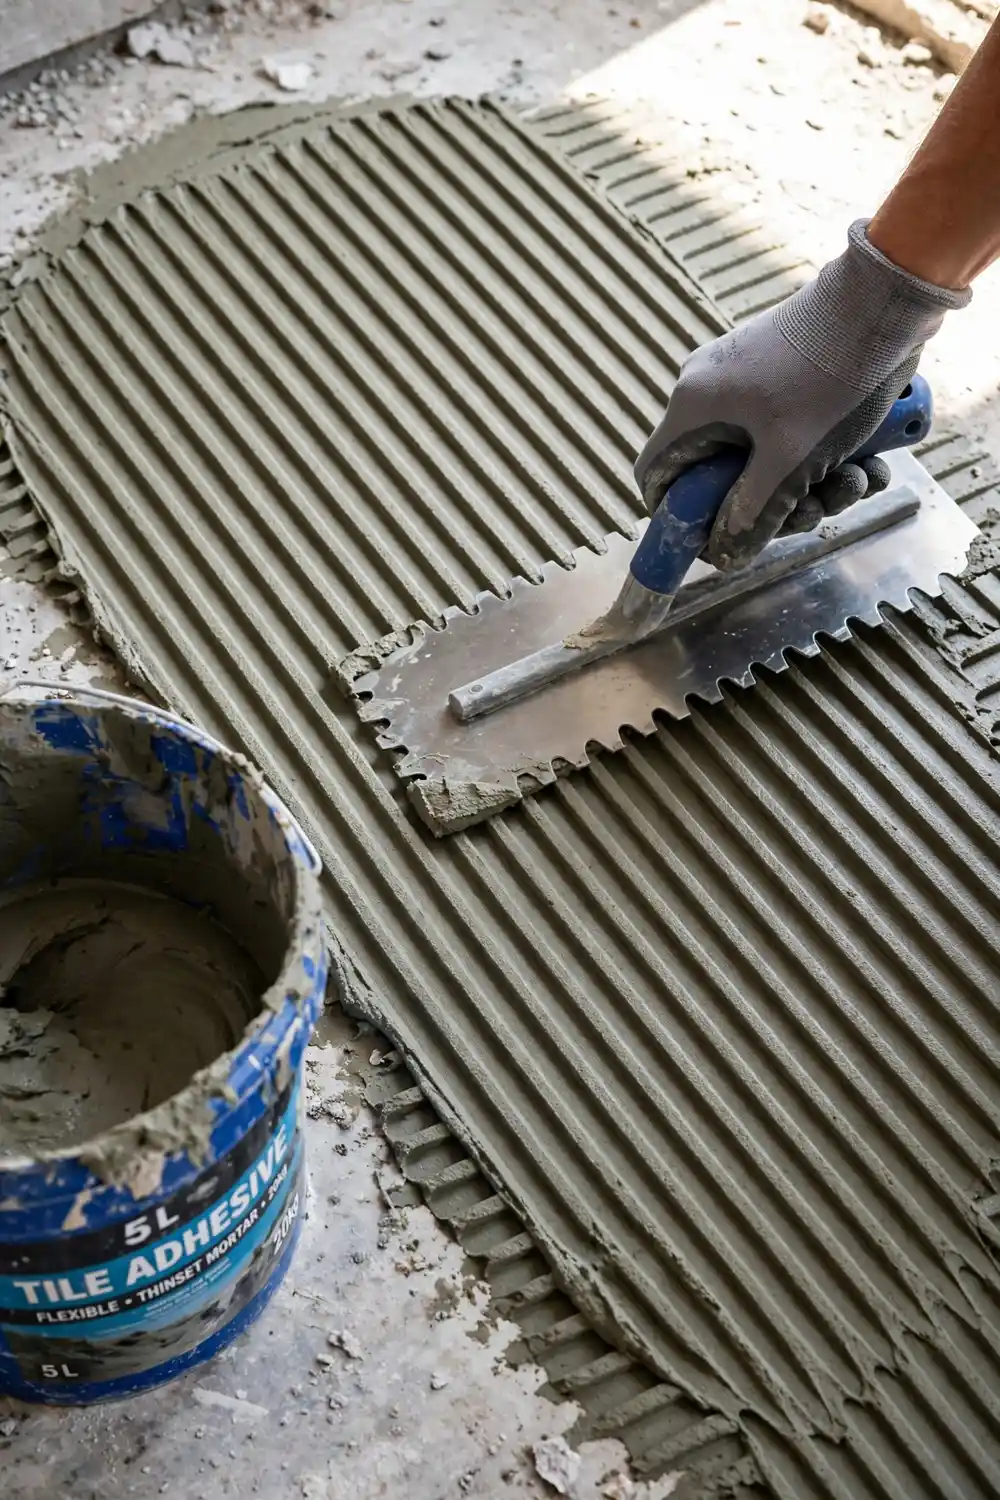
Mix the adhesive per the manufacturer’s instructions to a peanut-butter consistency, and only mix what you can use in about 30 to 40 minutes. Dunlop datasheets allow two to three hours for mixed adhesive, but the label on your product governs, and where any guide step differs from the product label, the label is the authority.
Spread with the flat side of the trowel first, then comb with the notched side at a 45-degree angle, in one direction only, never in swirls. Work about one square metre at a time so the adhesive does not skin over before the tiles are bedded, and never spot-fix — the whole back of each tile must contact adhesive.
- Mix, peanut-butter consistency, per the label
- Spread, flat side first, then comb at 45 degrees
- Direction, one way only, never swirls, never spot-fix
9. Lay the tiles
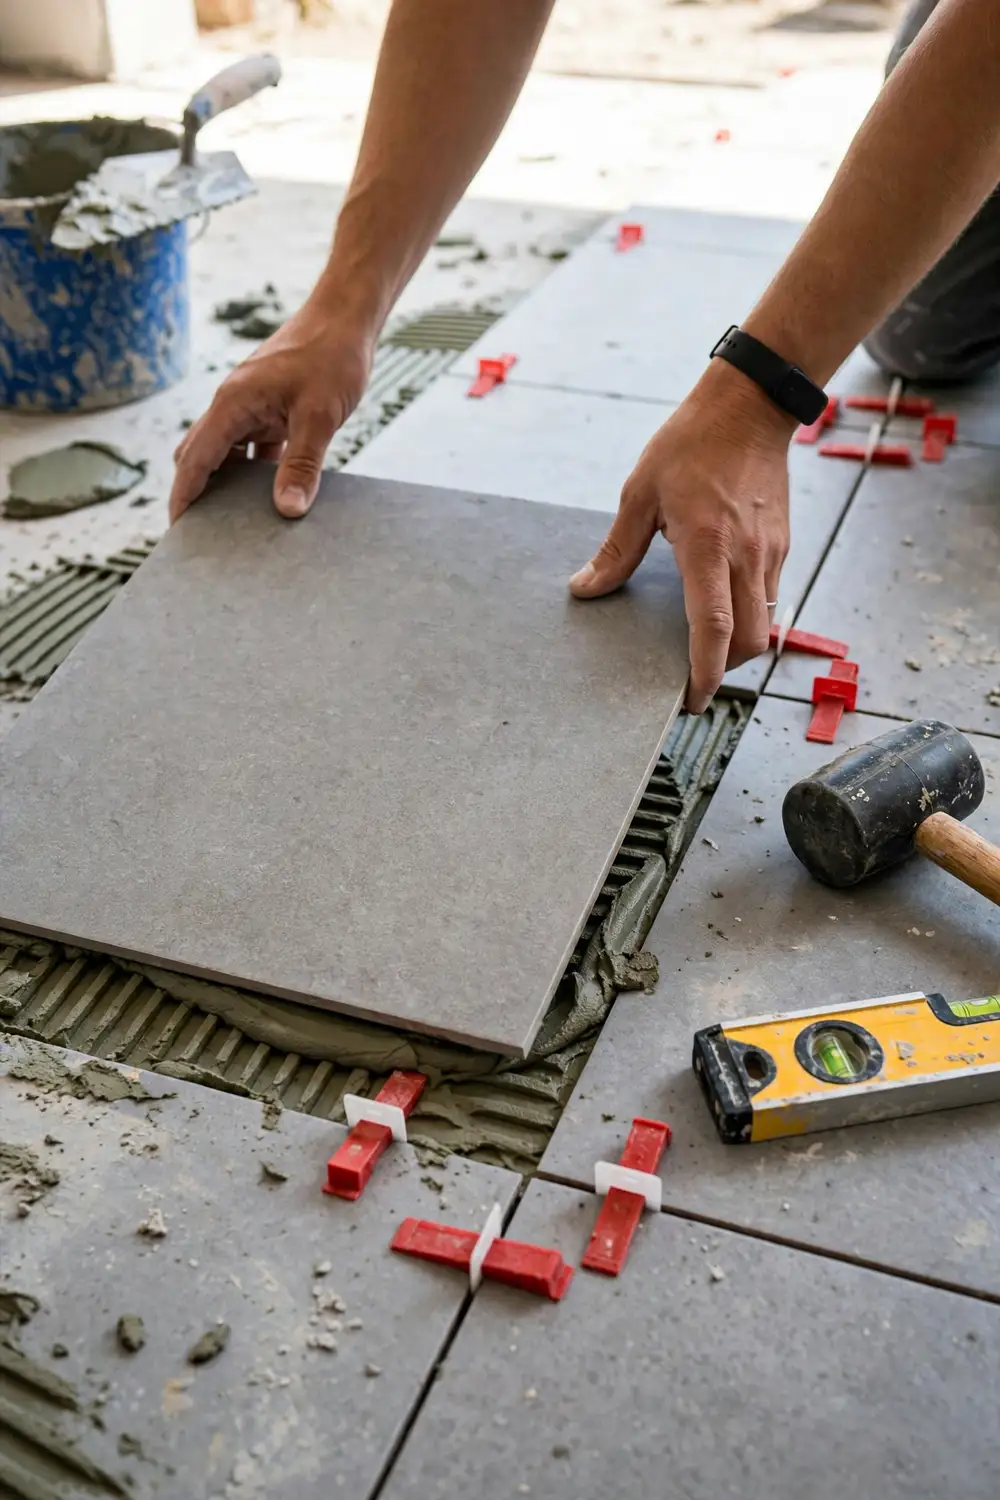
Start along the chalk lines, press each tile firmly with a slight twist to bed it into the adhesive, and insert spacers between tiles. Back-butter large tiles, leave an expansion gap around the edges of the room, and check the level regularly, feeling for lippage — a raised edge is a tripping hazard and a sign the adhesive bed is uneven.
Every few tiles, lift one and check the coverage underneath; if it is poor, switch to a larger trowel or back-butter. Wipe excess adhesive off the tile faces before it dries.
- Bed, press with a slight twist, spacers between tiles
- Gap, expansion gap around the room edges
- Check, lift a tile every few tiles to confirm coverage
10. Let the adhesive cure
Most adhesives need 24 to 48 hours before the tiles can be walked on, and the grout must wait until the adhesive has set firm, about 24 hours. Full traffic is usually allowed after 24 hours at 23 °C and 50% humidity, longer for dense tiles, humid climates and low temperatures. Rushing this step is the classic beginner mistake — a tile walked on too soon shifts, and a shifted tile never sits right again.
- Wait, 24 to 48 hours before walking on the tiles
- Grout, only after the adhesive has set firm, about 24 hours
- Longer, dense tiles, humidity and cold all slow the cure
11. Grout the joints
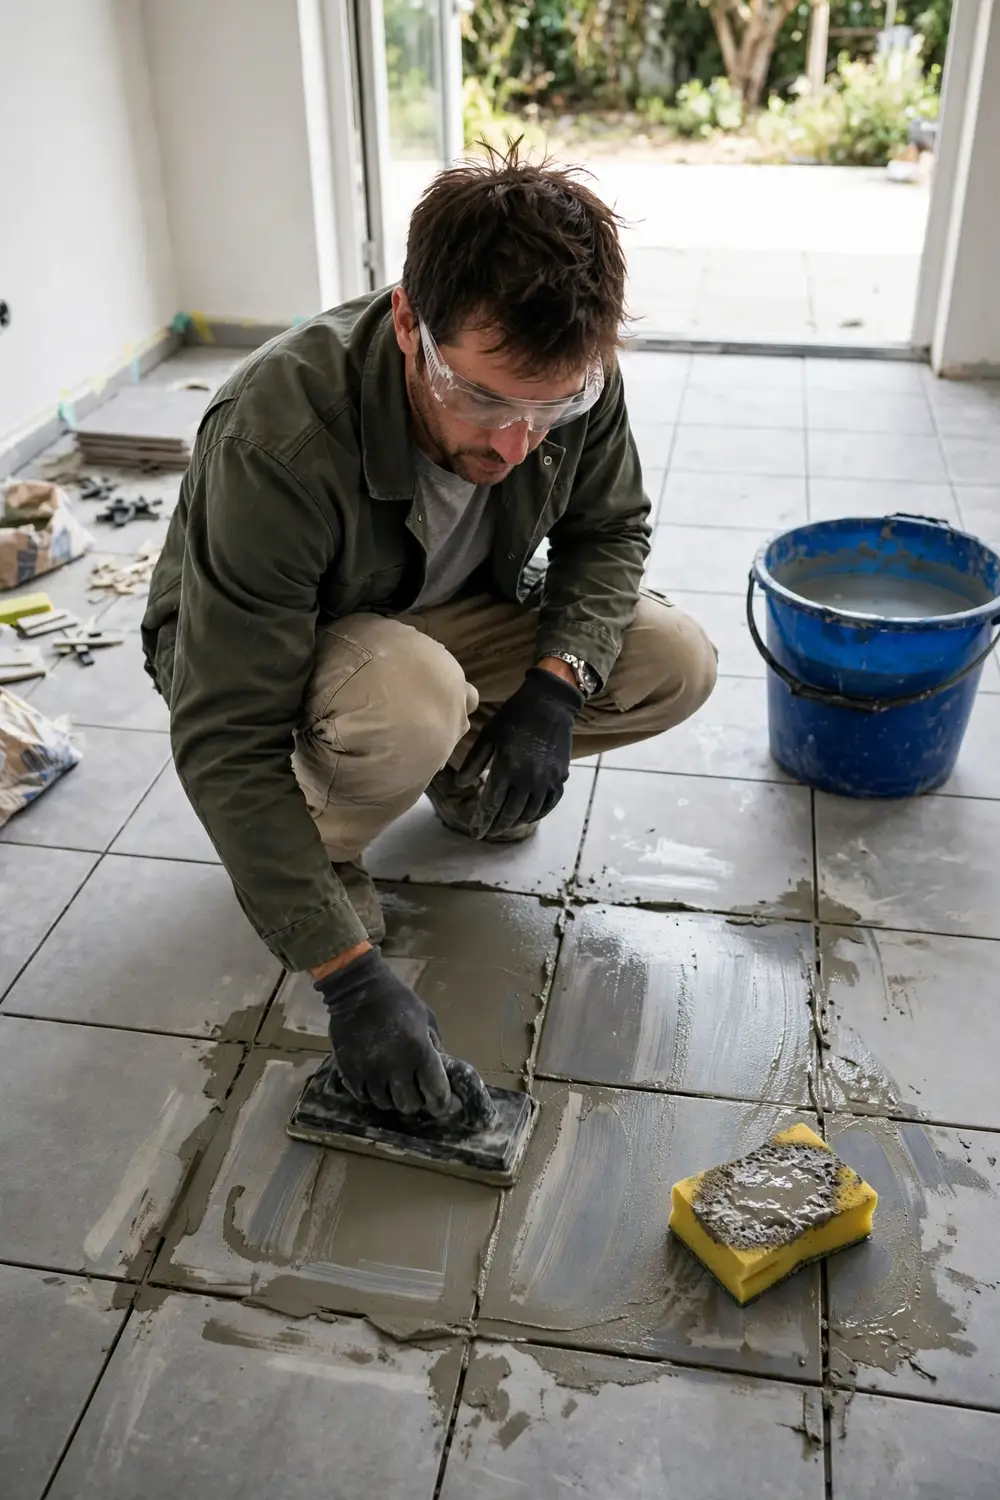
Remove the spacers and clean debris from the joints, then mix the grout per the manufacturer to a thick paste, a small amount at a time. Work it in with a grout float at 45 degrees, diagonally across the tiles, to push it deep into the joints.
Wipe the excess with a damp sponge without pulling grout back out of the joints, and clean the grout haze within 30 to 60 minutes. Sanded grout suits wider joints, unsanded suits joints under 3 mm, and floors need joints of at least 3 mm.
- Mix, thick paste, small batches only
- Float, 45 degrees, diagonally across the tiles
- Wipe, damp sponge, haze off within 30 to 60 minutes
12. Clean, seal and silicone
Once the grout has fully dried, usually 24 hours and up to 72 for a full cure, give the floor a final wipe to remove the haze, using a grout haze remover if needed. Apply grout sealer where recommended, especially in wet or high-traffic areas — natural stone needs it, porcelain usually does not.
Where tiles meet walls, baths or benches, use flexible silicone, not grout, because those joints move; movement joints in the floor itself run about 6 mm wide at roughly 5 m intervals and around the perimeter. Finish with aluminium trims at doorways and exposed edges.
- Dry, grout fully cured, 24 to 72 hours
- Seal, where recommended, natural stone yes, porcelain usually no
- Silicone, flexible, at wall junctions and movement joints
| Tile size | Trowel | Notes |
|---|---|---|
| Up to 100 × 100 mm | 6 mm | Small tiles, walls and floors |
| Around 300 × 300 mm | 10 mm | Medium tiles, standard floors |
| 600 × 600 mm and bigger | 12 mm | Large tiles, plus back-buttering |
| Over 450 mm | Larger trowel | Back-butter for full coverage |
Safety first
Cutting, grinding, drilling or sanding tiles generates respirable crystalline silica dust, and breathing it in can cause silicosis, an incurable lung disease. Since 1 September 2024, processing any crystalline silica substance must be controlled: prefer a wet saw or wet cutting, cut outdoors or with extraction, wear a properly fitted respirator rather than a paper dust mask alone, and never dry-sweep dust — use a HEPA vacuum or wet clean-up.
The engineered-stone ban that started on 1 July 2024 covers benchtops, panels and slabs only; it does not apply to ceramic or porcelain tiles, so do not confuse the two. Wear safety glasses, gloves, ear muffs and knee pads, and remember grout irritates skin.
In older homes, be aware that asbestos, lead-based paint or CCA-treated timber may be present — if in doubt, contact your local council’s Environmental Health Officer. In wet areas, the waterproofing membrane must meet Australian standards and is licensed-tiler work, not DIY.
Frequently asked questions
Where to Start Tiling a Floor?
Start from the centre of the room, marked with chalk lines, and work outward toward the walls. Centre-starting keeps the cut tiles at the edges even on both sides, so the floor looks balanced instead of ending in a sliver on one side.
How Long After Laying Floor Tiles Can You Walk on Them?
Most adhesives need 24 to 48 hours before the tiles can be walked on, with full traffic usually allowed after 24 hours at 23 °C and 50% humidity. Dense tiles, humid weather and cold temperatures all slow the cure, so give it longer if any of those apply.
How Long After Laying Floor Tiles Can You Grout?
Wait until the adhesive has set firm, about 24 hours, before grouting. Grouting too early disturbs tiles that have not yet bonded, and the joints will show it.
What is the Best Pattern to Lay Floor Tiles?
A straight lay is the simplest pattern for a beginner and the easiest to keep level. Brick bond, herringbone and staggered patterns look great but need more cutting and more planning, so save them for the second floor.
The bottom line
Floor tiling rewards patience more than speed. Measure twice, dry lay before you mix anything, keep the adhesive comb in one direction, and let the cure times do their work. A bathroom floor is the natural first project — our retro bathroom ideas show what the room can look like when it is done — and if the kitchen floor is next, read our kitchen renovation cost guide before deciding whether to re-tile or renovate, and our kitchen organisation guide once the floor is down.


