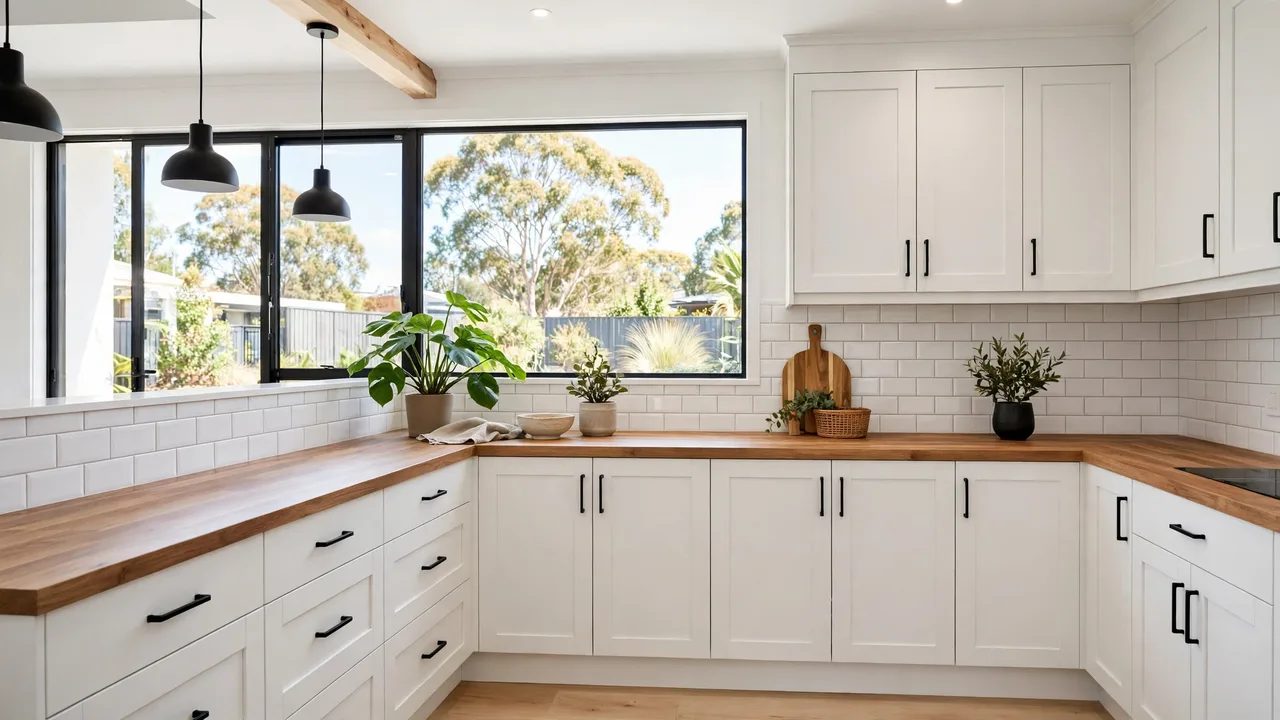
A flat-pack kitchen looks like a bargain until the first cabinet goes in crooked. One wall that leans a few millimetres, one base unit out of level, and every door, drawer and benchtop after it inherits the mistake.
That is the fear most first-time installers carry into the job, and it is a fair one. Kaboodle cabinets arrive as flat panels and a bag of screws, and the instruction sheets assume you already know how to read a wall.
This guide answers how to install flat pack kitchen cabinets step by step, using Kaboodle’s own instruction sheets as the spine.
It covers assembly, levelling, wall fixing, benchtops and kickboards, and it marks the line where the DIY stops and a licensed tradesperson takes over.
Before you start: what a Kaboodle kitchen is
Kaboodle is the flat-pack kitchen brand sold through Bunnings. Its cabinets arrive as pre-drilled panels, cams, pins and screws, and every cabinet comes with its own instruction sheet.
Those sheets are the spine of this guide. Where a general flat-pack tip disagrees with a Kaboodle sheet, the sheet wins.
The work in this guide is cabinet fitting only. Plumbing and electrical connections belong to qualified tradespeople, and every Kaboodle sheet says so in plain words.
In New South Wales, building work valued over $5,000 must be done by a licensed or registered tradie. In Victoria, new kitchens and kitchen renovations costing over $5,000 need a Registered Building Practitioner.
One more boundary before you start. Stone benchtops need a professional check measure and final installation, and the Kaboodle join kit is not made for stone or engineered stone.
- Cabinets, flat-pack carcasses of pre-drilled panels joined with cams, pins and screws
- Sheets, one instruction sheet per cabinet, and the sheet for your exact cabinet is the authority
- Trades, plumber and electrician for connections, licensed in NSW and Victoria over $5,000
- Stone, professional measure and install only, never DIY
What you need
Most of the job runs on a small kit. A cordless drill with a No 2 screw tip, a 4mm drill bit and a No 12 countersinking drill bit covers nearly every hole, and a 900mm spirit level is the one Kaboodle recommends.
Add a tape measure, quick-release clamps, a pencil and a square. Safety gear is a mask, ear muffs and glasses, and they go on before any cutting starts.
The benchtop join kit brings its own hardware. Five 12mm benchtop joiners, a joiner spanner, 40ml of Monarch Mini PVA glue, four No. 20 biscuits, adhesive sticks and cleaning wipes come in the kit.
For the join itself you will also want a biscuit joiner, a rubber mallet, a 10mm chisel and a 30–40mm bore or spade bit. A fine tooth wood saw and a combination square round out the cutting side.
- Drill, cordless with No 2 screw tip, 4mm bit and No 12 countersinking bit
- Level, 900mm spirit level, the size Kaboodle recommends
- Clamps, quick-release, for holding cabinets together while you drill
- Saw, fine tooth wood saw for benchtop channels, circular saw or jigsaw for cut-outs
- Safety, mask, ear muffs and safety glasses before any cutting
The install, step by step
Two trusted guides disagree on where to start. Bunnings New Zealand fits the base cabinets first and hangs the wall cabinets after, while Homes to Love starts with an overhead corner and works across before turning to the base run.
This guide follows the Bunnings order, the only complete whole-kitchen sequence fetched in full. Whichever order you choose, keep one rule constant and check level at every stage.
1. Prepare the space and mark your lines

Strip the old kitchen out completely and have a licensed tradesperson disconnect the plumbing, electrical and gas first. Protect any installed flooring with drop sheets before a single cabinet comes in.
Mark where the studs are, because every wall fixing in this job goes into timber studs. Draw a horizontal line for the top of the base cabinets and another for the base of the overhead cabinets, using a spirit or laser level.
- Walls first, structurally sound and sturdy enough to take the weight of filled cabinets
- Studs, marked before any cabinet goes up, since fixings must hit timber
- Lines, one for the top of the base run and one for the base of the overheads
2. Assemble the base cabinets
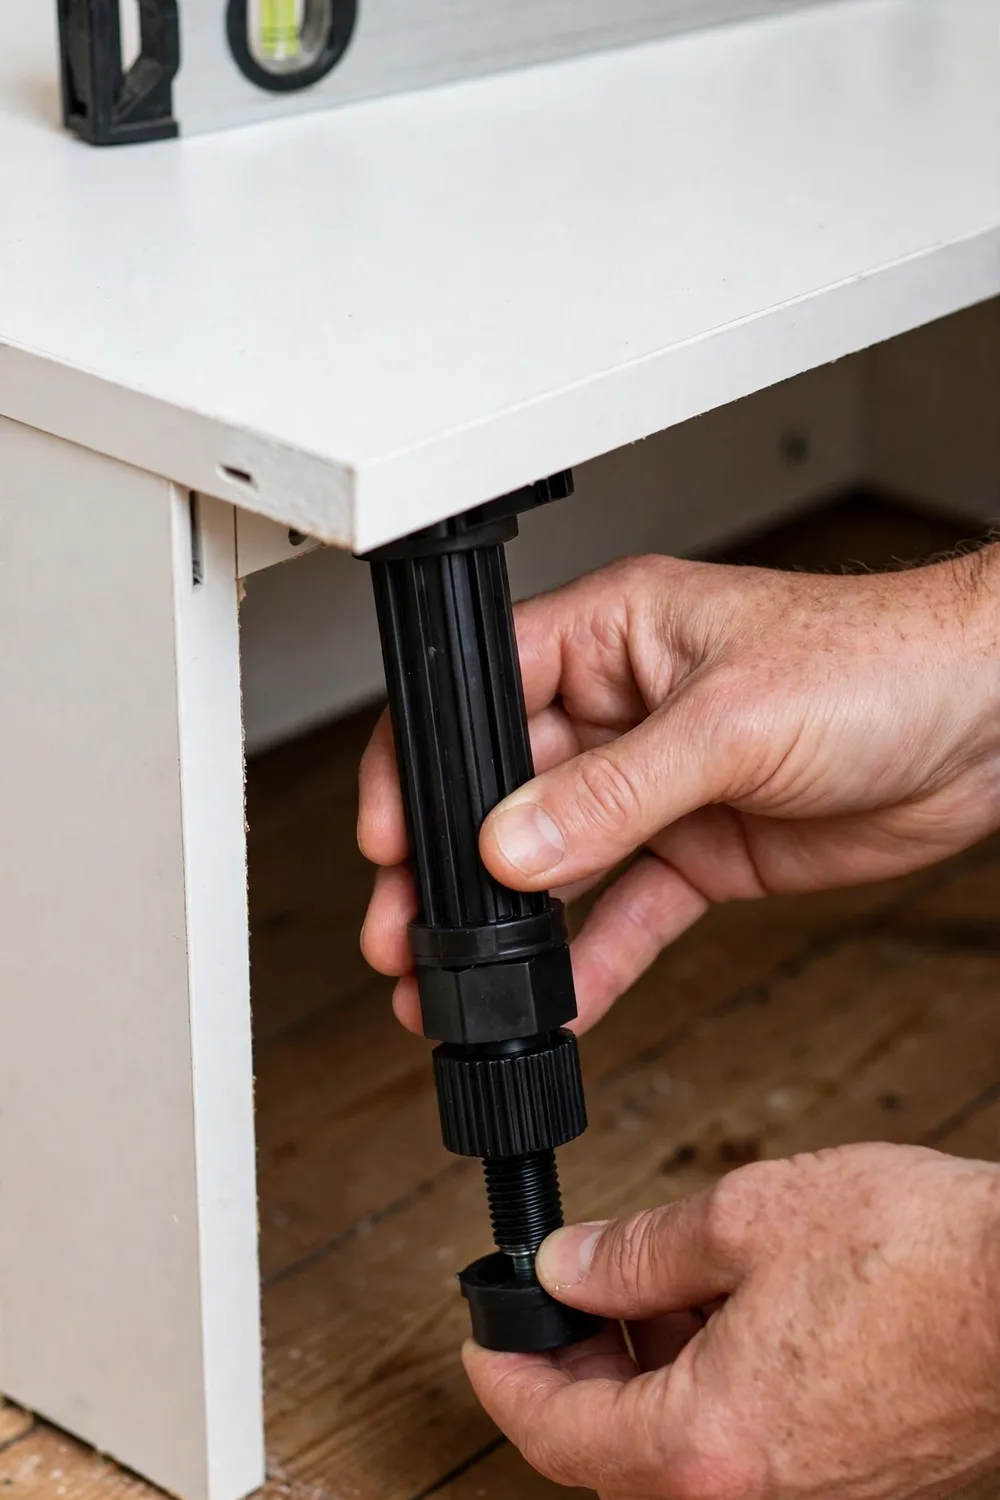
Build each carcass on the floor from its pre-drilled panels, with the countersunk holes facing outwards so you can tell the panels apart. Exterior woodworking glue adds strength to the joints, and any hole that is not pre-drilled gets a No 12 countersinking bit first.
Fit the adjustable legs and set them to 145mm, which is the height that sets the carcass off the floor. The kickboards are trimmed to suit that height later, so do not cut them yet.
- Legs set to, 145mm on every adjustable leg
- Glue, exterior woodworking glue for extra joint strength
- Panels, countersunk holes face outwards for identification
3. Dry-fit, level and join the base run
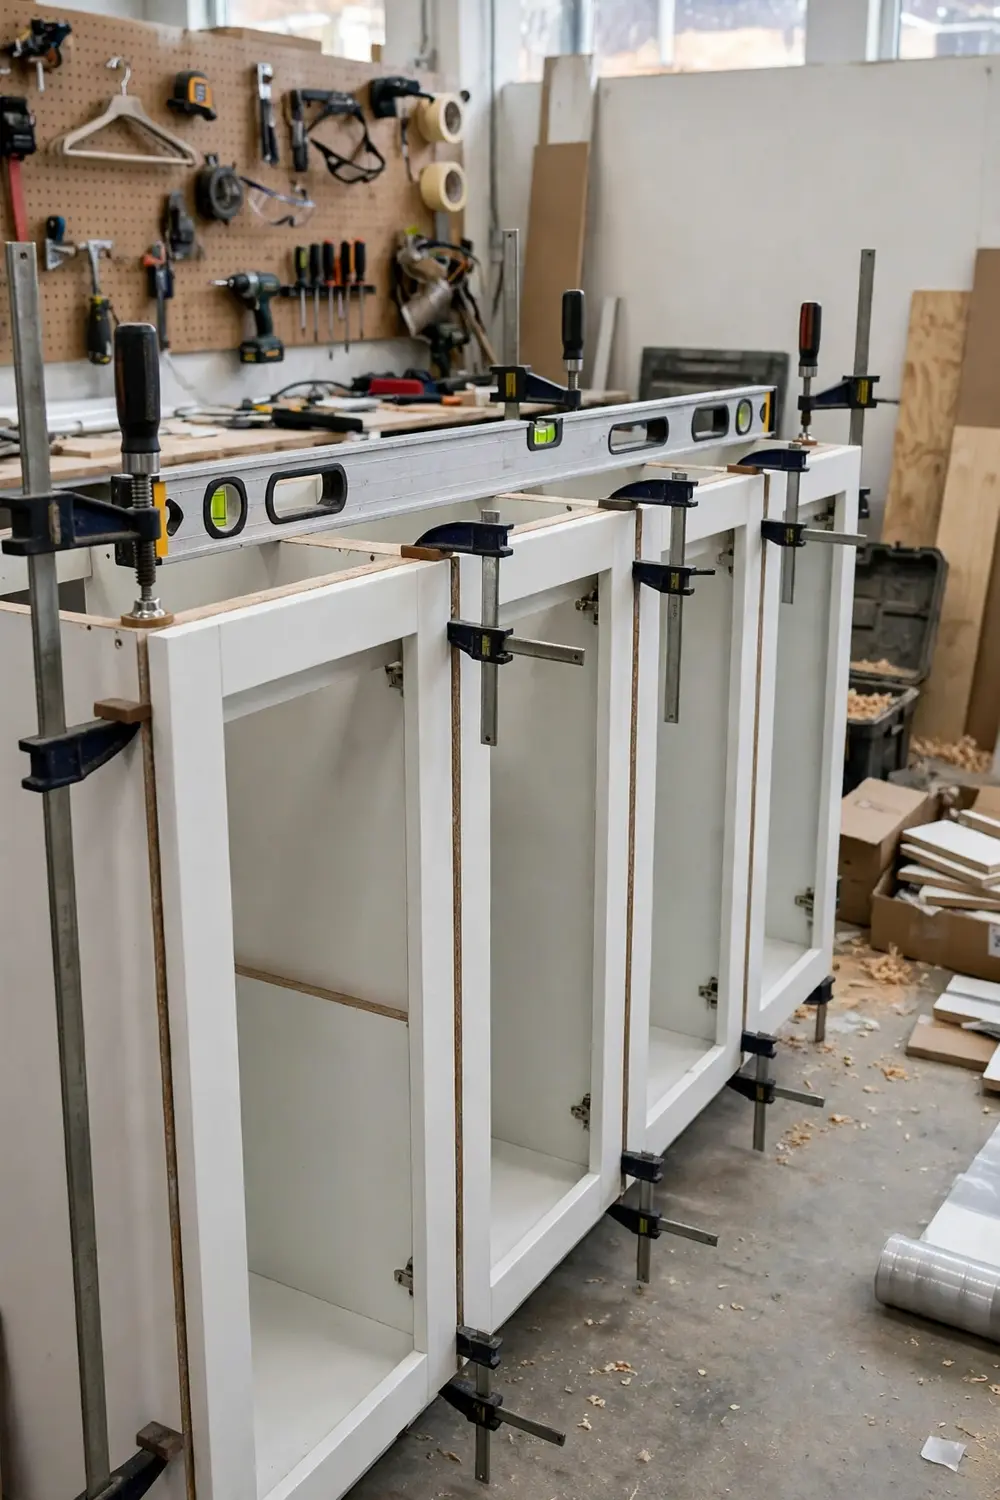
Stand all the base cabinets in position without securing them, in what Bunnings calls a mock placement. This checks the layout, the spacing and the fit, and it confirms nothing is missing before you commit.
Level each unit with its adjustable feet and a spirit level, then clamp neighbouring cabinets together, pre-drill and screw them to each other. Check the level again after joining, because a cabinet that moves a millimetre here throws the benchtop out later.
- Mock placement, all base cabinets stood in position unsecured to check layout and fit
- Level check, adjustable feet plus a 900mm spirit level, repeated after joining
- Joining, clamp, pre-drill, then screw cabinets to each other
4. Fix the base cabinets to the wall
Screw every base cabinet to the wall with a minimum of 8-gauge 65mm screws, and only into timber studs. If the wall is concrete, brick or another surface, ask a hardware specialist for the right fixing method instead of guessing.
Cabinets with a rebated back need one extra step. The rebate is 16mm deep, and the gap behind the cabinets must be packed out before you screw them to the wall.
- Screws, minimum 8-gauge 65mm into timber studs only
- Other walls, concrete, brick or steel, ask a hardware specialist
- Rebated backs, 16mm rebate, pack out the gap before fixing
5. Hang the wall cabinets and the pantry
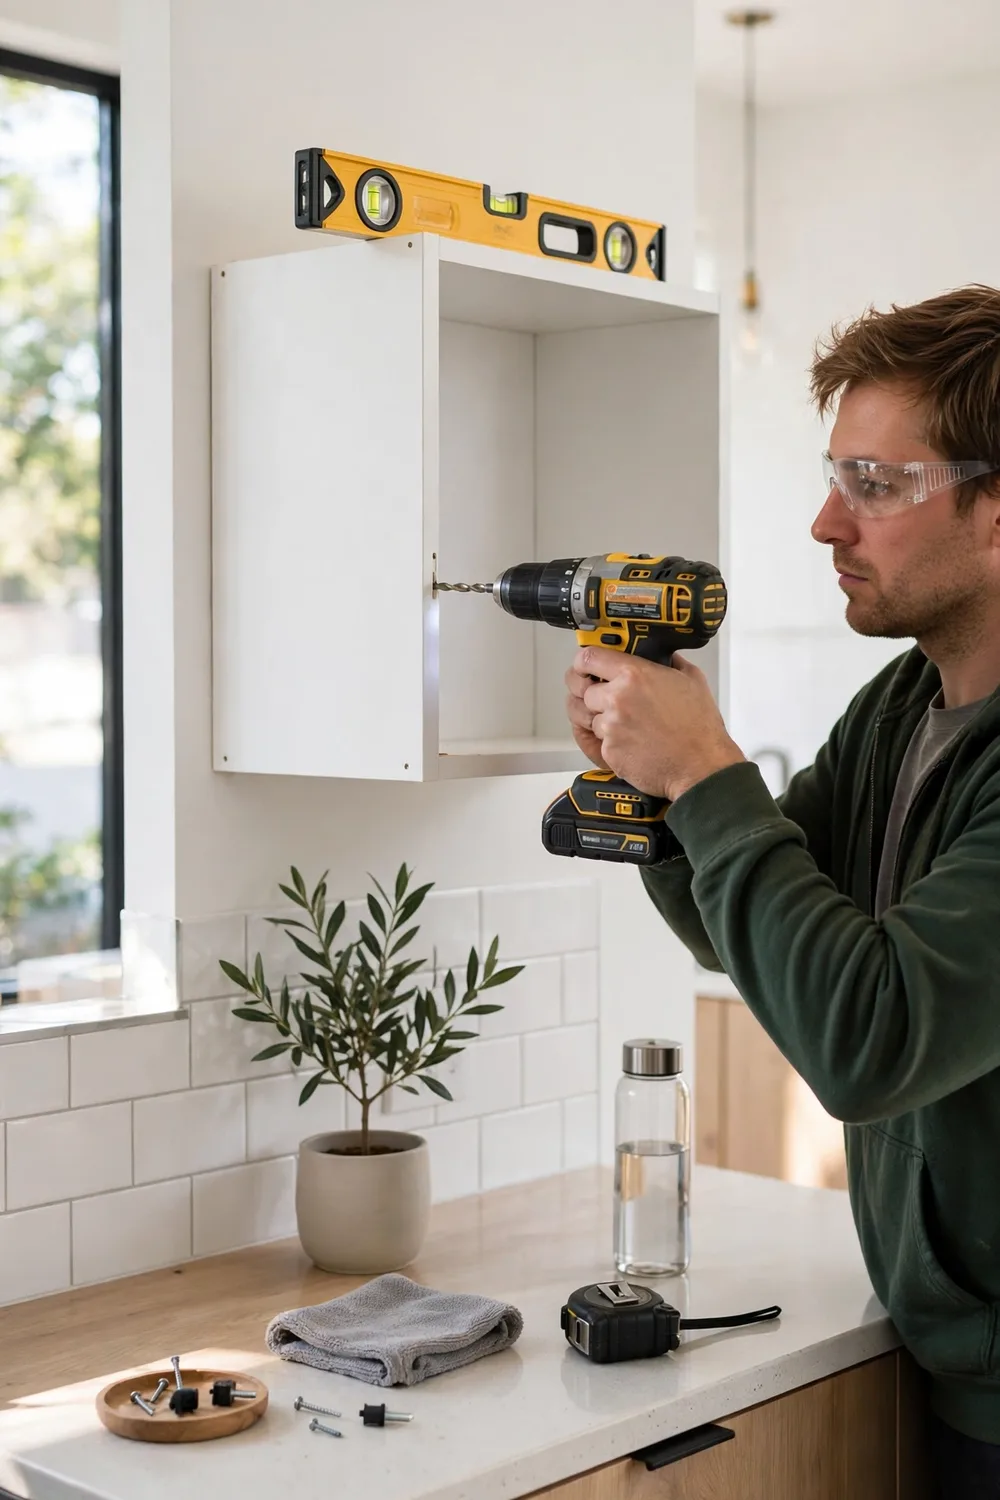
Wall cabinets go up with a second pair of hands or a cabinet support holding the weight. Clamp them together and align them, and if a pantry is already installed, line the wall cabinets up to the height of the pantry.
Screw them to the studs with the same 8-gauge 65mm minimum. Keep checking that the fronts are flush and square as you work across, because a wall cabinet that sits proud shows in every door line below it.
- Help, a second pair of hands or a cabinet support for lifting
- Alignment, wall cabinets lined up to pantry height where a pantry is installed
- Fixing, same 8-gauge 65mm screws into timber studs
6. Fit drawers, runners and doors
Fit the drawer runners first, using the top row of holes on the runners and screwing the third hole of the front set into the first pre-drilled hole on the cabinet. Pull each runner out for better access, and add extra screws for strength.
Slot the metal drawer sides onto the base panels, screw from underneath with 14mm screws and clip the back brackets on, marked R and L. Hang the doors and drawer fronts last in this stage, starting with the bottom drawer front and working up so the alignment stays true.
- Runners, top row of holes, third hole front set into the first pre-drilled hole
- Drawer sides, metal sides slotted on, screwed from underneath with 14mm screws
- Fronts, aligned bottom-up, with horizontal and vertical adjustment on the side mechanisms
7. Join and fit the benchtop
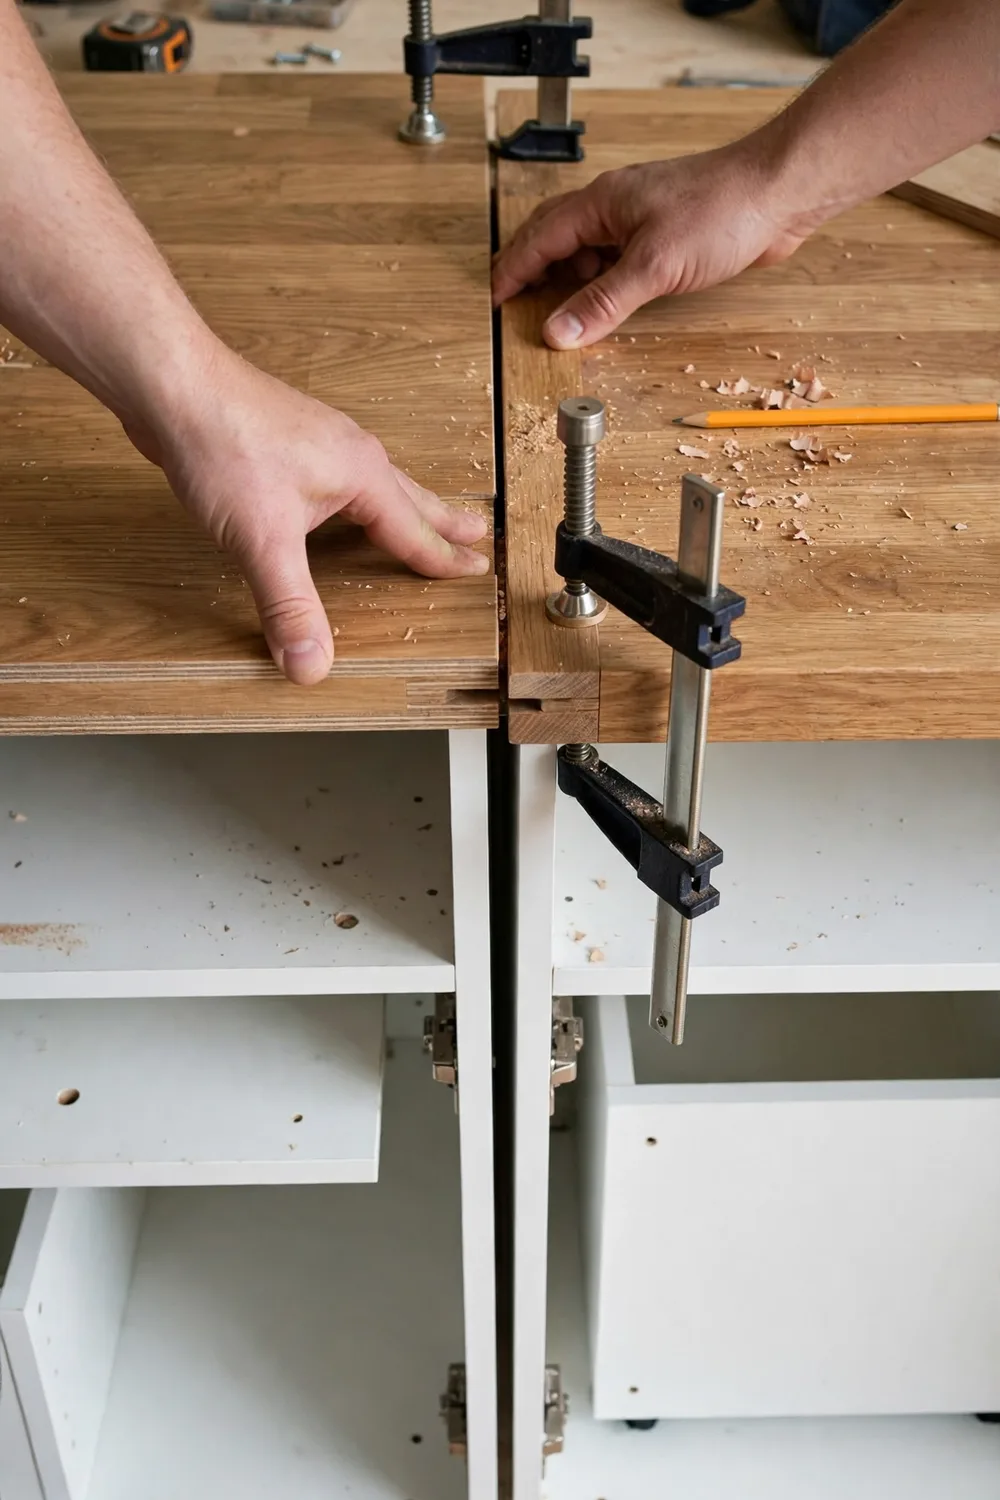
Check the base cabinets are level and stable before the benchtop goes anywhere near them. An unlevel base warps or moves the benchtop over time, and no amount of tightening later will fix it.
For a laminate join, mark a line 20mm in from the edge on the underside and 100mm marks from each end, then bore with a 35mm hinge bore bit to a depth of 25mm. Cut 10mm channels between the holes, glue both faces with exterior PVA wood glue and tighten the joiners gently with a 10mm spanner, tapping with a rubber mallet for a flush join.
Do not use silicone on the join, and do not overtighten the joiners or the benchtop may crack. Leave the glue 24 hours before putting any stress on the join, and seal the whole timber benchtop, including cut-outs, with a food-preparation sealant before use.
- Bore, 35mm hinge bore bit to 25mm depth, edge of the bit just touching the 20mm line
- Glue, exterior PVA wood glue on both faces, no silicone
- Patience, 24 hours before any stress on the join
Kaboodle’s own finish summary lists installing the benchtop twice, as both its step 2 and its step 4. That is a duplication in the manufacturer’s sheet, and this guide treats it as one job done once.
8. Fit the end panels
Drill screws from inside the cabinet into the panels, and use stick-on screw caps to hide the holes. Do not drill too far or the screws can protrude out the other side.
Wall and slimline end panels must protrude 18mm for melamine and 20mm for thermoformed panels from the front of the cabinet. Pantry end panels protrude 20mm, a corner pantry panel protrudes 14mm, and base end panels sit directly on the floor with trimming as needed on an uneven floor.
- Protrusion, 18mm melamine and 20mm thermoformed on wall and slimline panels
- Pantry panels, 20mm proud of the cabinet front, 14mm on a corner pantry
- Fixing, 28mm screws drilled from inside, stick-on caps to hide the holes
9. Fit the kickboards
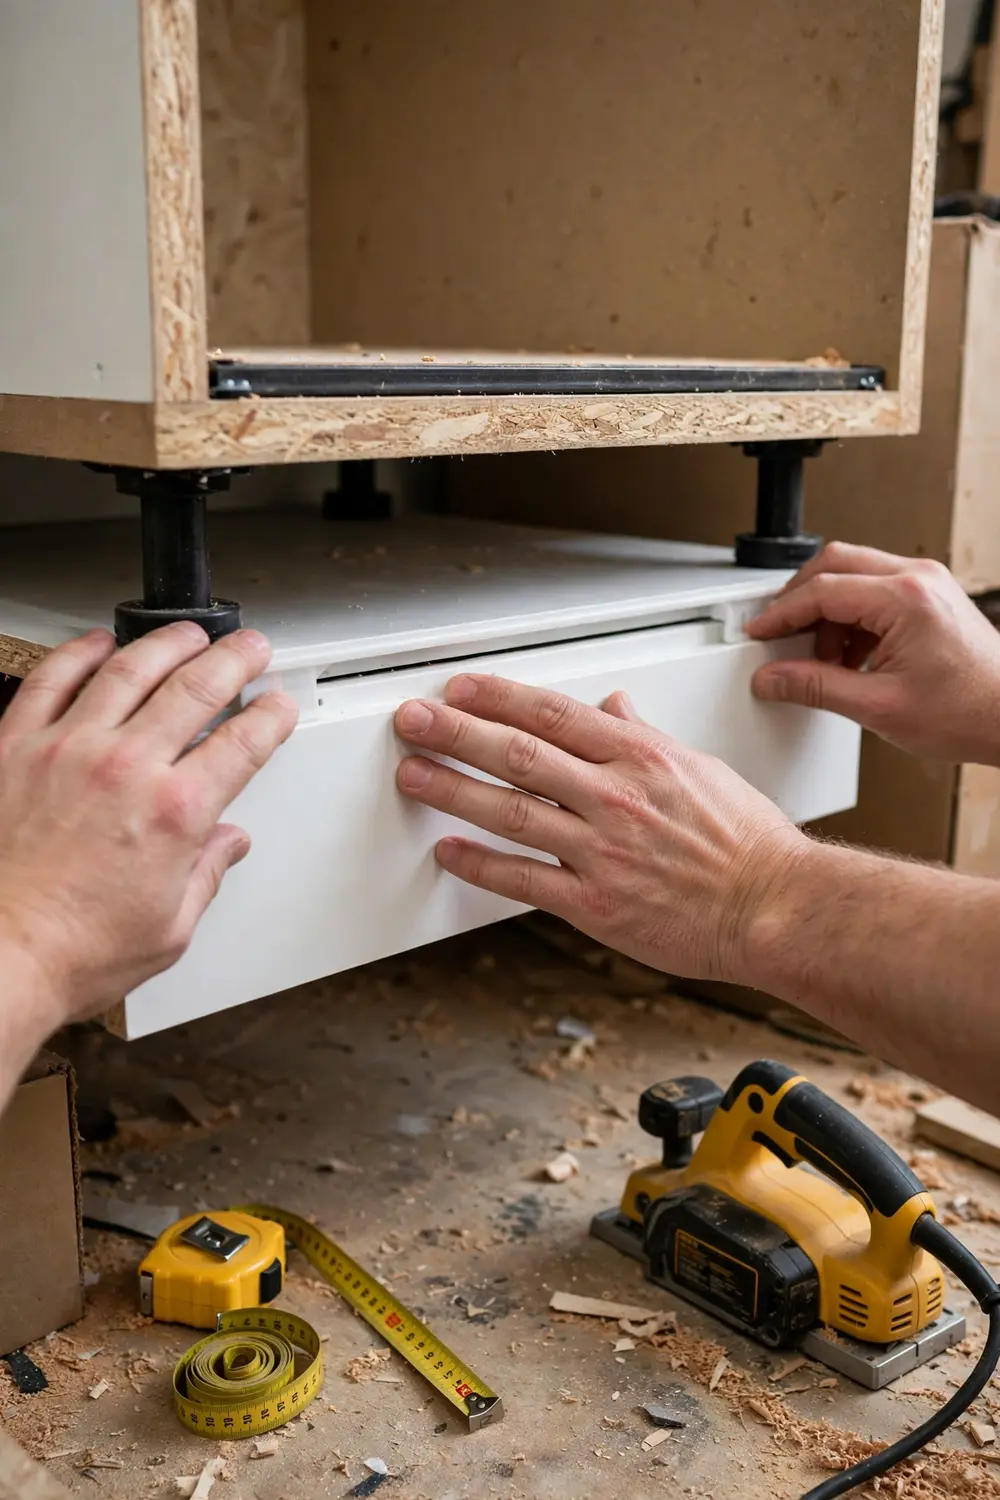
Measure from the floor to the bottom of the cabinet, taking measurements at intervals of about 200mm so an uneven floor is captured. Place masking tape along the area to be cut, transfer the measurements and plane the board with an electric planer.
Join lengths with an offcut of timber or a piece of kickboard behind the join, measuring back 50mm and screwing with 28mm screws. On pantries the setback is 70mm, and the boards come in heights of 145mm, 135mm, 110mm and 100mm, trimmed to suit.
- Measuring, floor to cabinet bottom at roughly 200mm intervals
- Setback, 50mm from the front of base cabinets, 70mm on pantries
- Heights, 145, 135, 110 and 100mm, trimmed to suit
10. Call the trades back in
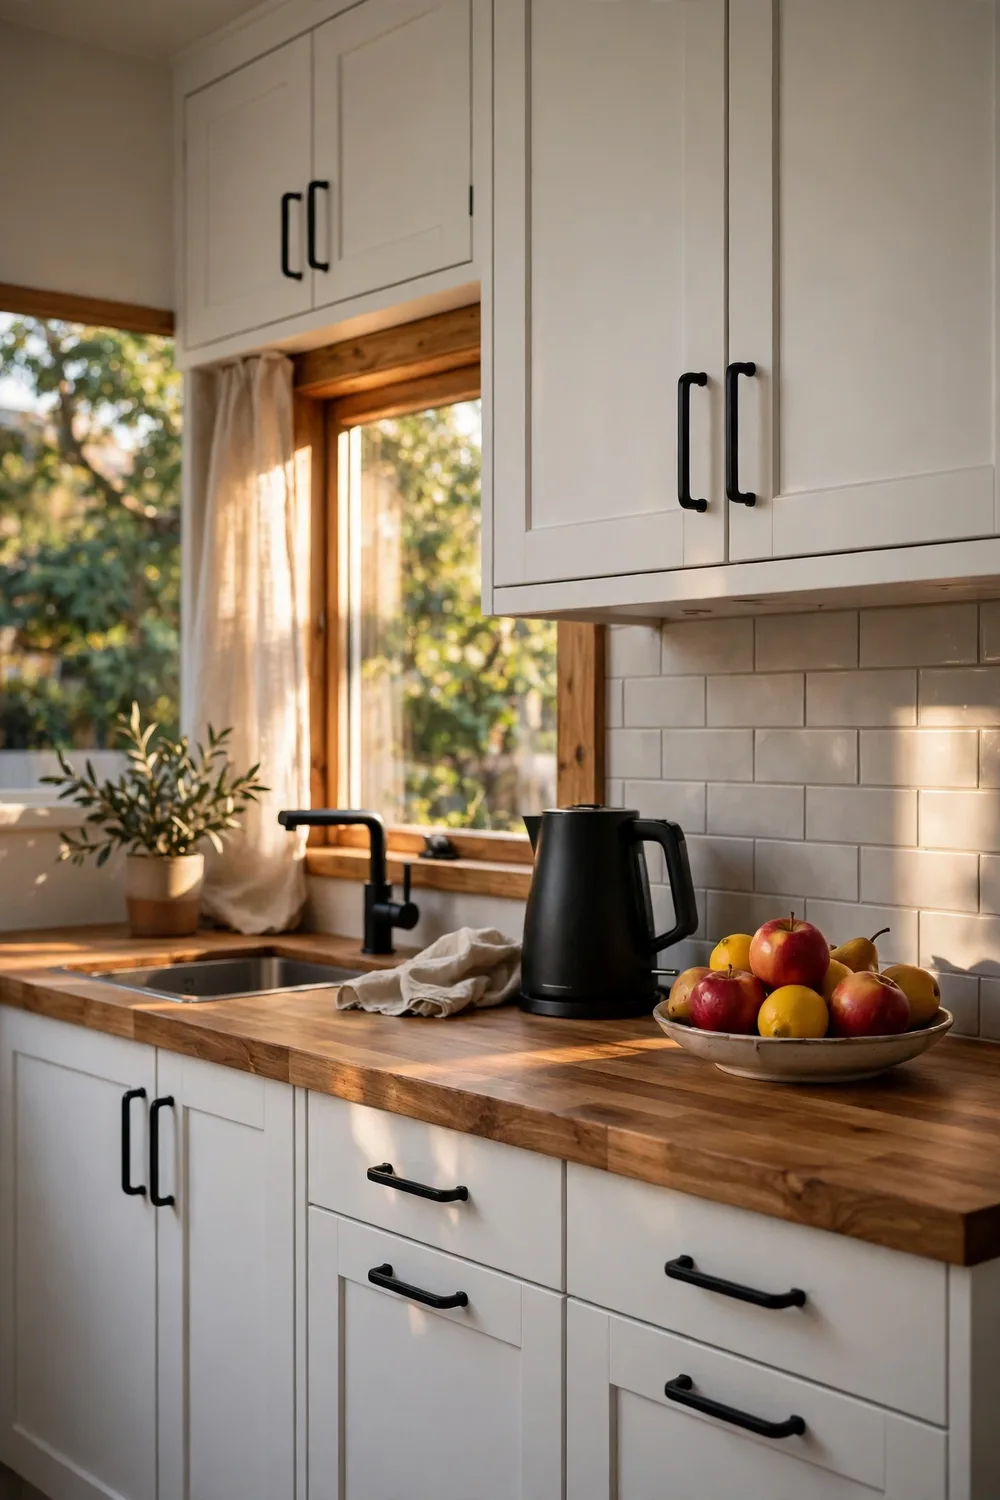
The last step is not a DIY step at all. A licensed plumber connects the sink and tapware, and a licensed electrician connects the cooktop, oven, rangehood and lighting.
Every Kaboodle sheet says the same thing about this work, in the same words. Leave plumbing and electrical work to qualified tradespeople and never try it yourself.
- Plumber, sink, tapware and fridge water connections
- Electrician, cooktop, oven, rangehood and lighting
- Rule, “Never try this yourself”, on every Kaboodle sheet
Levelling and fixing: the hard rules
Three numbers carry this whole installation. Legs at 145mm, wall screws of at least 8-gauge 65mm into timber studs, and a 16mm rebate packed out behind rebated-back cabinets.
The leg height sets the carcass off the floor, and the kickboards are trimmed to suit it afterwards. Level is checked at every stage on every Kaboodle sheet, not once at the end.
Legs, screws and pack-outs
Set every adjustable leg to 145mm before the cabinet is levelled, and use the adjustable feet plus a 900mm spirit level to bring the run true. Cabinets are clamped together, pre-drilled and screwed to each other, and the level is checked again after joining.
The wall fixing is the same on every sheet. A minimum of 8-gauge 65mm screws into a timber stud wall, and for concrete, brick, steel or any other substrate, advice from a hardware specialist before you drill.
- 145mm, the leg height on every adjustable leg
- 8-gauge 65mm, the minimum screw for wall fixing into timber studs
- 16mm, the rebated-back depth, packed out before fixing
The gap above the benchtop
Two sources give two different numbers for the gap between the benchtop and the wall cabinet, and they are not the same gap measured twice. Kaboodle’s wall-cabinet sheet says the AS/NZ standards require a minimum of 450mm, while Homes to Love recommends a minimum of 60 to 65cm as a design figure.
This guide reports both figures side by side and does not pick a winner. The 450mm figure is the manufacturer’s instruction citing AS/NZ standards, and it has not been checked against AS/NZS 4386 itself, so it is presented as Kaboodle’s instruction rather than a verified standard.
- Kaboodle’s figure, 450mm minimum, from the wall-cabinet sheet citing AS/NZ standards
- Homes to Love figure, 60 to 65cm minimum, a design recommendation
- The rule, follow the manufacturer’s instruction for your cabinets and the design figure for comfort
How high should the benchtop sit
Homes to Love puts the top of the benchtop at 90cm from the floor, give or take 2cm. That is the only source that gives a total height, and no Kaboodle sheet states one.
Do not try to work the total out from the 145mm leg height, because the cabinet height is not stated in any sheet we fetched. Set the legs to 145mm, level the run, and let the finished height land where the cabinets put it.
Benchtops, kickers and panels
The benchtop is where small mistakes become permanent, so this section slows down for the three jobs people rush. Joining, fixing down, and the panels and kickers that finish the run.
Joining a laminate benchtop
Pre-cut joins from the supplier are ideal, because a manual join needs precise cutting. Where you join by hand, the Kaboodle join kit sets the measurements, and the Bunnings laminate guide sets the cutting method.
Biscuits are optional in the Kaboodle kit, and they are not recommended for benchtops under 30mm thick. The Bunnings guide treats biscuits and connector bolts as the standard method for pre-cut joins, so a pre-cut join will usually have both.
- Join kit, five 12mm joiners, spanner, 40ml PVA glue, four No. 20 biscuits
- Channels, 10mm wide, cut with a fine tooth saw and chisel to the bore depth
- Trial join, dry-fit before gluing so the edges sit flush top and sides
Fixing the benchtop down
Pre-drill pilot holes through the cabinet rails, drilling upwards into the underside of the benchtop at even spacing. The holes stop the rails splitting and guide the screws straight.
Fix with 28mm screws through the rails into the underside of the benchtop, and add L brackets at the rear of base cabinets for extra support around joins or heavy-use areas. Do not overtighten or drill too far, or the laminate surface can be damaged.
- Screws, 28mm through the cabinet rails into the benchtop underside
- Brackets, L brackets at the rear for extra support at joins
- Seal, raw edges sealed with moisture-resistant sealant and left to dry fully
End panels and kickboards, finished
Thermoformed panels have a rounded edge, and it must always face the outside of the cabinet. Gloss vinyl doors and panels carry a protective clear wrap that may need removing before installation.
Island back panels sit with their backs directly on the floor, cut with a fine tooth circular saw or jigsaw and always installed with the cut side facing inwards. Where more than one panel is used, a strip of aluminium between them adds a neat detail.
On kickboards, the screw method is the official one. Kaboodle kickboard clips exist and clip onto the legs, but one Bunnings Workshop user found them not very sturdy and had to silicone the joins to hold them.
- Rounded edge, thermoformed panels, always faces out
- Island backs, cut side inwards, equal lengths where cutting is needed
- Clips, community-reported only, the screw method is official
What it costs
No Kaboodle instruction sheet gives a price, so every figure below comes from a cost guide and carries that guide’s name. The figures are indicative, vary locally and are subject to market forces, in hipages’ own words.
hipages disagrees with itself on the headline figure. Its body text puts the average flat-pack kitchen at $4,000 to $15,000, while its FAQ on the same page says $2,000 to $14,000, and the same split appears in its custom-kitchen figures.
| Source | What it covers | Figure |
|---|---|---|
| hipages, body text | Average flat-pack kitchen | $4,000–$15,000 |
| hipages, FAQ | Average flat-pack kitchen | $2,000–$14,000 |
| hipages | Professional installation | From $2,800+ |
| hipages, body text | Plumber and electrician, each | ~$800 each |
| hipages, FAQ | Flat-pack kitchen, IKEA / Bunnings, before trades and installation | ~$4,500 / ~$5,000 |
| hipages, body text | Custom kitchen | $10,000–$75,000 |
| hipages, FAQ | Custom kitchen | $15,000–$50,000 |
| hipages, Bunnings guide | Bunnings kitchen installation | $4,500–$15,000, average $6,000–$10,000 |
| hipages, Bunnings guide | Design consultation, in-store or virtual / home visit | $49 / $99 |
| hipages, Bunnings guide | Complete Bunnings kitchen, smallest package, materials | From $869 |
For a sense of scale, hipages puts a flat-pack kitchen at 20% to 50% cheaper than a custom kitchen. That gap is the reason most people choose flat-pack, and it is also the reason the installation quality matters as much as the price.
Our guide to kitchen renovation costs in Australia sets out what a full renovation runs to, so the cabinet price can be read against the whole job.
Frequently asked questions
How much does a flat pack kitchen cost?
hipages puts the average flat-pack kitchen at $4,000 to $15,000 in its body text, depending on size and manufacturer, and at $2,000 to $14,000 in the FAQ on the same page. Before plumbing, electrical and installation, the average is about $4,500 from IKEA and about $5,000 from Bunnings.
Are flat pack kitchens cheaper?
Yes, by hipages’ figures. A flat-pack kitchen can be 20% to 50% cheaper than a custom kitchen, which hipages puts at $10,000 to $75,000 in its body text and $15,000 to $50,000 in its FAQ.
How much does a custom kitchen cost?
hipages gives $10,000 to $75,000 in the body of its flat-pack guide and $15,000 to $50,000 in the FAQ on the same page. Both figures are indicative and vary locally, so treat them as a range to check against local quotes rather than a fixed price.
The bottom line
A flat-pack kitchen rewards patience more than strength. Level every cabinet, fix only into studs, pack out the rebated backs, and let the trades handle the plumbing and electrical.
Once the doors are on and the benchtop is sealed, the room is yours to fill. Our guide to organising your kitchen shows how to set up the finished space so everything has a place.