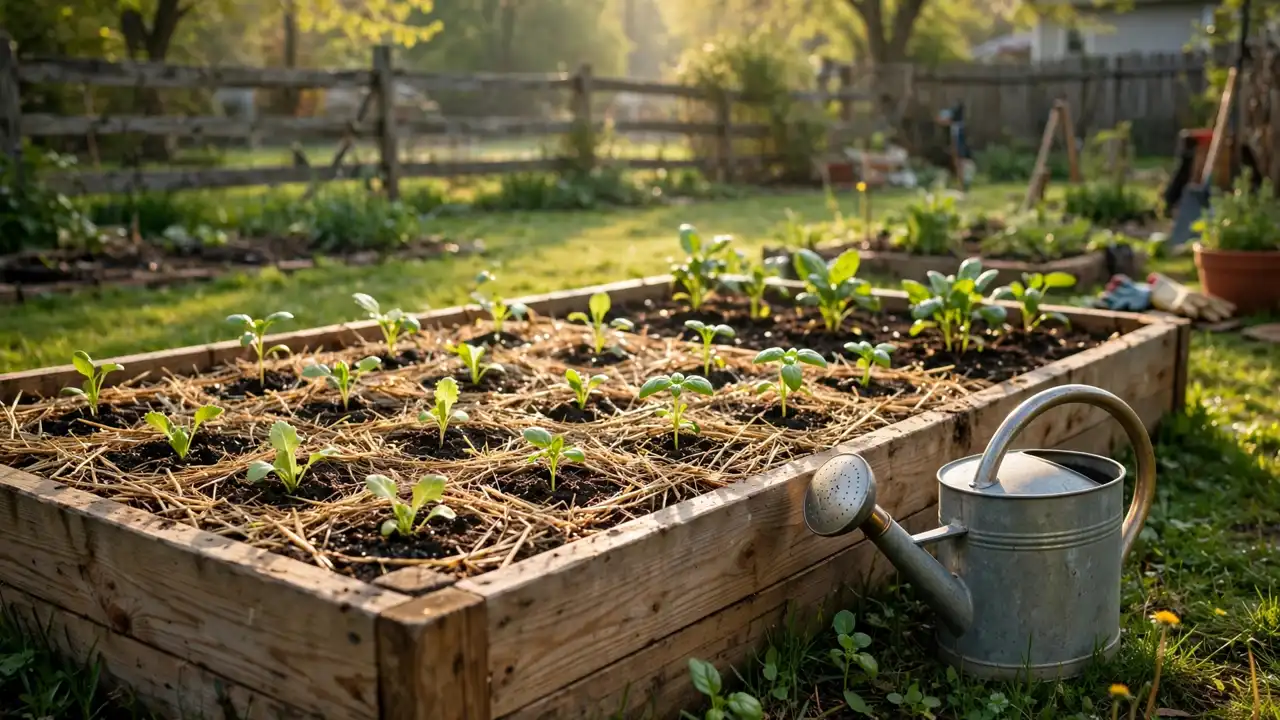
The internet is full of gardening hacks, and most of them are folklore with good marketing. The eggshell cures and banana-water tonics sound clever, do very little, and quietly waste a beginner’s first season.
This list was built the other way around. Every hack below is either standard practice from Australian gardening sources or the sort of plain, repeatable trick experienced gardeners actually use, and the miracle cures were left out on purpose.
November is the kindest month to start. The soil is warm, the days are long, and these gardening hacks for beginners will carry a new garden through its first summer.
The fifteen hacks
1. Test the soil with a finger before you water
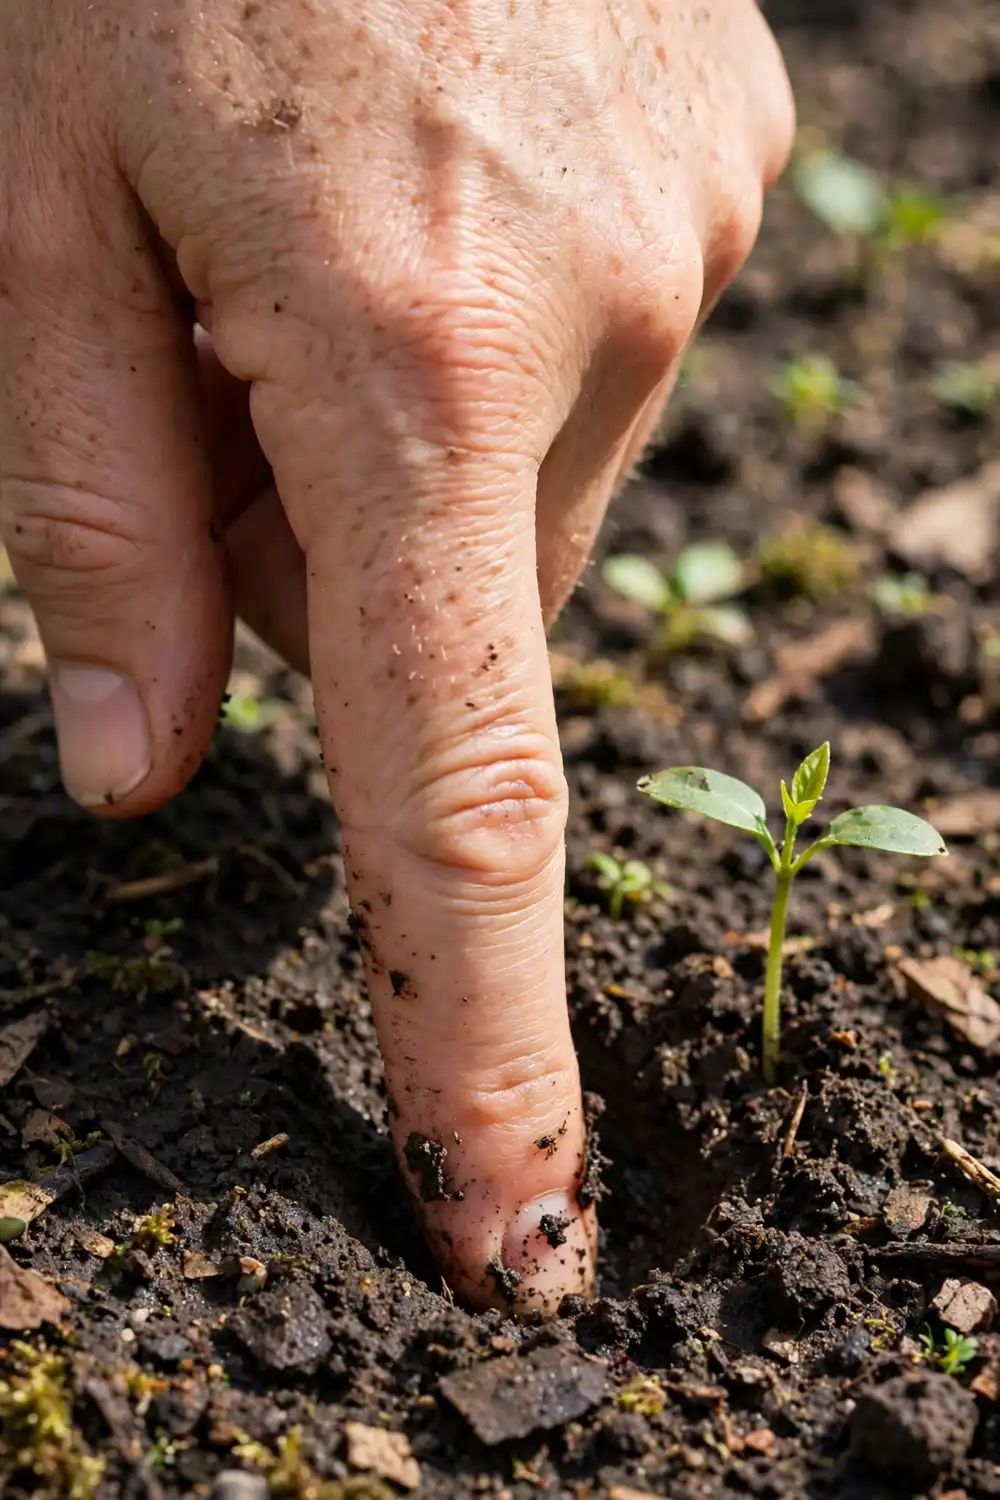
More beginner plants drown than dry out. Before any watering, push a finger into the soil to a depth of about five centimetres, the test Bunnings’ garden advice gives, and water only if it comes out dry.
Beds and pots lose moisture at different speeds, so test each one rather than working to a roster. It takes five seconds and prevents the two classic errors, daily sprinkles that keep roots shallow and forgotten pots baked hard.
- The test, fingertip down to the second knuckle, roughly five centimetres
- Dry soil, water properly
- Damp soil, walk away and test again tomorrow
2. Water deeply, in the morning
A long, deep soak beats a daily sprinkle every time. Deep watering encourages roots to grow down after the moisture, and deep roots are what carry a plant through a hot week, while shallow watering grows surface roots that scorch.
Morning is the slot for it. The ACT Government’s planting guide for new gardeners gives the same advice, water early in the morning or late in the evening to cut evaporation. Aim the water at the base of the plant rather than over the leaves while you are at it.
- Timing, early morning first choice
- Aim, the soil at the base, not the foliage
- Depth, a proper soak, less often
3. Mulch thick, and keep it off the stems
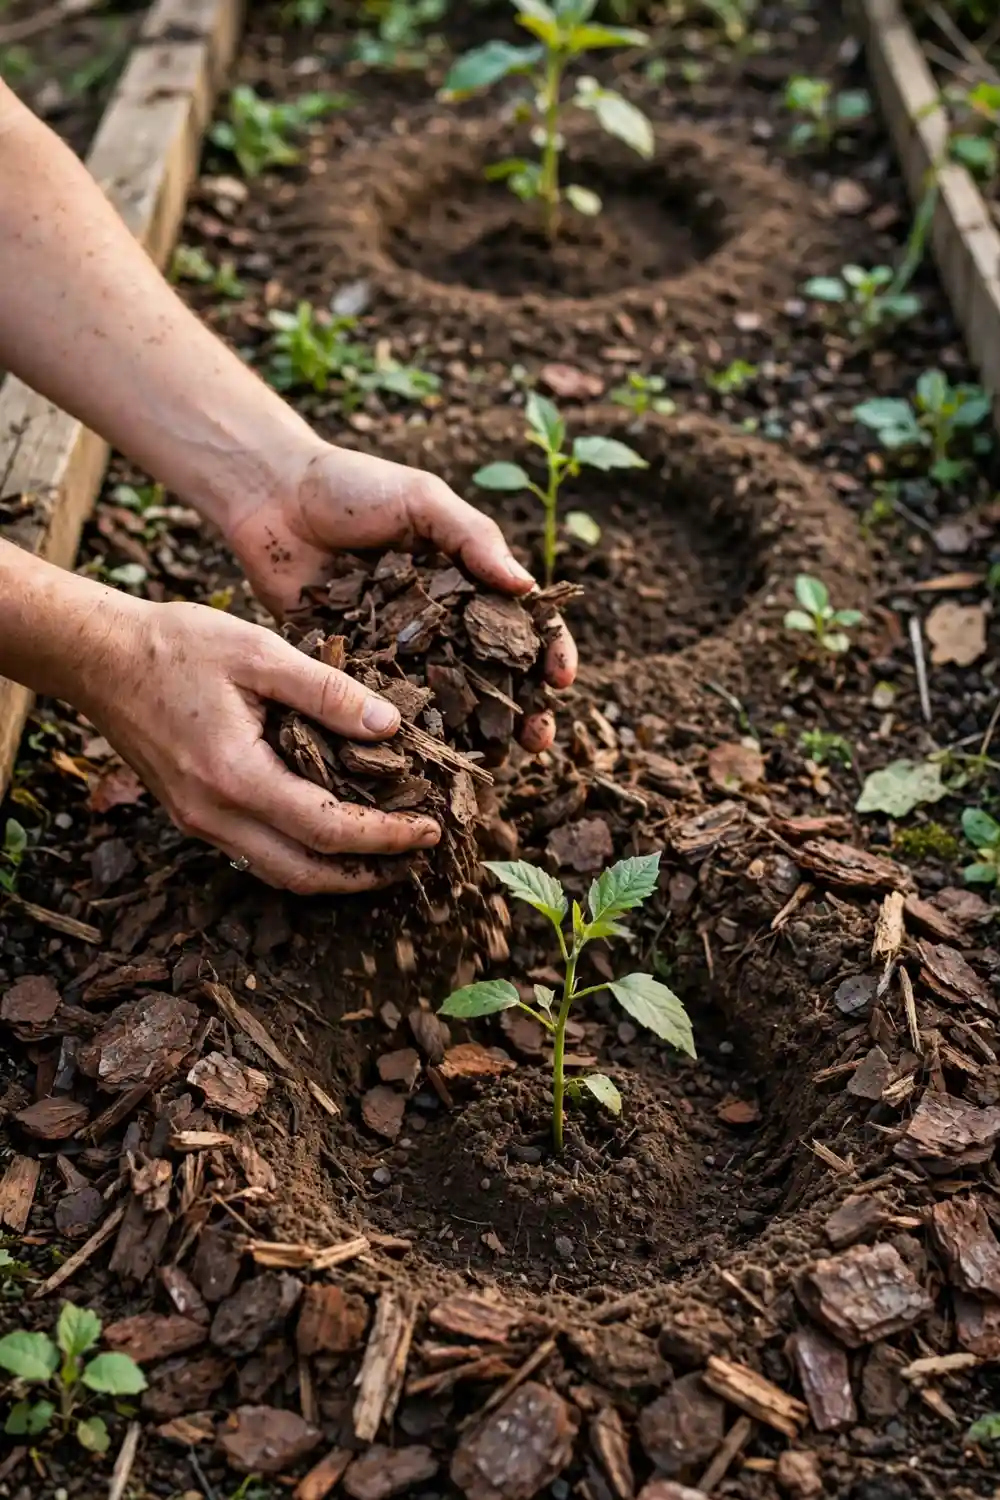
Mulch is the closest thing gardening has to a free lunch. A good layer over the soil holds moisture in, keeps roots cooler, and starves weeds of light, which is why the Queensland Government calls mulching essential in a water-efficient garden.
Depth depends on the material. The same Queensland guide says coarse, chunky mulch such as pine bark needs a deeper layer, more than five centimetres, while fine mulch compacts and goes on thinner, and it gives the beginner’s most-missed detail, keep mulch about six to seven centimetres clear of plant stems or they may rot.
- Coarse bark, more than five centimetres deep
- Fine mulch, a thinner layer, loosened as it compacts
- Stems, a clear ring around every plant
4. Read the label and plant for the spot you have
The label on a seedling is a contract written by someone who grew it. It tells you the sun hours, the spacing and the size the plant will reach, and most beginner disappointments are just labels nobody read.
Match the plant to your actual conditions rather than the garden in your head. Flower farmer Sam Webb’s advice through Bunnings is to plant for your region and grow with the season, full sun meaning six to eight hours, with some shelter from the fierce afternoon end of it in hot climates.
- Sun, six to eight hours is what full sun means
- Size, check the mature height before it goes in
- Season, grow what suits your region right now
5. Feed the soil before you feed the plant
Plants grown in good soil mostly look after themselves. The Bunnings flower-garden guide starts with exactly this, improve the soil by adding organic matter such as compost and aged cow manure.
On established beds, spread it as a top dressing rather than digging it through. The no-dig approach leaves the soil structure intact, and the worms do the mixing for you over the following weeks.
- Add, compost and aged manure
- Method, top dressing, no digging in
- Result, soil that holds water and feeds slowly
6. Start seeds in toilet-roll tubes
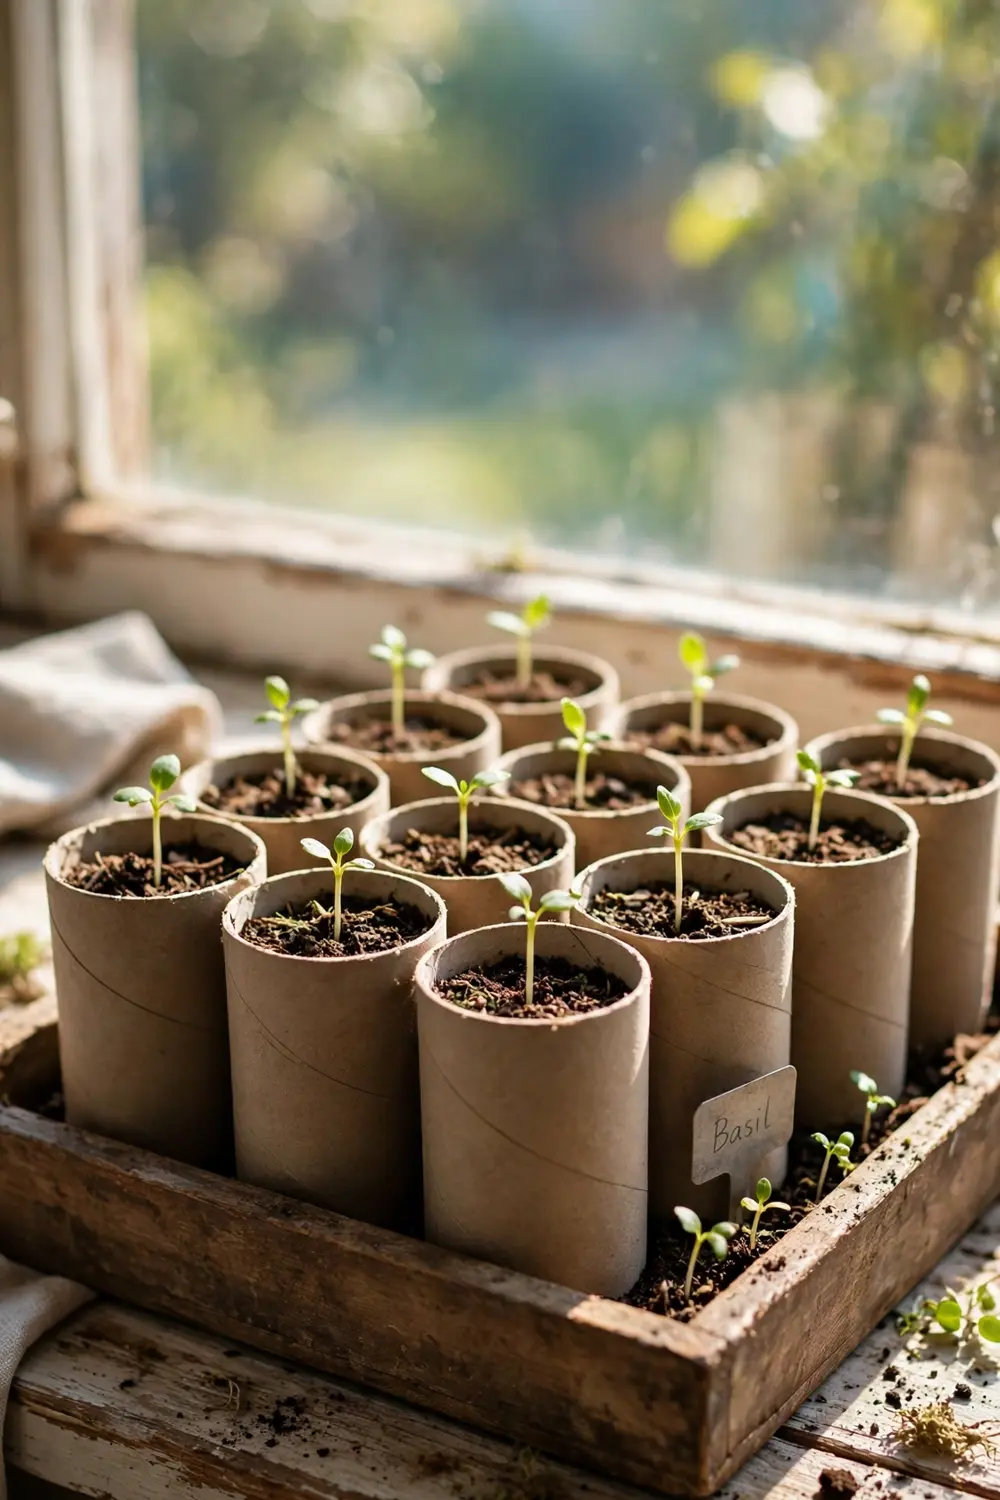
The cardboard core of a toilet roll is a free seedling pot. Stand a row of tubes in a tray, fill them with seed-raising mix, sow, and water the tray from below so the cardboard stays standing.
The real elegance arrives at planting time. The whole tube goes into the ground, cardboard and all, so tender roots are never disturbed, and the tube quietly rots away in the soil.
- Cost, nothing, they are rubbish otherwise
- Planting, the whole tube goes in
- Best for, beans, peas and anything that hates root disturbance
7. Shelter seedlings under a bottle cloche
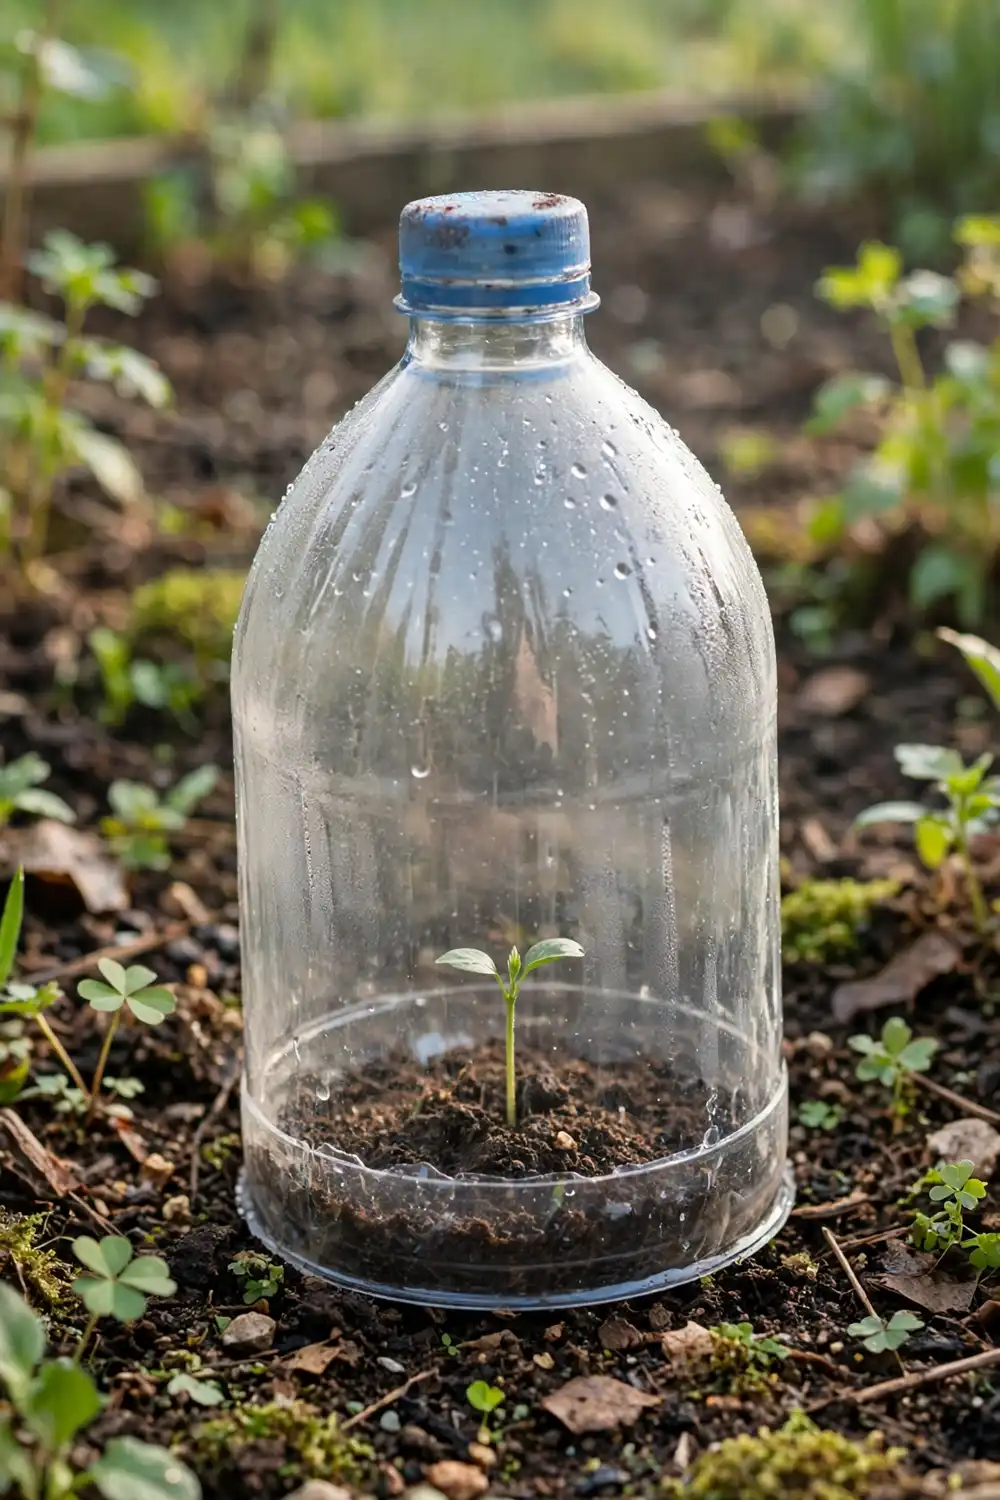
A clear soft-drink bottle with the bottom cut off is a miniature greenhouse. Pressed into the soil over a new seedling, it holds humidity around the plant and keeps snails, birds and weather off it while it settles.
Treat it as shelter, not a sealed jar. On hot days lift the bottle off or at least unscrew the lid, because a cloche in full summer sun cooks the very seedling it was protecting. Canberra’s planting guide suggests the same trick with a cut milk carton, which makes the same humid shelter.
- Make, bottom off a clear bottle
- Hot days, lid off or bottle lifted
- Remove, once the seedling outgrows it
8. Pinch the tips for bushier plants
It feels wrong the first time, but removing a young plant’s growing tip makes it branch. Instead of one tall stalk, the plant pushes side shoots, and side shoots are where the extra flowers and fruit come from.
The Bunnings guide puts a number on it for seedlings, once they have three sets of leaves, pinch out the centre. The ACT planting guide backs the habit in general, tip pruning in spring and summer for bushy, healthy growth.
- When, at three sets of true leaves
- How, the centre tip, pinched or snipped cleanly
- Payoff, more branches, more flowers
9. Deadhead flowers before they set seed
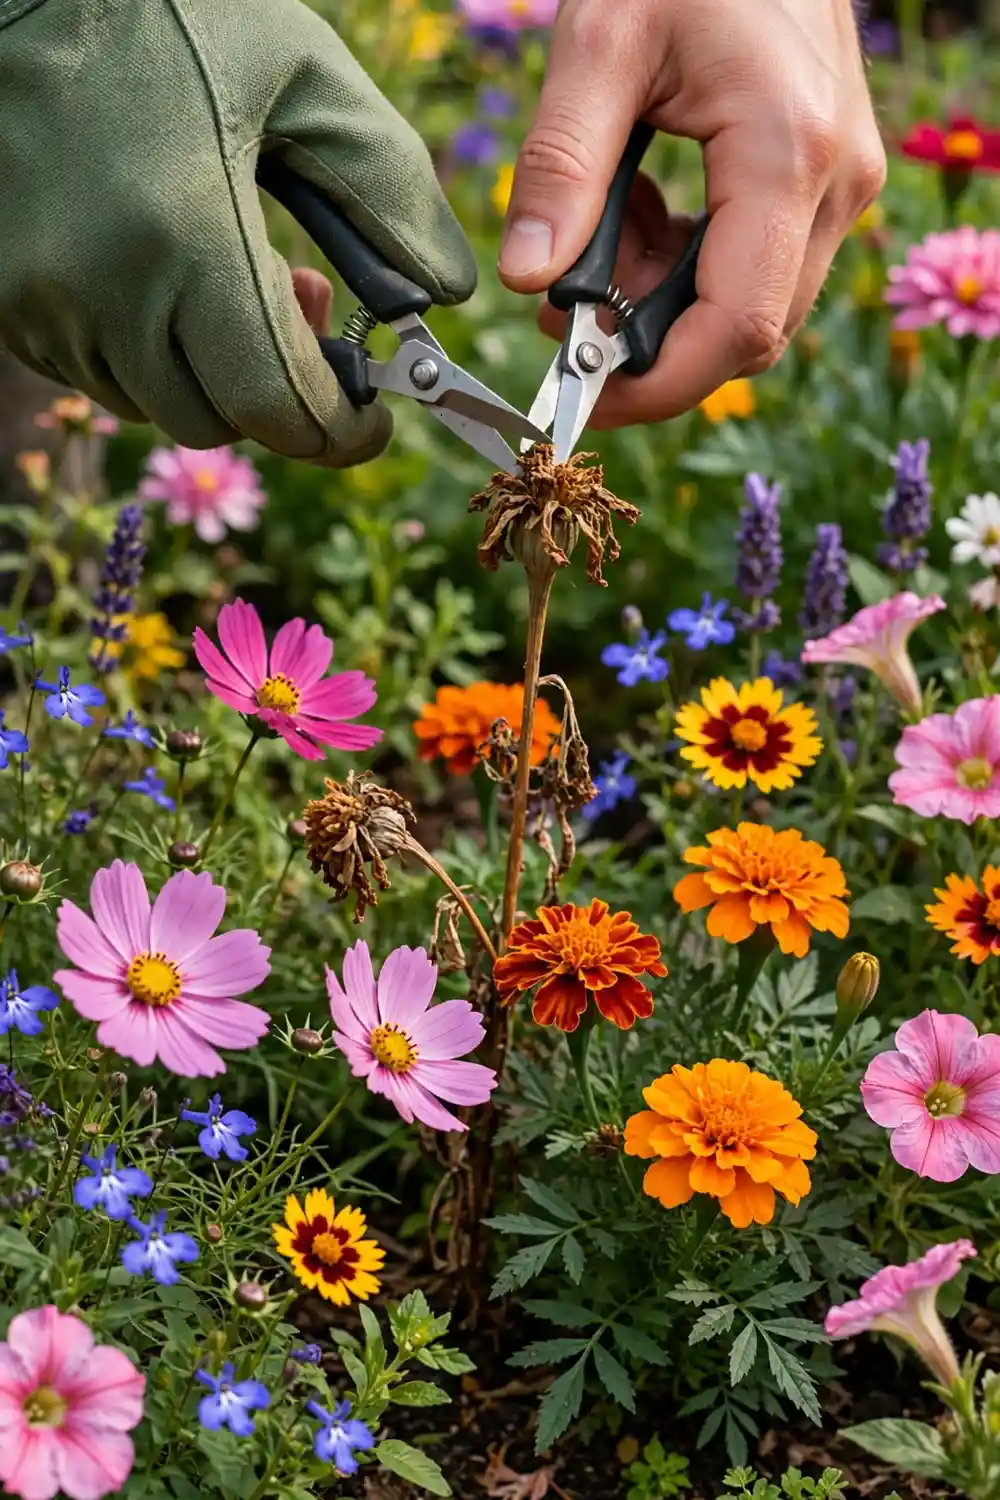
A flowering plant has one job, making seed. Once it succeeds, it retires, which is why a bed that flowered beautifully in November can be finished by Christmas.
Snip or pinch each spent flower off before the seed forms and the plant keeps trying. The Bunnings guide keeps it blunt, deadhead often to promote more flowers, because the more you cut, the more it produces.
- Timing, each flower as it fades
- Why, seed production switches flowering off
- Tools, fingers for soft stems, snips for tough ones
10. Lay cardboard under mulch on a new bed
Starting a bed on top of lawn usually means digging, and digging is optional. Lay overlapping cardboard over the grass, water it down so it settles, and cover it with soil or compost and then mulch.
The cardboard smothers the grass beneath while the bed establishes, then rots away into the soil itself. The Queensland mulch guide recommends the same sheet-layer thinking with newspaper under mulch to deter weeds, kept thin enough that air still reaches the soil.
- Layer, cardboard, then soil or compost, then mulch
- Effect, suppression while the bed establishes, not instant weed eradication
- Keep it, one layer thick, so air and water still move
11. Plant flowers among the vegetables
A vegetable patch with flowers in it is not decoration, it is staffing. Flowers bring in the bees and other pollinators that zucchini, pumpkins and their cucurbit cousins quietly depend on to set fruit.
It costs almost nothing to run. The Bunnings guide names cosmos and zinnia as the easiest flowers to grow, scattered over soil to flower all season, so a row along the edge of the bed is the beginner version of companion planting.
- Plant, cosmos and zinnia, the easy two
- Place, edges and gaps in the veg bed
- Job, pollinators for the crops that need them
12. Keep pots in a cluster, not scattered
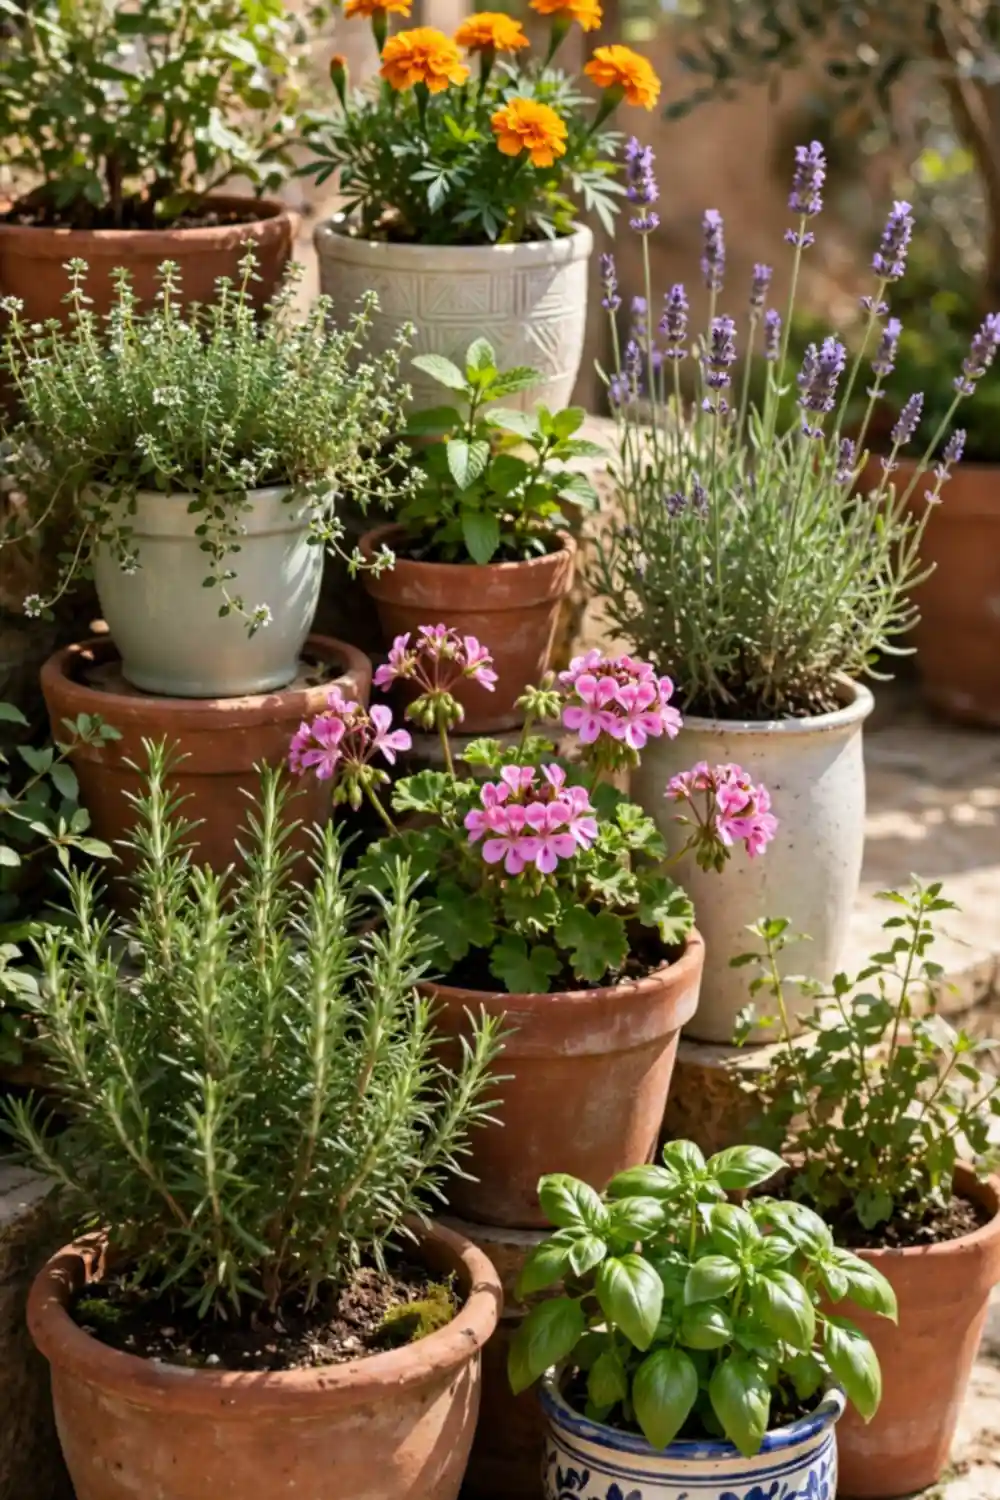
Pots dotted singly around a garden dry out fast and get forgotten in rotation. Grouped together on the patio or in one bed corner, they share a pocket of humidity, shade each other’s soil a little, and get watered in one visit instead of five.
Clustering also makes the shade shuffle possible. When a heatwave lands, one cluster can be dragged into shelter in minutes, which nobody manages with pots spread over an entire yard.
- Watering, one stop instead of a tour
- Humidity, shared between neighbours
- Heatwaves, the whole group moves at once
13. Rig a drip bottle for a short trip away
For a weekend away, a plastic bottle can babysit the thirstiest pot. Fill it, pierce a pinhole in the lid, and set it upside down in the soil, where it weeps water slowly into the root zone instead of dumping it.
Be honest about its limits. This is short-absence help for a pot or two, not a holiday irrigation system, so test it for a day before you rely on it, and let a neighbour hold the hose for anything longer.
- Suits, a weekend, the thirstiest pots
- Test, run it a day before you leave
- Not, a substitute for real watering over weeks
14. Label everything, and date it
Every gardener believes they will remember what went where. Nobody does, and the seedlings all look identical by week three, which is how the mystery cucurbit ends up in the herb bed.
Write the plant and the sowing date on an ice-block stick or a cut-up yoghurt tub and push it in beside the row. A running note on your phone, what was planted, where and when, becomes next season’s best advice.
- In the bed, named and dated sticks
- On the phone, one running planting note
- Reward, no mystery seedlings, better timing next year
15. Throw shade over young plants on heatwave days
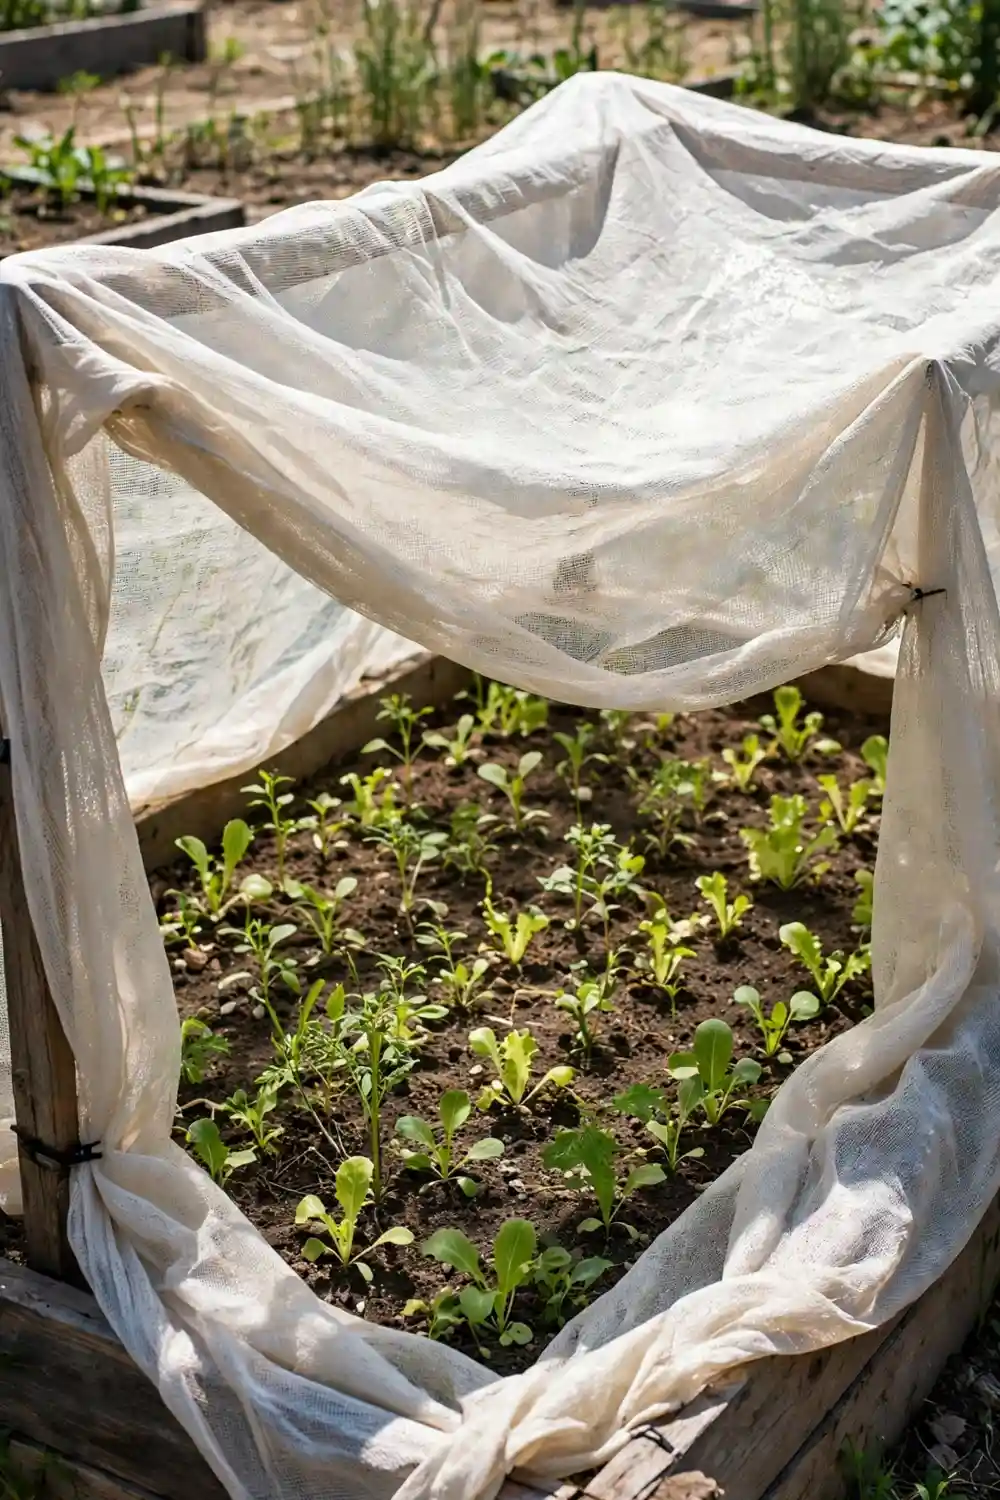
Australian summer sun can undo a month of care in one afternoon. Seedlings and new plantings suffer first, their roots too shallow to replace what the heat pulls out of the leaves.
On extreme days, move potted plants into afternoon shade and throw an old sheet or a length of shade cloth over the newest bed plantings until evening. Bunnings’ flower advice builds the same protection in from the start, full sun with shelter from the hot afternoon sun in fierce climates.
- Pots, shifted into afternoon shade
- Beds, a sheet or shade cloth until evening
- Most at risk, seedlings and anything planted this month
What to skip
The miracle cures earn one paragraph, because beginners meet them early. Eggshells ground into soil, banana-peel water, Epsom salts sprinkled as a cure-all and coffee grounds tipped on as fertiliser are all sold online as secrets, and none of them does what the posts promise.
Skip claims, not ingredients. Compost what you have, mulch properly, water deeply, and a garden improves for reasons that can actually be explained.
The bottom line
Fifteen hacks, and not one of them needs a purchase, a miracle or a leap of faith. Test before you water, soak deeply, mulch with a gap at the stems, and let tubes, bottles and cardboard do free work while the garden establishes.
Start with the three watering and mulching habits this week. The rest can join one at a time, which is how gardens, and gardeners, actually get good.


