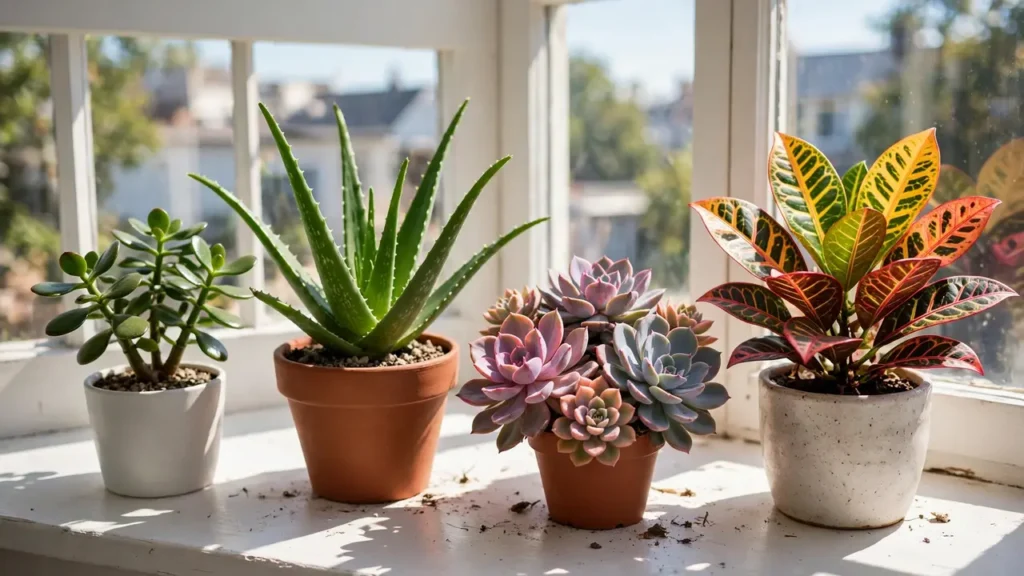
Your houseplants spent winter in low gear. Short days, cool rooms and dry indoor air slowed them right down, and a few of them probably look a little tired now.
That rest is normal. Most indoor plants pause through winter and only start pushing out new leaves once the days lengthen and the warmth comes back.
Houseplant care in spring Australia comes down to nine small jobs, done in the right order. Each one takes minutes, and together they set your plants up for a summer of steady, healthy growth.
Work through the list below from top to bottom, and start with the pest check before you water, feed or repot anything. A problem caught in September is a quick fix, while the same problem by midsummer can cost you the plant.
Why spring is the reset
Spring is the one time of year when almost every indoor plant is ready for change. Days lengthen from September, the warmth returns, and plants that sat still all winter start pushing out new leaves.
That new growth is the signal to act. Plants bounce back from trimming, repotting and moving far better while they are actively growing, since they have extra energy to spend on healing, which they do not have in winter dormancy.
Houseplant care in spring Australia: the 9-job checklist
Work down the list in order, starting with the pest check. Everything after it goes faster once you know each plant is healthy.
1. Inspect every plant for pests
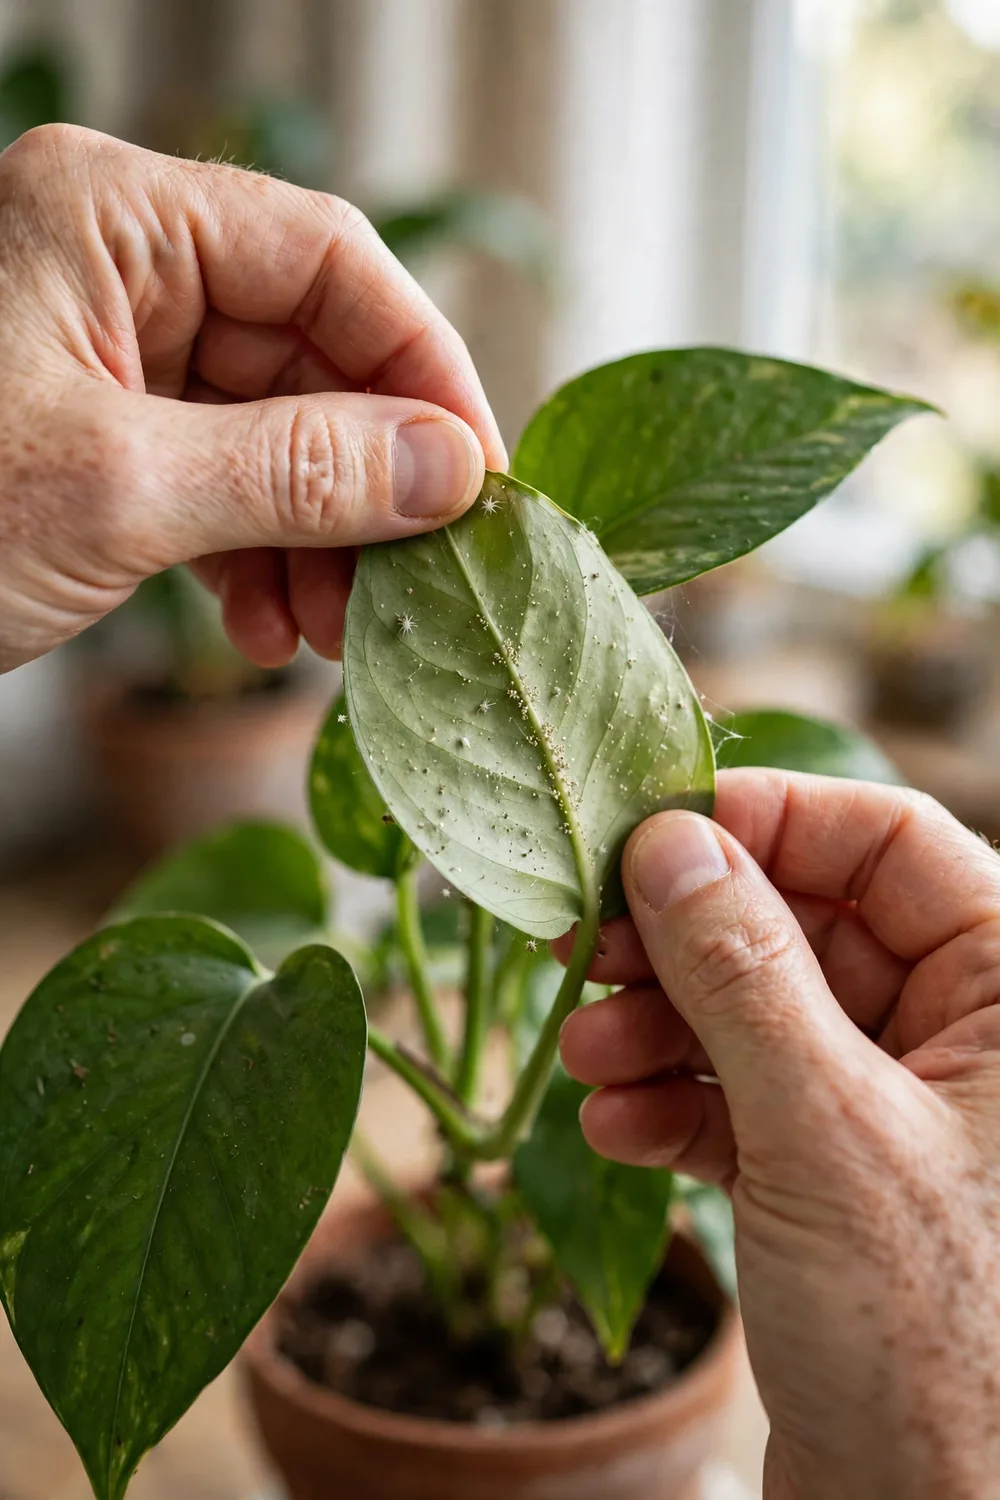
Start with a close look before you touch the watering can. Pests build up quietly over winter, and spring warmth speeds up their breeding cycle, so a plant that looked fine a few weeks ago can be crawling by October.
Check the undersides of leaves first, then the stems, the leaf joints and the soil surface. Look for discoloration, speckling, fine webs, frass, honeydew and sooty mould, and check under the leaves every time you water from now on.
- Fungus gnats — tiny black flies hovering over damp soil; let the top soil dry out between waterings
- Mealybug — white cottony fluff tucked into leaf joints; dab methylated spirits on a cotton bud for a few, neem oil for an infestation, repeat in 7 days
- Scale — brown or black shell-like bumps on stems and leaves; white oil or neem oil
- Spider mite — fine webbing under leaves and pale speckling; thrives in hot, dry air and loves spring
- Aphids — small green insects that leave little yellow marks where they feed
Any new plant you bring home gets two weeks in quarantine before it joins the collection. Sticky traps are for indoor use only.
2. Dust and clean the leaves
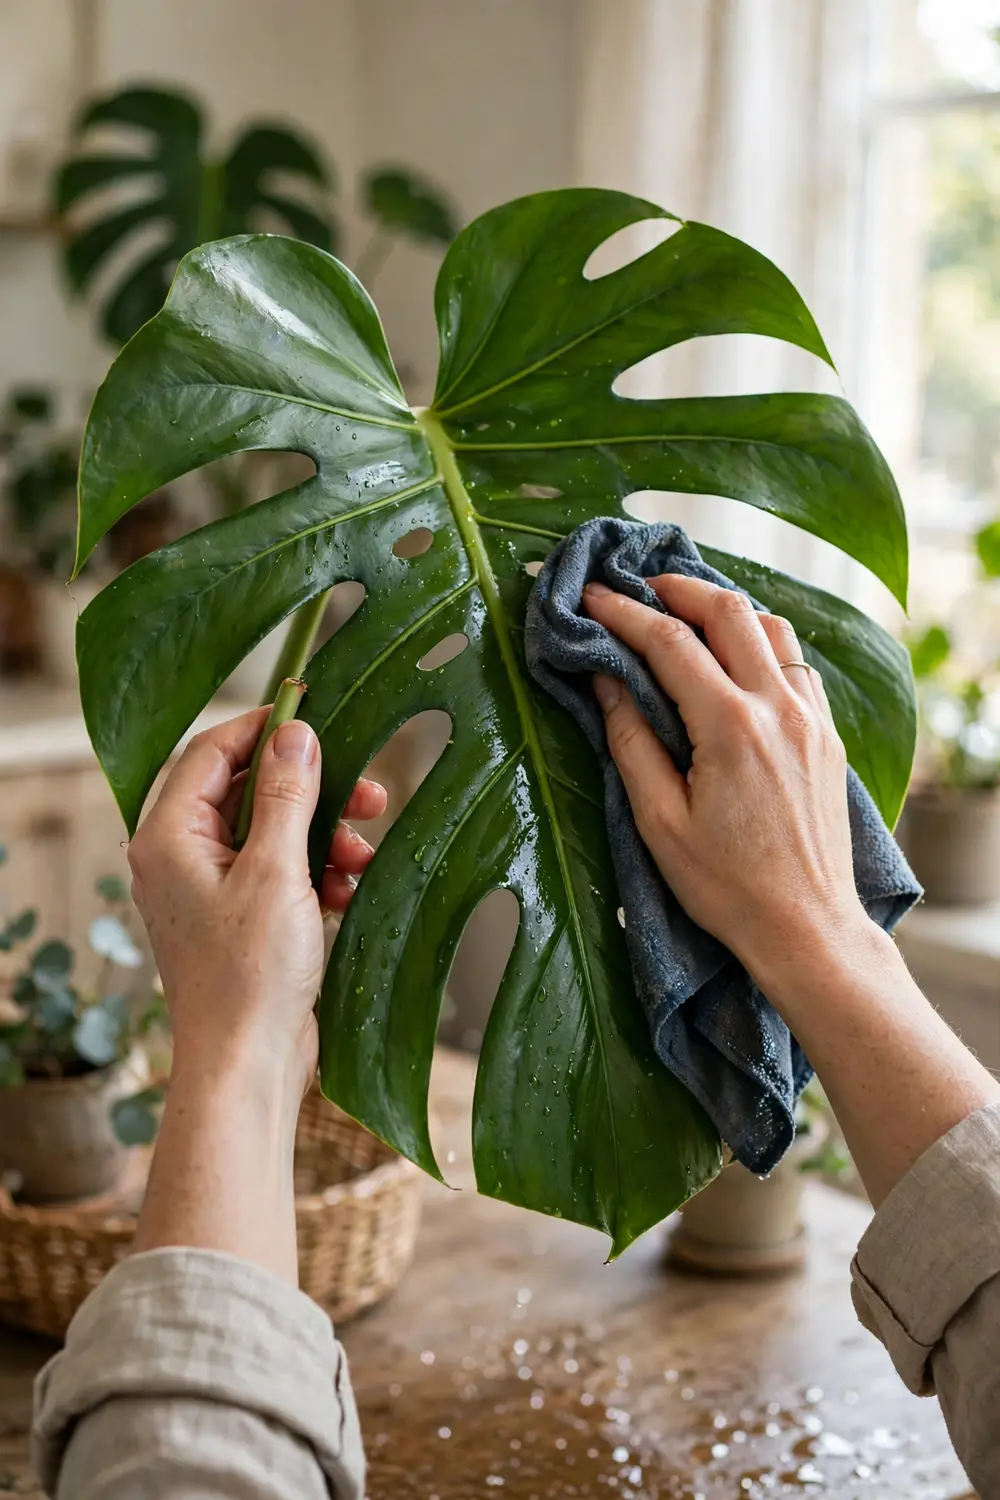
Dust builds up on leaves all winter and blocks the light your plants need to photosynthesise. A quick wipe now gives every leaf a clean start for the growing season.
Wipe each leaf gently with a damp cloth, supporting it from underneath so it does not tear. Spider plants (Chlorophytum comosum) are worth extra care, since rainwater instead of tap water can stop their leaf tips browning.
- Tool — a soft, damp cloth, wrung out well
- Method — wipe each leaf top and bottom, supporting it from underneath
- Signs to note — discoloration and speckling, which you check for pests at the same time
- Spider plants — rainwater instead of tap water can keep the leaf tips from browning
3. Prune dead and damaged growth
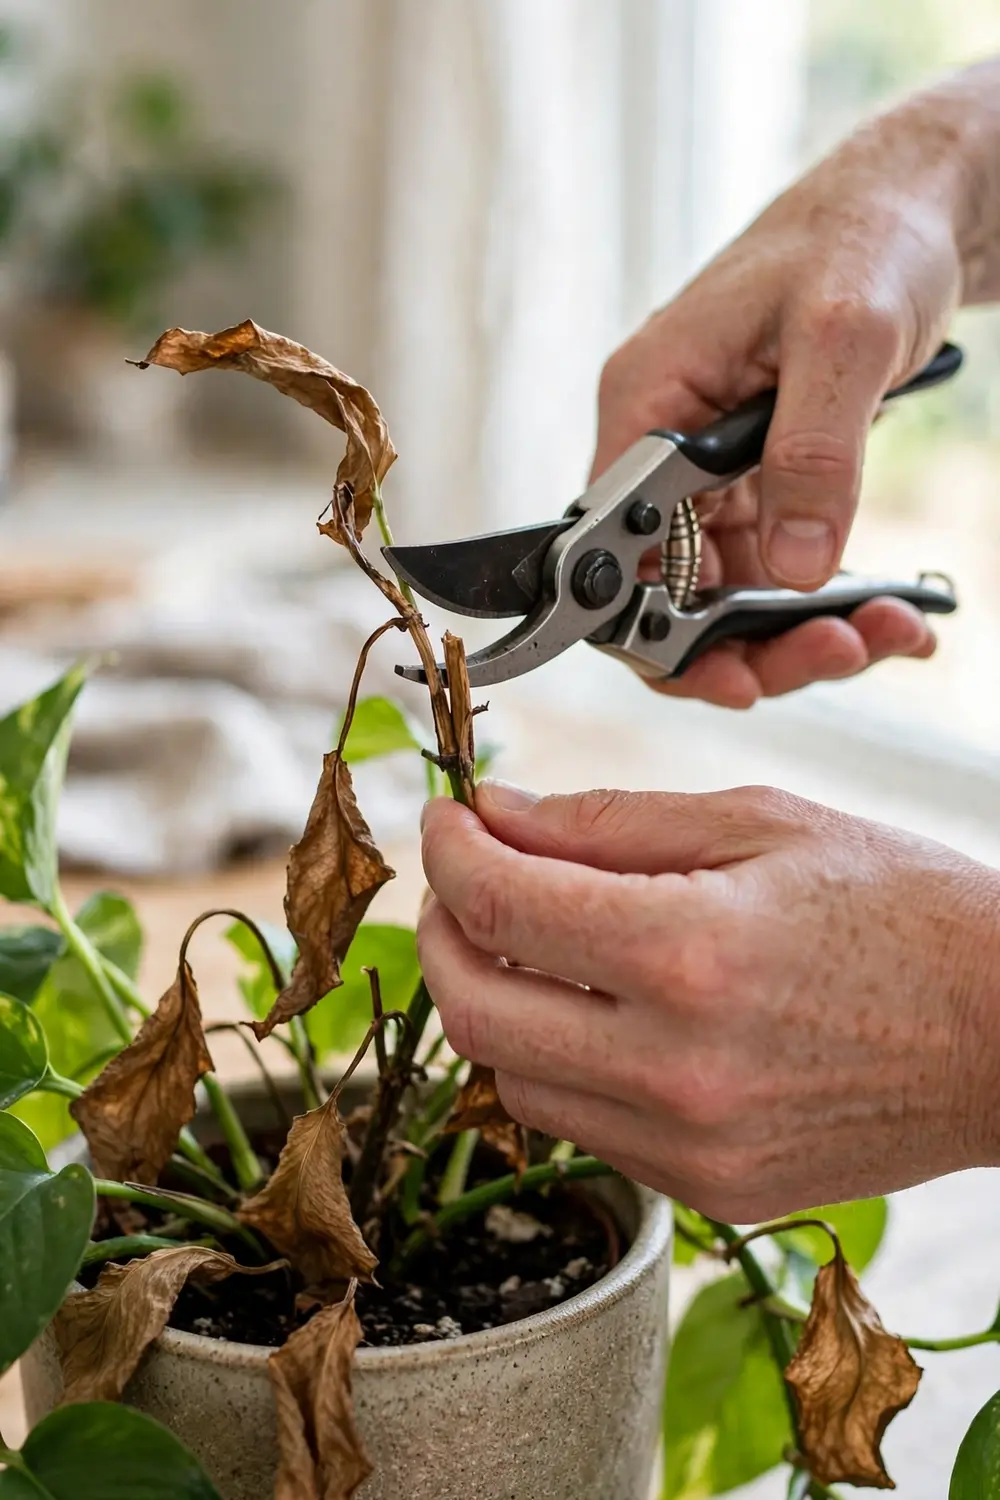
Dead leaves and spent stems are easy to miss once new growth starts crowding them out. Clearing them now lets light and air reach the healthy growth underneath, and it stops dead tissue from sheltering pests.
Snip dead leaves at the base with clean secateurs, and cut back any stems that are brown, mushy or bare. Spring is also the best time to take cuttings, since they root quickly while the plant is actively growing.
- Cut — dead, yellowed and mushy leaves, right at the base
- Cut — brown, mushy stems that have no new buds
- Keep — healthy stems with new buds, even if they look untidy for now
- Save — strong stem cuttings to propagate while growth is active
4. Decide which plants need repotting
Not every plant needs a new pot this spring. A plant that is happy where it is will sulk if you disturb it for no reason, so check first and repot only the ones that show clear signs.
Lift the plant from its pot and look at the roots. A few roots around the edge are normal, but a dense circling mat with almost no soil left means it is time.
| What you see | What it means | Do now or wait |
|---|---|---|
| Roots poking through the drainage holes | The plant has outgrown its pot | Repot now |
| Roots circling in a tight mat | Root-bound, water and food cannot get through | Repot now |
| Water runs straight through the pot | The root ball is too dense to absorb it | Repot now |
| Soil dries out in under two days | Roots have filled the pot and left little soil | Repot now |
| Growth has stalled despite good light and feeding | Check the roots before you blame anything else | Check, then repot if root-bound |
| One yellow leaf, plant otherwise healthy | Usually a watering or light issue, not the pot | Wait |
| Spider plant slightly tight in its pot | Spider plants enjoy being a little tight | Wait |
How often you repot depends on the plant. Most houseplants do well with fresh mix every two to three years. Fast growers can need a new pot every 12 to 18 months, while slow growers such as snake plants and ZZ plants can wait 18 months or more.
- Never in winter — dormant plants cannot grow new roots to settle in
- Never while flowering — repotting pulls energy away from the blooms
- Never straight after purchase — let a new plant settle for at least a month first
5. Repot the root-bound ones
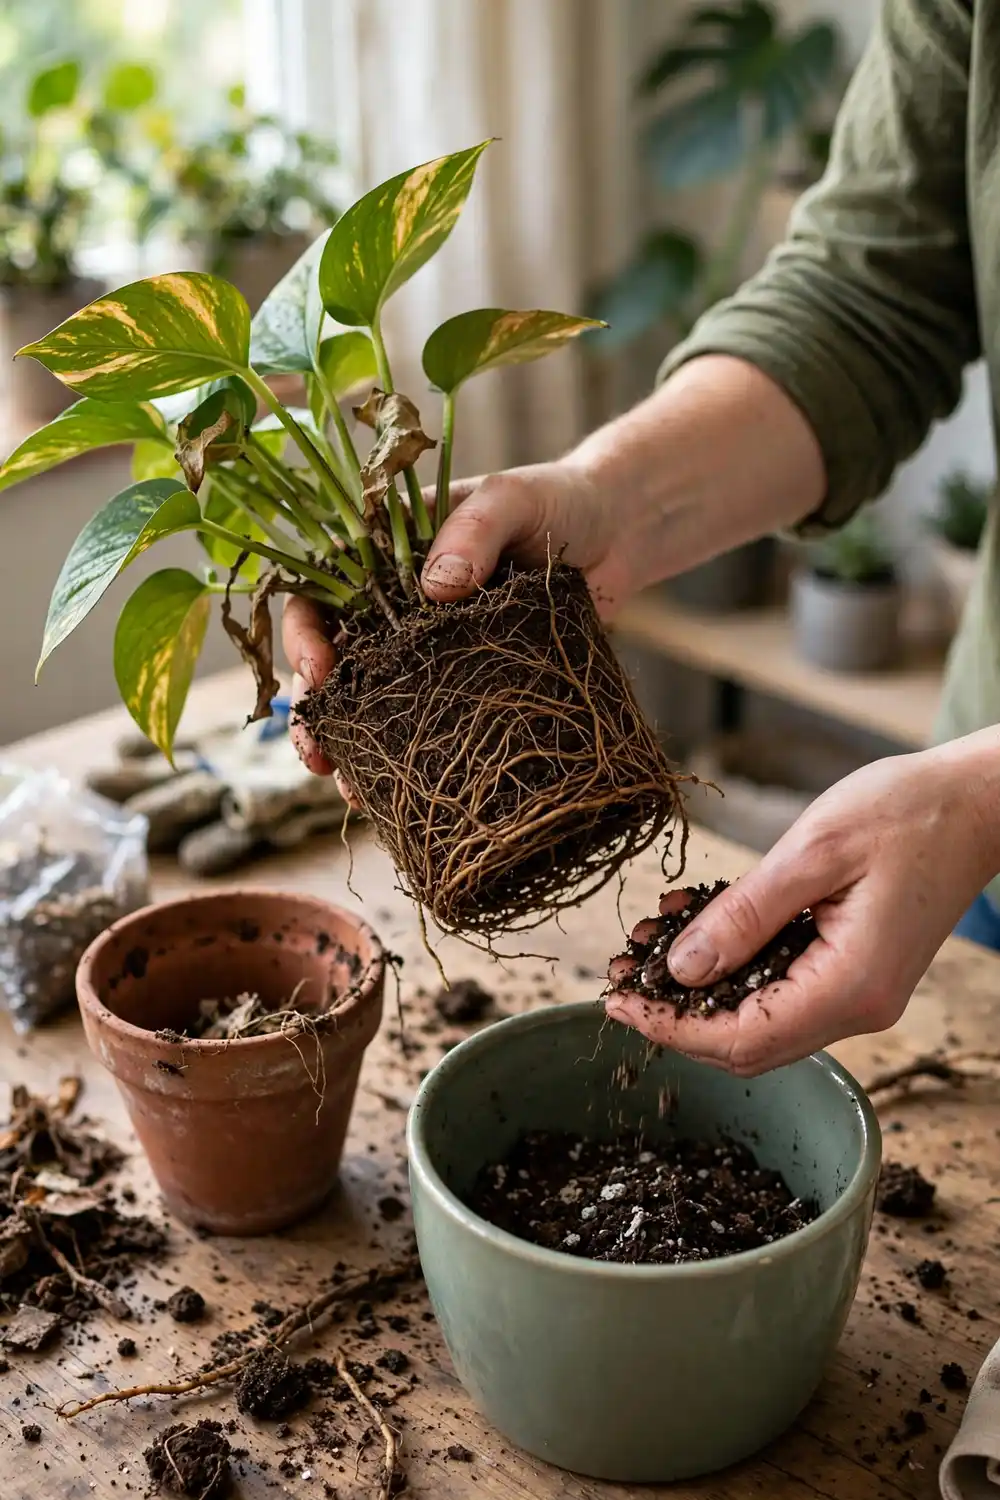
Repotting is a quick job when you have everything ready. Water the plant the day before so the root ball holds together, then work on a surface you can sweep clean afterwards.
Choose a pot only one size up, about 2–5 cm wider than the old one, with drainage holes. A pot that is far too big holds wet soil the roots cannot use, and that is how root rot starts.
- Pot — one size up, about 2–5 cm wider, drainage holes open
- Mix — fresh, well-draining potting mix, not garden soil
- Roots — healthy roots are white or light tan and firm; trim dark, mushy ones
- Finish — water thoroughly and let the pot drain fully before it goes back on its saucer
If a plant cannot go into a bigger pot, trim about one-third of the roots from around the root ball and cut back about the same amount of foliage. The plant then fits its old pot with fresh mix around it.
6. Reset the watering routine
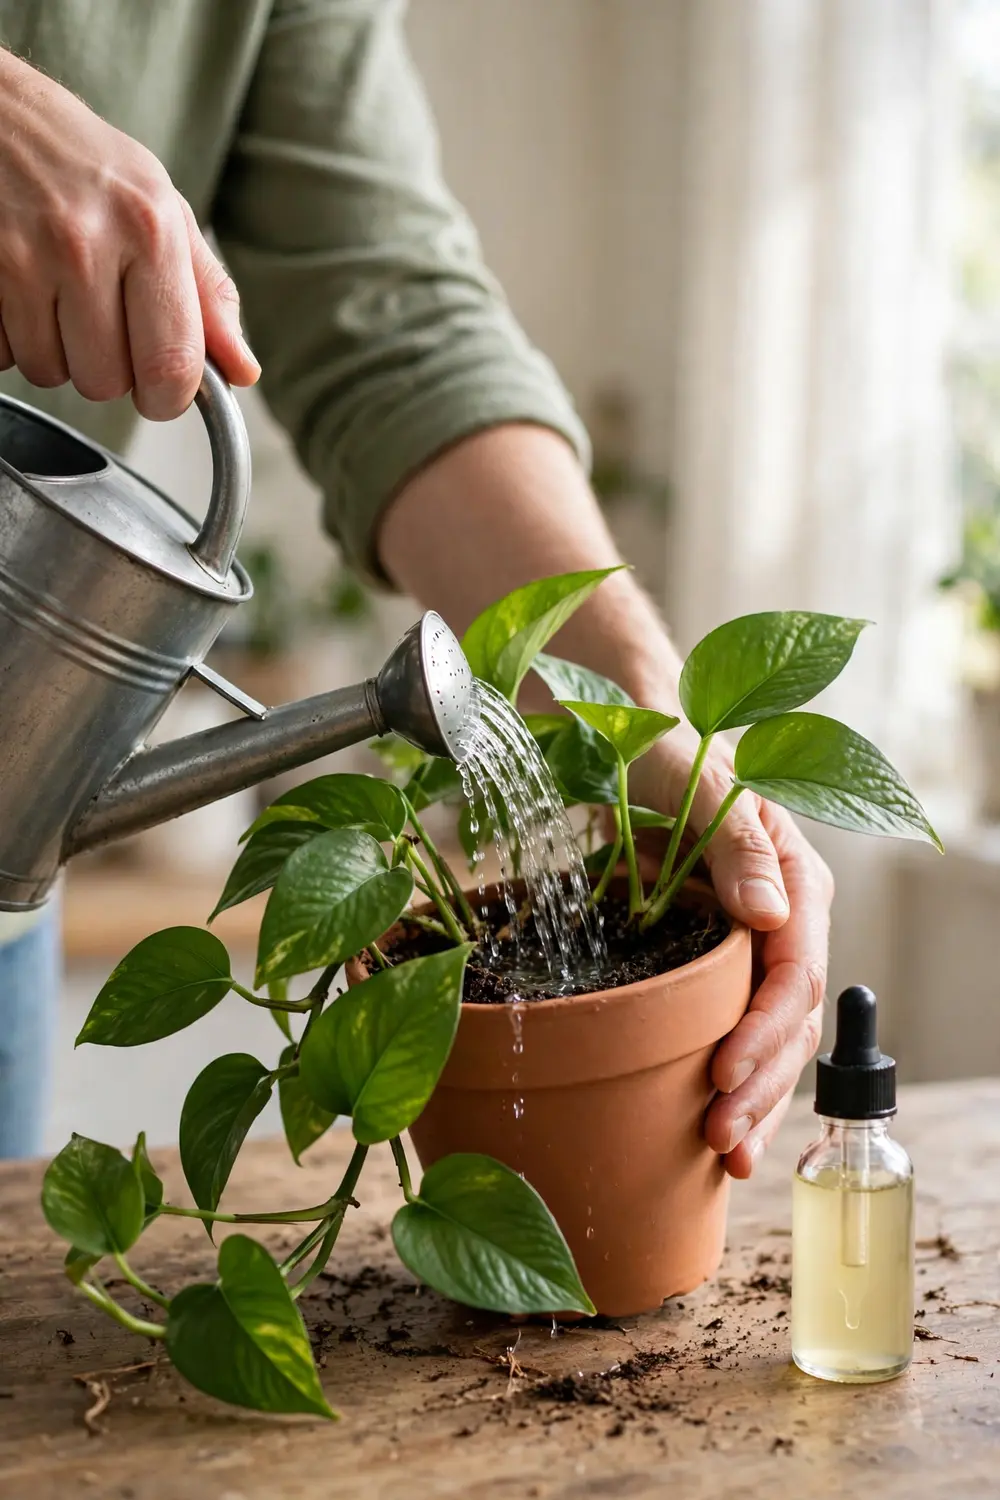
Your winter watering rhythm will not carry your plants through summer. As growth resumes, a plant that needed water every 10 days in winter might need it every 5–7 days, so check the soil more often instead of watering on a fixed day.
Water when the top 2–5 cm of soil feels dry, and water deeply enough that it runs from the drainage holes. Brown, crispy fallen leaves are a sign the plant is thirsty, while succulents still only need a deep water every two to three weeks.
- Salt crust — a brown crust around drainage holes or the soil line means salts have built up; scrub the pot clean while it is empty
- Hydrophobic mix — peat-heavy mix that has dried out can refuse water; soak the whole root ball in room-temperature water until no air bubbles rise
- Flush — run a large volume of plain water through the pot every 4–6 months and empty the saucer
- Standing water — never leave a pot sitting in a full saucer
7. Start feeding again
Feeding starts when you can see new growth, not on a calendar date. A plant that is still resting has no use for fertiliser, and feeding it early can burn tender new roots.
Begin with a balanced liquid feed at half strength, every two to four weeks through the growing season. Always water first and feed second, since feeding dry roots burns them.
- Feed — actively growing plants, at half strength to start
- Never feed — a dry plant, a dormant plant, or one showing stress
- Wait — four to six weeks after repotting, since fresh potting mix already carries nutrients
- Yates label rate — Thrive All Purpose is NPK 12.4:2.7:6.2 at 5 ml in 2 L of water, for container and pot plants in active growth every 5–10 days
The Yates label rate and the general half-strength guidance are two different schedules, so pick one and follow it rather than mixing the two. Do not apply liquid feed to foliage when temperatures are expected to reach over 30°C, and do not apply it to dry soil. Yates Thrive Indoor Plants liquid plant food (NPK 8:1.9:8.2, 500 mL) is listed at $19.16, and one bottle makes up to 150 L of plant food.
8. Move plants for the changing sun
The sun moves across your rooms as the seasons change, and a plant that sat safely out of direct light in winter can end up right in its path by October. Walk around the house on a sunny morning and note where the light actually falls now.
Move any plant that is catching direct afternoon sun, since a sudden increase in light can shock a plant into dropping its leaves. Crotons and fiddle leaf figs are the most sensitive, and a cold draft from air conditioning or a fan can have the same effect.
- Move — plants now sitting in direct afternoon sun
- Leave — plants that are thriving where they are, even if the light has shifted a little
- Watch — leaves dropping after a move, which usually means shock rather than disease
- Check — our guide to indoor plants that love direct sun if you need a brighter spot filled
9. Harden off plants going outside
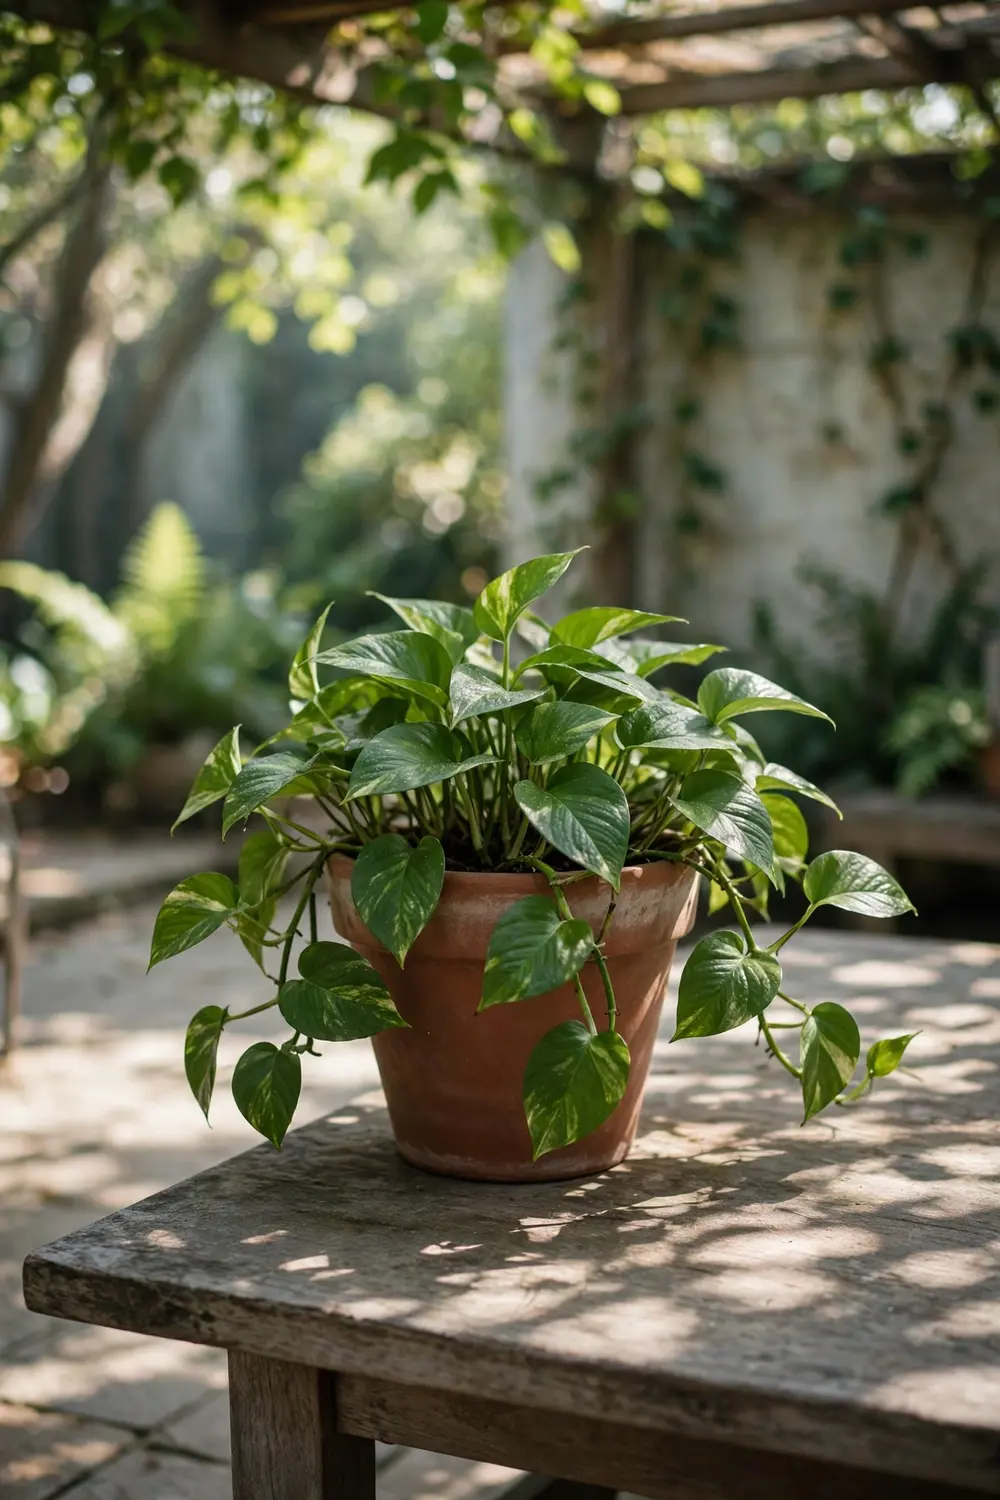
A plant that has lived indoors all winter cannot go straight onto a sunny patio. The jump in light, wind and temperature shocks it, and the first sign is usually leaves dropping within a few days.
Start with short visits of 10–15 minutes a day in shade or bright indirect light, then build up the time and the light gradually. Afternoon sun is the harshest, so introduce it last, once the plant has had a week or two of shorter outdoor visits.
- Day one — 10–15 minutes in shade, then back inside
- Build up — longer visits over a week or two, adding gentle morning sun first
- Last step — afternoon sun, only once the plant is coping well outdoors
- Skip — moving a plant outside on a scorching or very windy day
Frequently asked questions
When should I start fertilizing houseplants in spring?
Start once you can see new growth. Use a balanced, water-soluble fertiliser at half strength every two to four weeks through the growing season, and always water first.
Is spring a good time to repot houseplants?
Yes. Spring is the ideal time because plants are actively growing and recover faster from the stress of repotting, and fresh soil gives the roots nutrients and room to expand.
When should I stop fertilizing houseplants?
Feed through the growing season and stop as growth slows into autumn and winter. Once the days shorten and new leaves stop appearing, the plant has little use for fertiliser.
What is the best time of year to repot a houseplant?
When the plant is actively growing, which is spring or early summer in Australia. Repot when roots grow through the drainage holes, fill the soil mass, or the plant wilts between waterings.
The bottom line
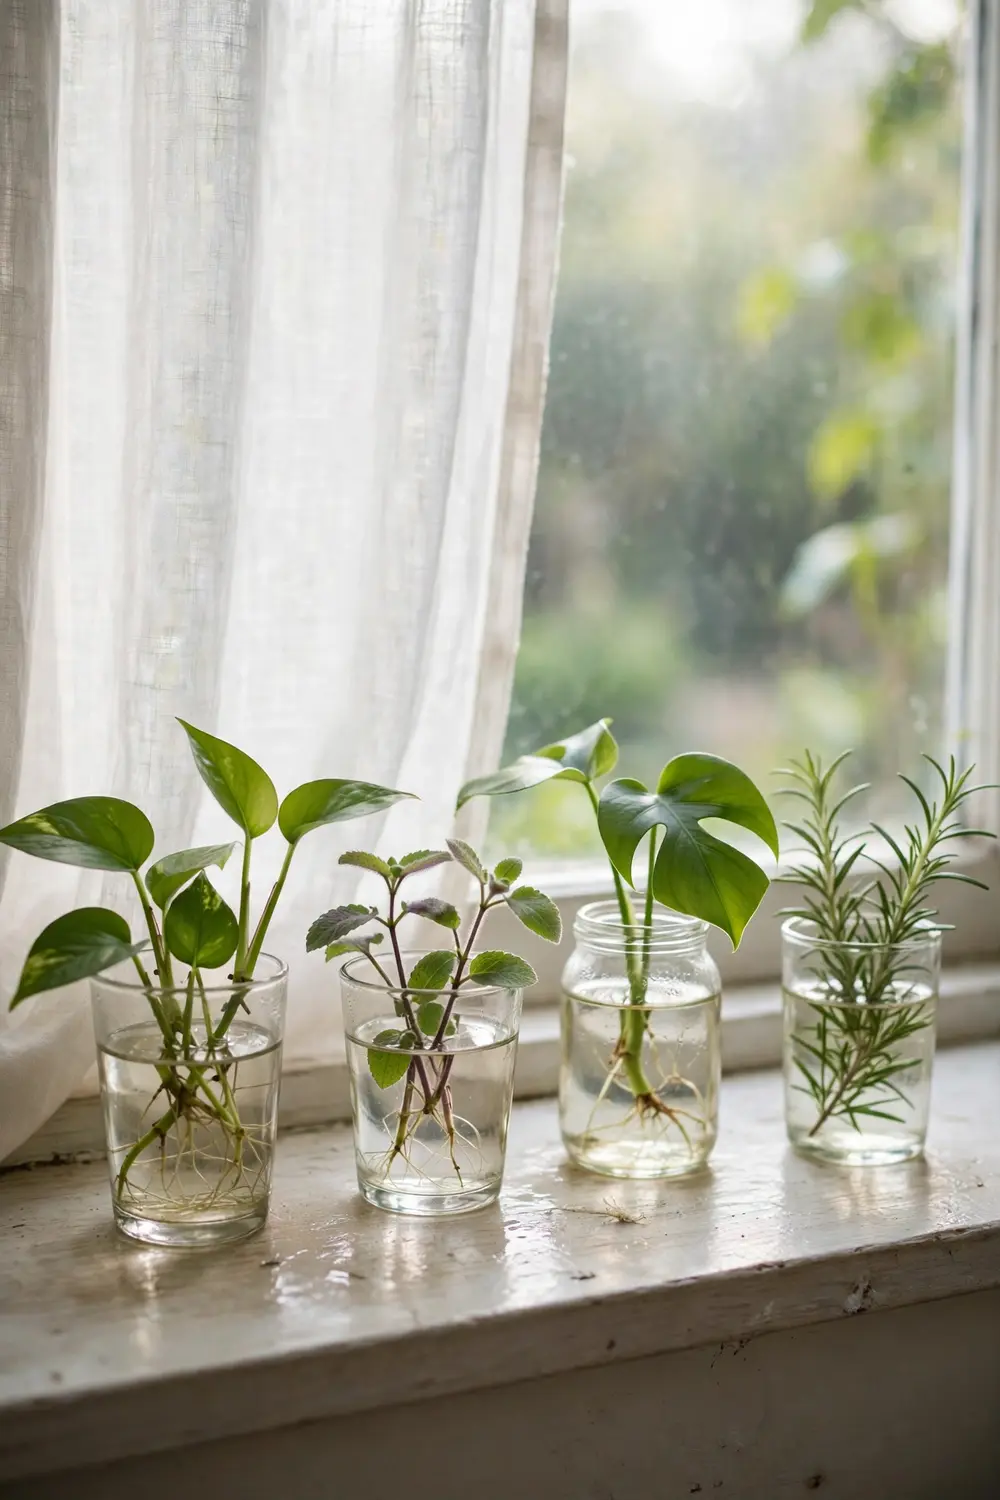
Nine jobs, done in order, and your plants go into summer with clean leaves, fresh mix, fed roots and a spot that suits the new season. That is houseplant care in spring Australia done properly, and the plants will show it in the new growth over the next few weeks.
If you are still building your collection, start with our houseplants for beginners guide and add plants one at a time. A small collection that is well looked after will always beat a crowded shelf of struggling plants.