A wood heater is one of those purchases people make in a panic, usually on the first freezing night of winter, when installers are booked out and the model you wanted is sold out. Buying it in late spring flips that around.
This wood heater installation guide Australia homeowners can use before winter starts with the honest version of “cheapest”. The heater itself is on spring sale prices, installers are still available, and there is no peak-season wait. Nobody can promise a measured saving on the total bill, because no Australian source publishes one, but the timing case is real — and it is worth understanding before you commit.
Why late spring
Installers are available, not booked out
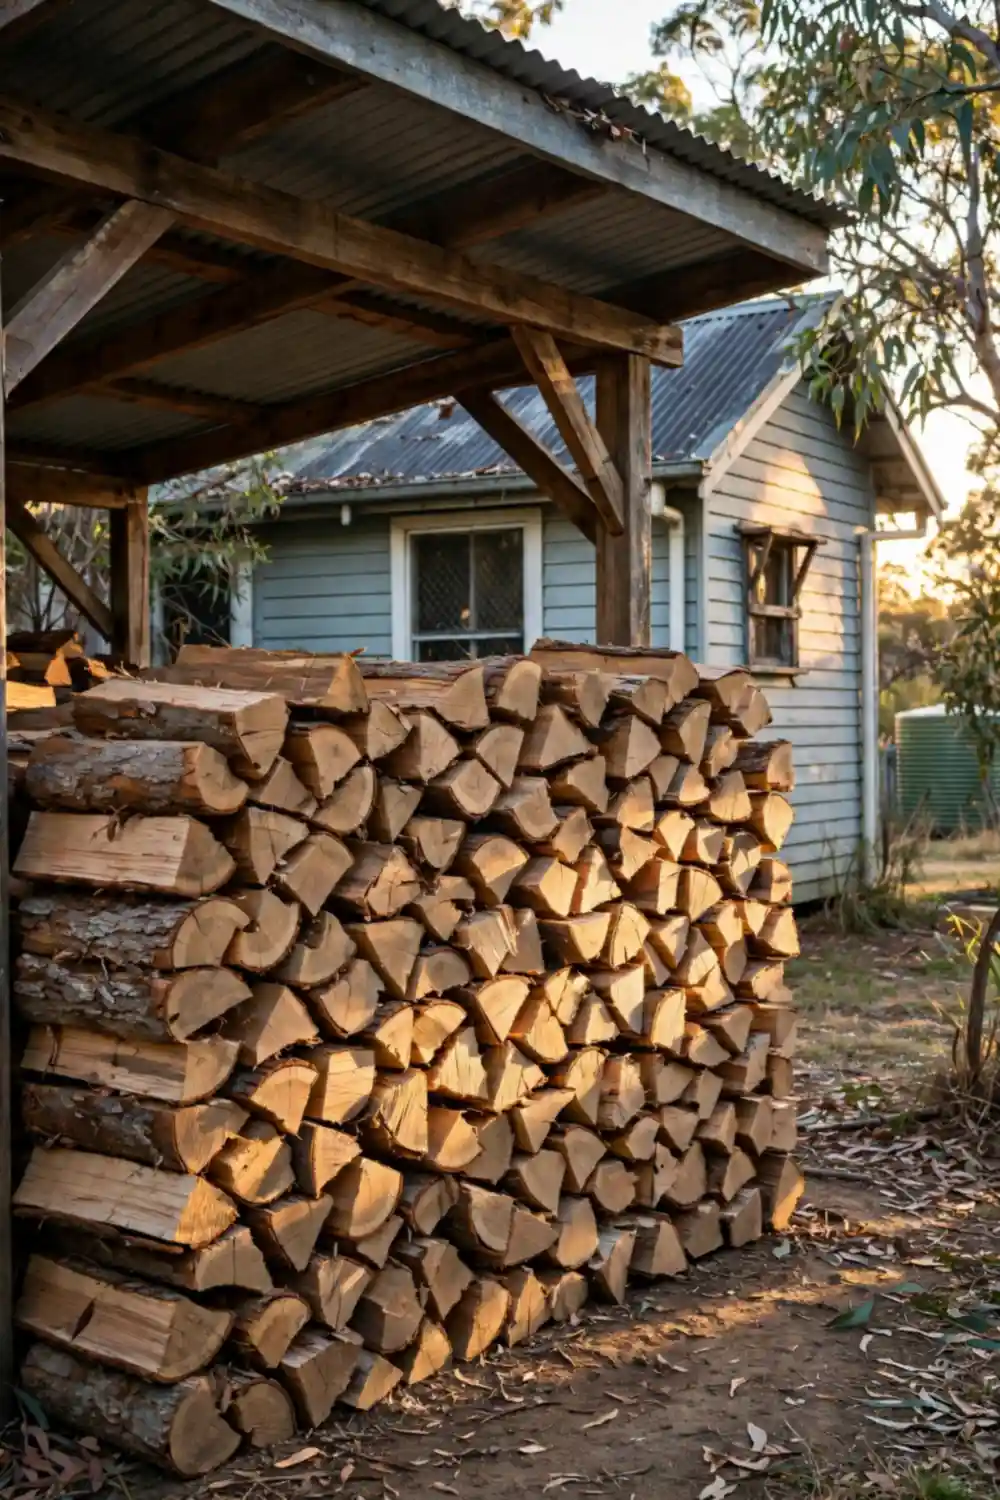
The strongest Australian evidence for spring timing comes from Ultimate Fires, a Victorian manufacturer and retailer. Its spring sale page says installers “book out weeks ahead once the weather turns”, and sets out the season plainly.
In spring, stock and installers are available; in autumn, demand peaks and install wait times grow; in winter, popular models sell out. Buying in spring means the heater is in, flued and ready before the first cold night, with time to stock up on dry wood.
- Spring, stock and installers available
- Autumn, demand peaks, wait times grow
- Winter, popular models sell out
Spring sale prices on the heater itself
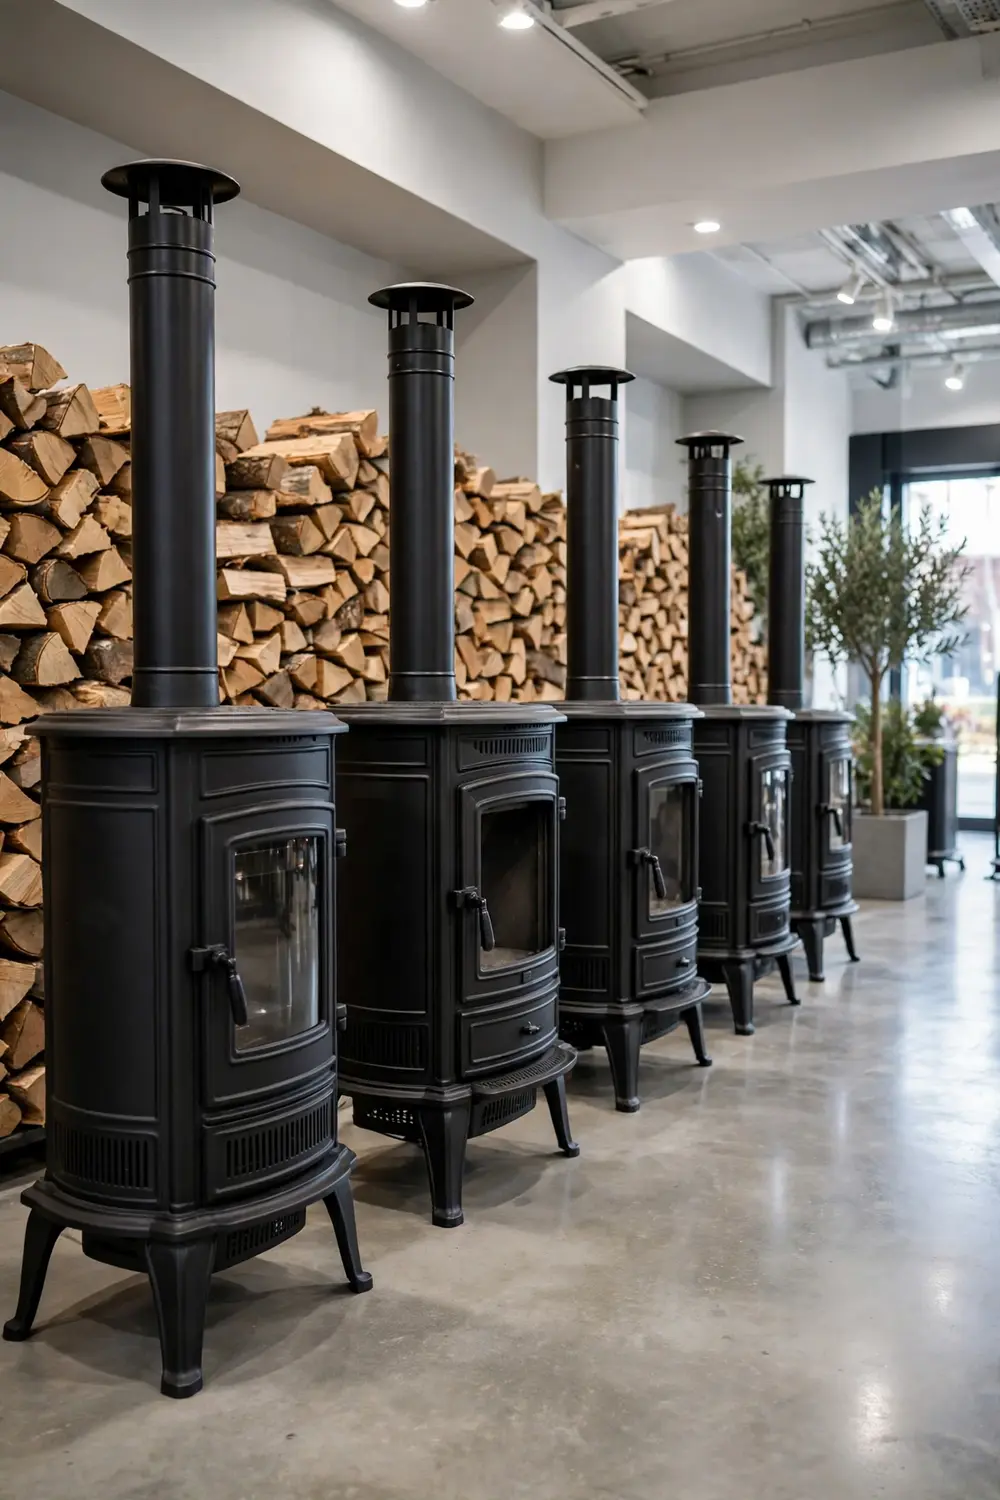
Ultimate Fires runs a named “Spring Builder & Renovator Sale” with supply-only prices from $999 for its Radiant 16 freestanding model, from $2,799 for the Spectre Parlour 100, $2,999 for the Elite 20 freestanding and $3,499 for the Supreme 10 inbuilt. Those prices are supply only — the flue kit and installation by a qualified installer are extra — and ex-display and scratch-and-dent stock runs up to 40% off while stocks last.
The saving, where it exists, is on the heater, not on the labour. No Australian source says installer rates fall in spring.
- Radiant 16 freestanding, $999 supply only
- Spectre Parlour 100, from $2,799 supply only
- Elite 20 freestanding, $2,999 supply only
- Supreme 10 inbuilt, $3,499 supply only
The counterpoint
Spring is not the only discount window, and the article would be dishonest to pretend otherwise. Regency Fire ran a cashback promotion of up to $500 on selected wood heaters from 24 April to 30 June 2026 — autumn and pre-winter, not spring.
Manufacturer promotions come around through the year, so the spring advantage is availability and preparation time as much as price. What spring buys you that a discount cannot is the heater fitted and ready, with dry wood stacked, before winter starts.
- Regency cashback, up to $500, April to June 2026
- Timing, autumn and pre-winter, not spring
- Spring edge, availability and preparation, not just price
What the installation actually involves
A wood heater is not a DIY job. Every source agrees installation must be carried out by a licensed tradesperson — typically a plumber or heating specialist — complying with AS/NZS 2918, local council regulations and the manufacturer’s specifications. What follows is an outline of what your installer does, so you know what to expect and what to ask — not instructions for fitting one yourself.
1. Council approval first
In New South Wales, council approval under Section 68 of the Local Government Act 1993 is required before installing a wood heater, and there is no option to get approval after the heater is installed. The application goes through the NSW Planning Portal with a site plan showing the appliance location, flue position and height and nearby structures, a floor plan showing the heater location and safety clearances, appliance specifications, and a Certificate of Compliance from the retailer.
In Wollongong, the application fee is $455.00 including GST. Outside NSW, the rules differ by council, so check your own council before you buy.
- NSW, Section 68 approval before installation
- Route, NSW Planning Portal, site and floor plans
- Fee, $455.00 including GST in Wollongong
2. Choose the heater
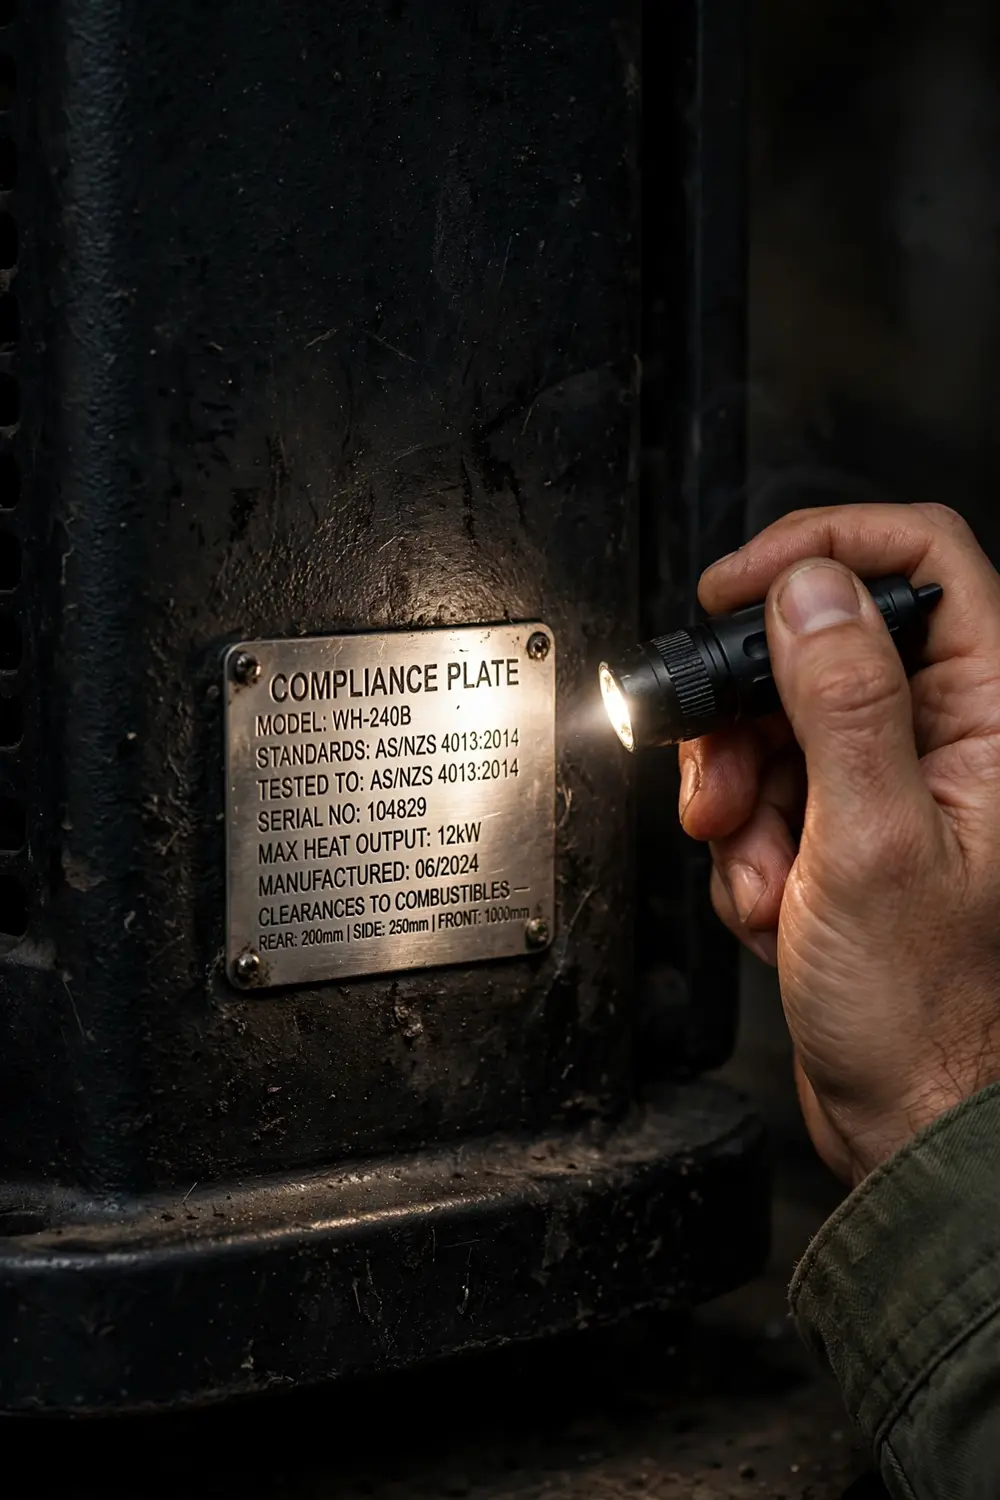
Freestanding or inbuilt, radiant or convection, sized to the room — those are the choices, and the compliance plate is the check that matters most. Since 8 August 2019, Ultimate Fires’ choosing guide states that every new wood heater sold in Australia must meet two limits.
Emissions are no more than 1.5 grams of particulate per kilogram of wood burnt, measured to AS/NZS 4013, and efficiency is 60 per cent or higher, measured to AS/NZS 4012. The plate on the back or base of the heater should name both standards.
- Type, freestanding or inbuilt
- Heat, radiant or convection
- Plate, AS/NZS 4012 and AS/NZS 4013 named
3. Position the heater
The installer assesses the home layout, insulation and airflow, then positions the heater centrally where the heat can travel, away from windows, doors and furniture where possible. Clearances to combustible walls, ceilings and furnishings follow the manufacturer’s instructions and AS/NZS 2918, with approved wall shielding or heat-resistant panels where needed. Heat travels in straight lines and stalls at doorways, so a heater in a closed room warms that room and little else.
- Position, central, heat travels in straight lines
- Clearances, per the manual and AS/NZS 2918
- Shielding, approved panels where walls are combustible
4. The hearth and floor protection
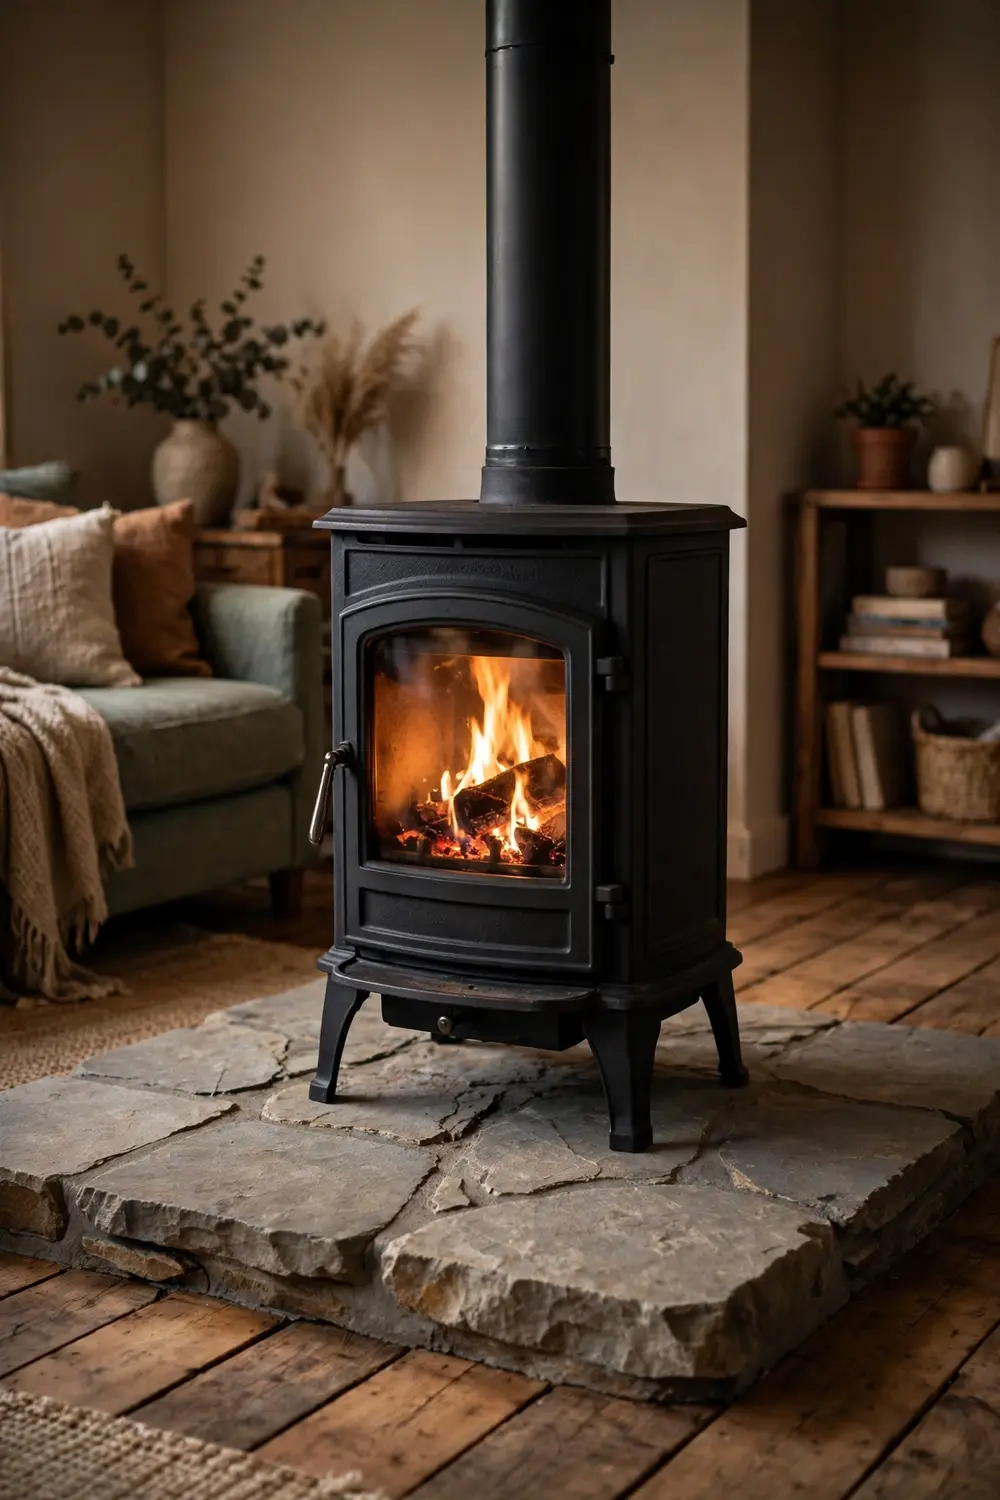
A non-combustible hearth sits under and around the heater, and it is required on any combustible flooring — timber, laminate or carpet. The minimums are model-specific.
Jarrahdale specifies 300 mm in front of the heater door and 200 mm to either side, and Prime Plumbing states the same 300/200 mm figures as the AS/NZS 2918 requirement, while floor-protector thickness runs 5 mm in the Nectre manual and 6 mm in the visionLINE manual. Never take one model’s numbers as the rule for all heaters — your model’s manual and the standard govern.
- Hearth, non-combustible, under and around the heater
- Minimums, model-specific, 300 mm front and 200 mm sides typical
- Rule, your manual and AS/NZS 2918 govern
5. The flue
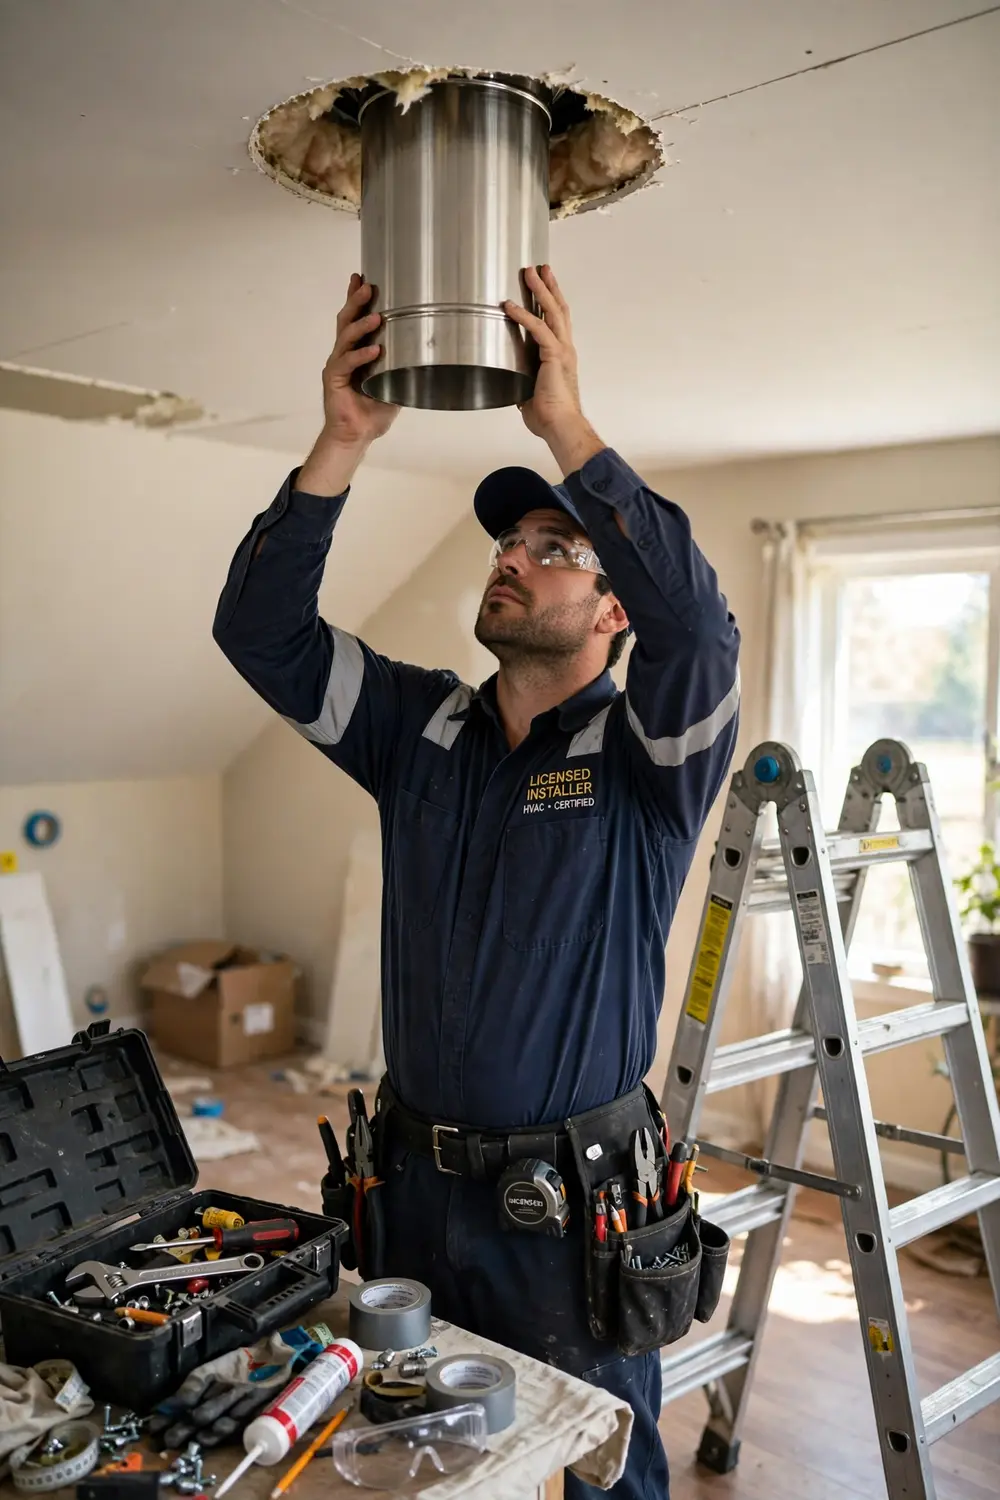
The flue is one of the most important components, and it is where the two height rules live — they are different instruments, so they are stated separately. Under AS/NZS 2918, via the Sunco manual, the active flue must terminate at least 4.6 metres above the base of the heater, at least 1 m from a sloping roof, at least 1.5 m above a flat roof, and at least 1 m above any airflow obstruction within a 3 m radius.
Wollongong Council’s rule is different. The flue must extend at least 1 m above any structure within 15 m of the outlet, and must not exceed 2 m above the roof ridge. The council rule governs locally.
- Standard, AS/NZS 2918, 4.6 m above the heater base
- Council, Wollongong, 1 m above structures within 15 m
- Cap, Wollongong, no more than 2 m above the roof ridge
6. Roof penetration and flashing
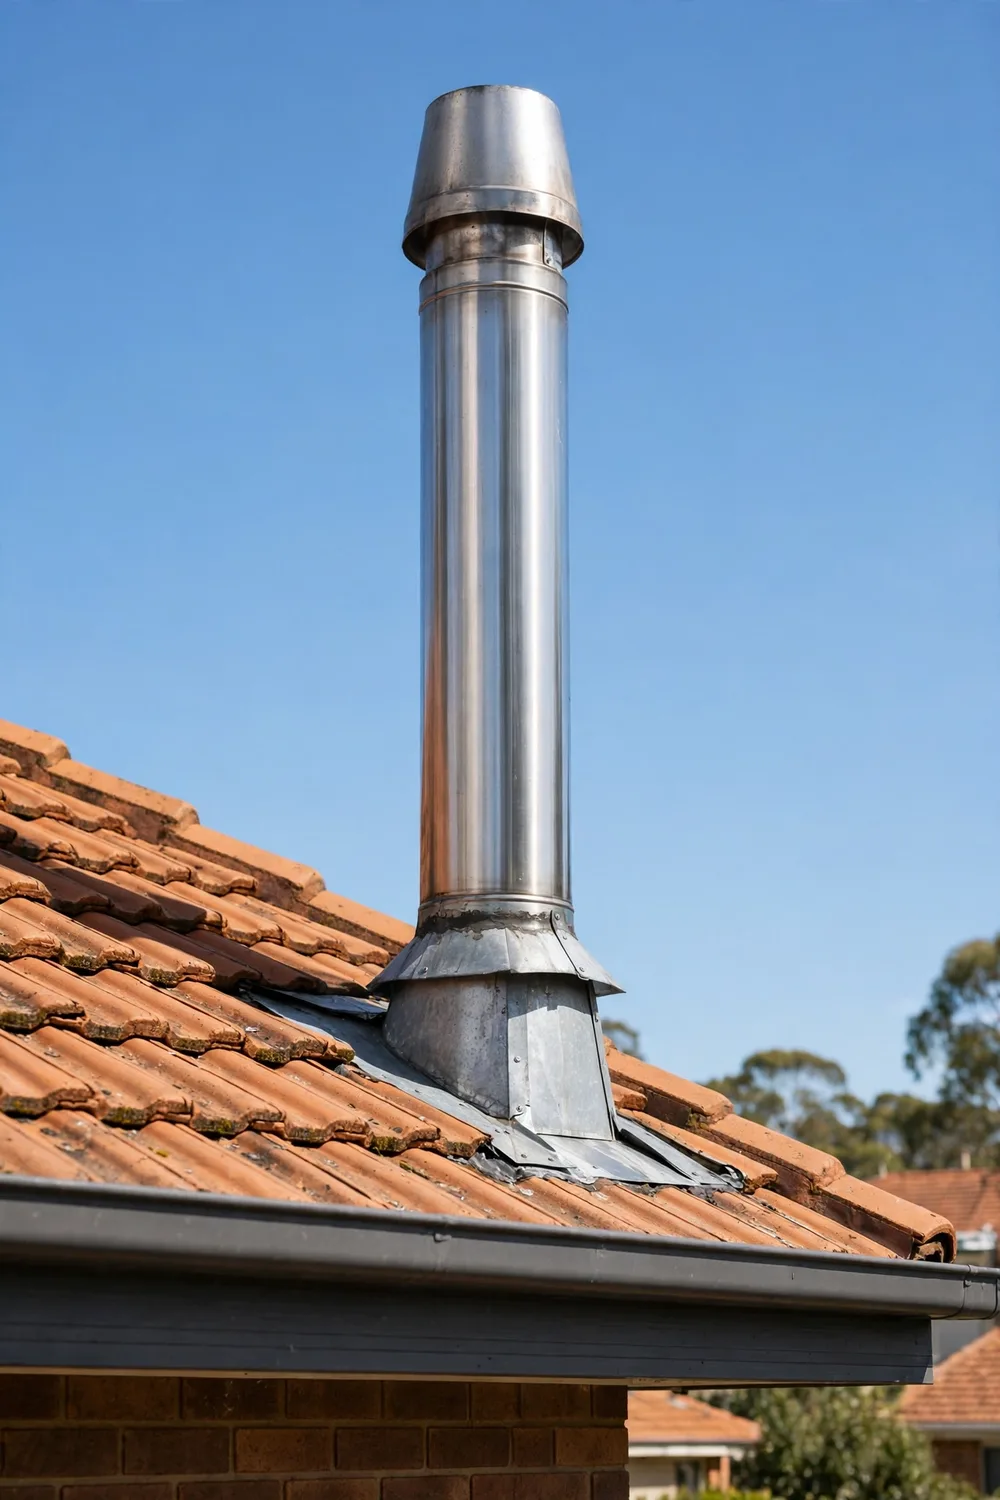
The flue passes through the ceiling and roof, with flashing to suit the roofing material — tile roof flashing for tiled roofs, iron roof flashing for Colorbond and similar metal roofs. Flashing should be installed by a qualified professional, and on a double-storey home the flue has to pass the upper floor and clear the roofline, which is more work and adds to the price. A weather cap finishes the top of the flue.
- Penetration, flue through ceiling and roof
- Flashing, matched to the roofing material
- Professional, flashing fitted by a qualified installer
7. Compliance certificate on completion
When the work is done, the installer issues a compliance certificate. It is non-negotiable for insurance and resale.
Hipages notes that an unlicensed installer or a non-compliant heater can affect insurance, with an insurer able to reduce a payout or deny a claim after a fire. Keep the certificate with the heater’s paperwork, and keep the compliance plate details with it.
- Certificate, issued by the installer on completion
- Insurance, non-compliant installs can affect a claim
- Keep, certificate and plate details together
Choosing the right size
Size by volume, not floor area
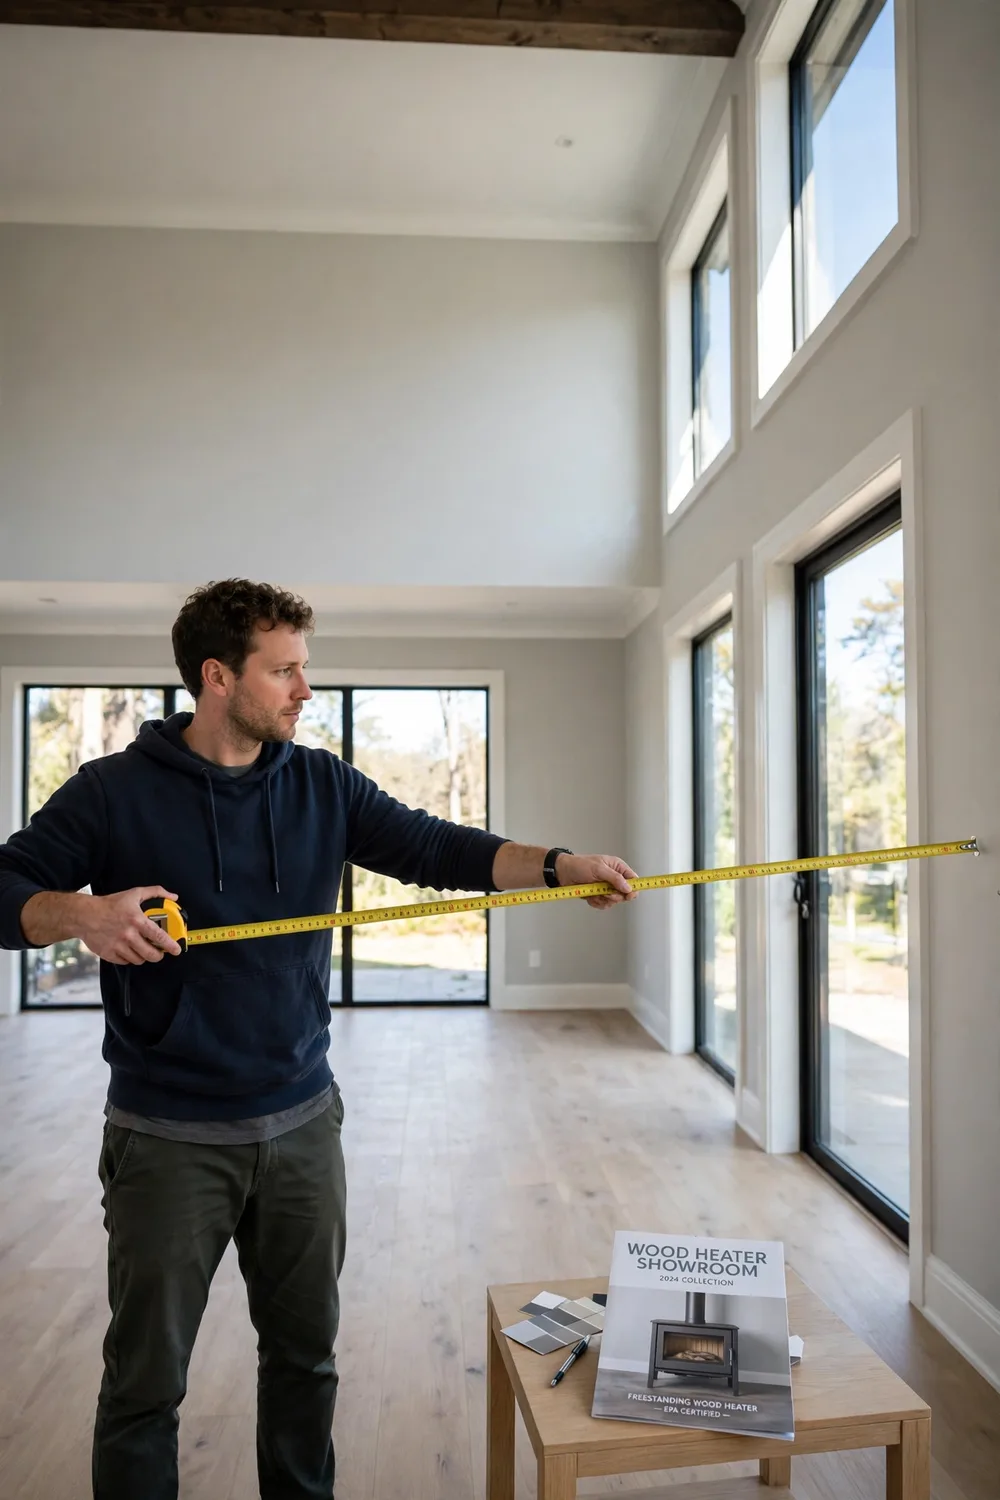
The Wood Heater Co, a Melbourne retailer and installer, sizes on volume rather than floor area. Multiply the floor area by the ceiling height to get the volume in cubic metres, then divide by 10 for a draughty older house or 14 for a well-insulated modern one.
Their worked example is a living room 6 m by 5 m with a 2.4 m ceiling — 72 cubic metres, about 5 kW well insulated — while the same room with a 3.2 m raked ceiling is 96 cubic metres, about 7 kW. It is a rule of thumb, not a standard, and a starting point for a conversation rather than an answer.
- Volume, floor area times ceiling height
- Divide, by 10 for draughty, 14 for well insulated
- Example, 72 cubic metres, about 5 kW well insulated
The oversizing trap
Oversizing is the common mistake. A heater too large for its space lives on a low smouldering setting, which deposits creosote in the flue — fuel for a chimney fire — blackens the glass, produces visible smoke that draws neighbour complaints, and wastes wood through incomplete combustion.
The tell is simple. If you open a window while the fire is lit, the heater is too big. Target a unit that runs comfortably in its mid range on an ordinary winter evening, not one sized for the coldest night of the decade.
- Too big, smoulders, creosote, blackened glass, smoke
- Tell, opening a window while the fire is lit
- Target, mid-range running on an ordinary winter evening
Radiant or convection
A radiant heater sends heat straight out from the firebox to the people and surfaces in front of it, like standing near a campfire, and suits high or raked ceilings, draughty rooms and spots where you want to feel warm fast. A convection heater draws cooler air in around the firebox, warms it and pushes it back into the room, giving even, steady warmth that suits insulated homes with standard ceilings of about 2.4 to 2.7 metres. Some models do both.
- Radiant, direct warmth, high ceilings and draughty rooms
- Convection, even circulation, standard ceilings
- Both, some models combine the two
The box figure is not comparable
Heating-area figures on the box — “up to 150, 200 or 300 square metres” — come from the manufacturer, not from a standard, and assume a reasonably insulated house with standard ceilings and open plan. Efficiency and emissions are tested to an Australian standard and are comparable between brands; heating area is not.
Ultimate Fires groups its own models in brackets up to 140–150, 180–190, 200–230, 250–280 and up to 300 square metres. Its guide’s advice is blunt. There is no single best model, and any brand that claims to have one is selling something.
- Box area, a manufacturer’s estimate, not a standard
- Comparable, efficiency and emissions, tested to AS/NZS
- Brackets, Ultimate Fires groups its own models by area
What it costs
Costs are given as per-source envelopes only, never blended, because the sources disagree with each other. Hipages’ installation guide puts a basic installation from around $1,500, with a full fit-out including flue kit and labour able to exceed $4,000.
Its own separate pages give different totals — $3,000 to $7,000 for a slow-combustion heater, $3,000 to $8,000 for a combustion fireplace, and $3,000 to $7,500 for a freestanding fireplace — because they are different article scopes, not one figure. Prime Plumbing in Melbourne puts a typical project at $5,000 to $9,000 depending on flue work, which is Melbourne-scoped and higher than the national totals. Firewood runs about $400 for light use to $1,000 for heavy use per season, according to hipages.
| Source | Scope | Envelope |
|---|---|---|
| hipages installation guide | Australia, general | Basic install from ~$1,500; full fit-out can exceed $4,000 |
| hipages slow combustion | Australia | Total installed $3,000–$7,000 |
| hipages combustion fireplace | Australia | Total installed $3,000–$8,000 |
| hipages freestanding | Australia | Total installed $3,000–$7,500 |
| Prime Plumbing | Melbourne | Typical project $5,000–$9,000 |
| Ultimate Fires | Australia, supply only | $999–$3,499, flue and installation extra |
Always request an itemised quote, and make sure the installer holds the right licence. A single heater will not warm a split-level home or rooms behind closed doors, so if one unit will not do it, two right-sized units beat one oversized firebox — or a heat transfer kit, a small in-line fan moving surplus warm air one or two rooms, is the cheaper middle ground. Our guide to moving warm air from one room to another covers that in detail.
Rules and approvals to check first
The standards are AS/NZS 2918:2018 for installation, referenced in the National Construction Code, and AS/NZS 4012 and 4013 for efficiency and emissions. In New South Wales, wood heaters are not exempt development under the SEPP (Exempt and Complying Development Codes) 2008, and approval under Section 68 of the Local Government Act 1993 is required before installation.
Smoke is regulated too. Councils can issue Smoke Abatement Notices and on-the-spot fines — Campbelltown’s is $200 — for heaters that are not maintained to burn cleanly.
No specific Victorian or ACT rule was found in the sources for this article, so for those states the only supportable advice is to check your council. Second-hand heaters are only considered for approval in Wollongong if they display a compliance plate confirming compliance with the standards and are accompanied by the manufacturer’s original installation specifications for the year of manufacture.
Frequently asked questions
Does the price include installation?
No. Ultimate Fires’ spring prices are supply only — the flue kit and installation by a qualified installer are extra, and the retailer recommends installers it works with. The same applies to most advertised heater prices.
Always ask what the quoted figure covers before comparing two models.
What size heater do I need?
Size on room volume, not floor area. Multiply the floor area by the ceiling height to get the volume in cubic metres, then divide by 10 to 14 depending on insulation — 10 for an older uninsulated house, 14 for a well-sealed modern one. Ceiling height, glazing and how open the plan is move the figure more than area does.
Can a wood heater be too big for a room?
Yes, and oversizing is the more common mistake. A heater too large for its space is run permanently on its lowest setting, which burns dirty, deposits creosote in the flue and blackens the glass. It also makes the room uncomfortable rather than pleasant.
Can I install a wood fire heater myself?
No. Scandia requires all of its wood fire appliances to be fitted by a qualified, licensed installer whose work complies with local council regulations, Australian standards and the manufacturer’s specifications. The same requirement runs through every source for this article.
Do I need a hearth under my wood fire heater?
That depends on the type of flooring. If the heater is being installed on a combustible surface such as timber, laminate or carpet, a suitable hearth is required to help protect the floor from heat and sparks. The minimums are model-specific, so your model’s manual and AS/NZS 2918 govern.
What’s the difference between a radiant and convection wood heater?
A radiant wood heater warms nearby people and objects directly from the heater’s surface. A convection wood heater circulates warm air around the room, creating a more even temperature throughout the space. Radiant suits high ceilings and draughty rooms; convection suits insulated homes with standard ceilings.
The bottom line
Late spring is the cheapest time to install a wood heater in the sense that matters. The heater itself is on spring sale prices, installers still have room in their books, and the job is done before winter, with time to stock dry wood.
No source promises a measured saving, and promotions run in other seasons too — but a heater bought in a winter panic, fitted late, is the expensive version of the same purchase. Check the compliance plate, size by volume, get three itemised quotes from licensed installers, and check your council’s rules before you buy.