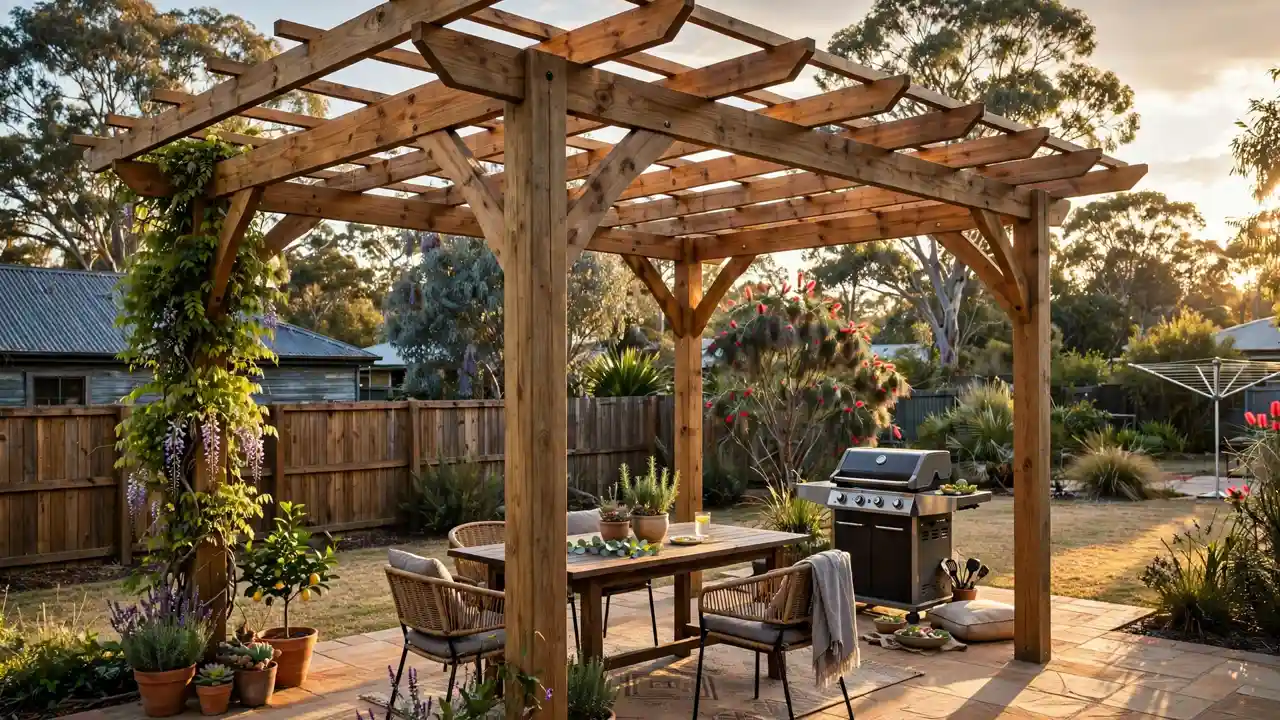
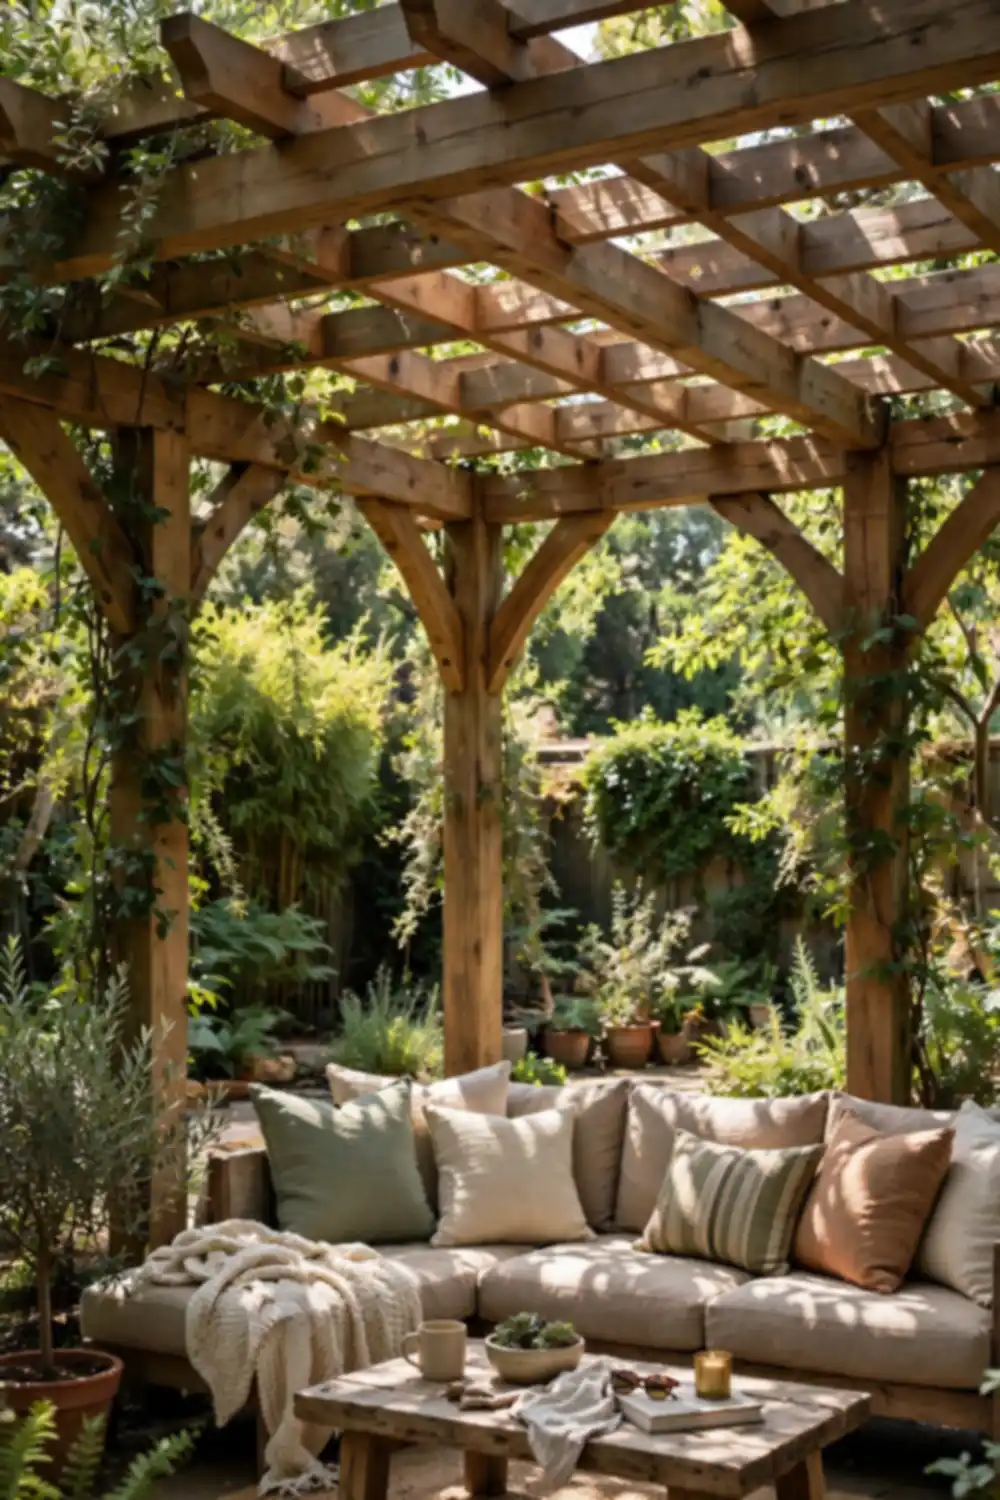
A pergola is the most forgiving structure in the backyard, four posts, a frame on top, and an outdoor room appears. It is also the project people most often start on a Saturday with no plan, which is how the wobbly ones you see leaning over fences got that way.
This guide is about how to build a pergola properly, a freestanding timber frame built from scratch in the right order. The approvals come first, because they decide the size and position before you dig anything, then the materials, then the build itself, step by step.
By the end the frame is square, plumb and bolted, with shade on top and nothing left to chance except the weather on the day.
First, the approval question
Every state and territory draws its own line between a pergola you can simply build and one that needs approval, so your council or state planning portal is the first tool in this project. New South Wales publishes its exempt development test in full, and it makes a useful worked example of the questions every state asks.
Under the NSW Codes SEPP, a pergola needs no approval if it meets every standard. It must sit behind the building line of any road frontage, at least 900 mm from each side and rear boundary, or 5 metres in zones RU1, RU2, RU3, RU4, RU6 and R5.
It must be no more than 25 square metres, and all such structures on the lot together must stay under 15 percent of the dwelling’s ground floor area on larger lots, or 25 square metres on lots of 300 square metres or less. Nothing may exceed 3 metres at the highest point, the floor can sit no more than 1 metre above existing ground, and any enclosing wall is capped at 1.4 metres.
Two conditions catch people out. Metal components must be low-reflective and factory pre-coloured, and on bushfire-prone land within 5 metres of a house, the structure must use non-combustible materials to stay exempt. Miss any standard and the project moves to a complying development certificate or a development application instead.
Read those numbers as NSW’s version of a national shape. Your state sets its own thresholds, so check them before you build, and keep the printout with the plans.
Tools and materials
The timber rule is about treatment classes, not sizes. Posts that go in the ground are H4 treated pine, the class rated for in-ground use, and the framing above ground is H3, the class rated for outdoor use out of the soil.
Member sizes are not a guess to make at the timber yard. Take them from span tables, a kit’s instructions or an engineer’s advice for anything beyond a small freestanding frame, because the bearer that suits a short span can be entirely wrong for a long one.
The hardware is galvanised, coach bolts for the main connections and screws rated for treated pine. Add concrete for the post holes, string lines and pegs for setting out, and safety gear you will actually wear, gloves, a mask and eye and ear protection, because cutting treated pine calls for all of it in a ventilated spot.
The build
Step 1: Check the ground and set out
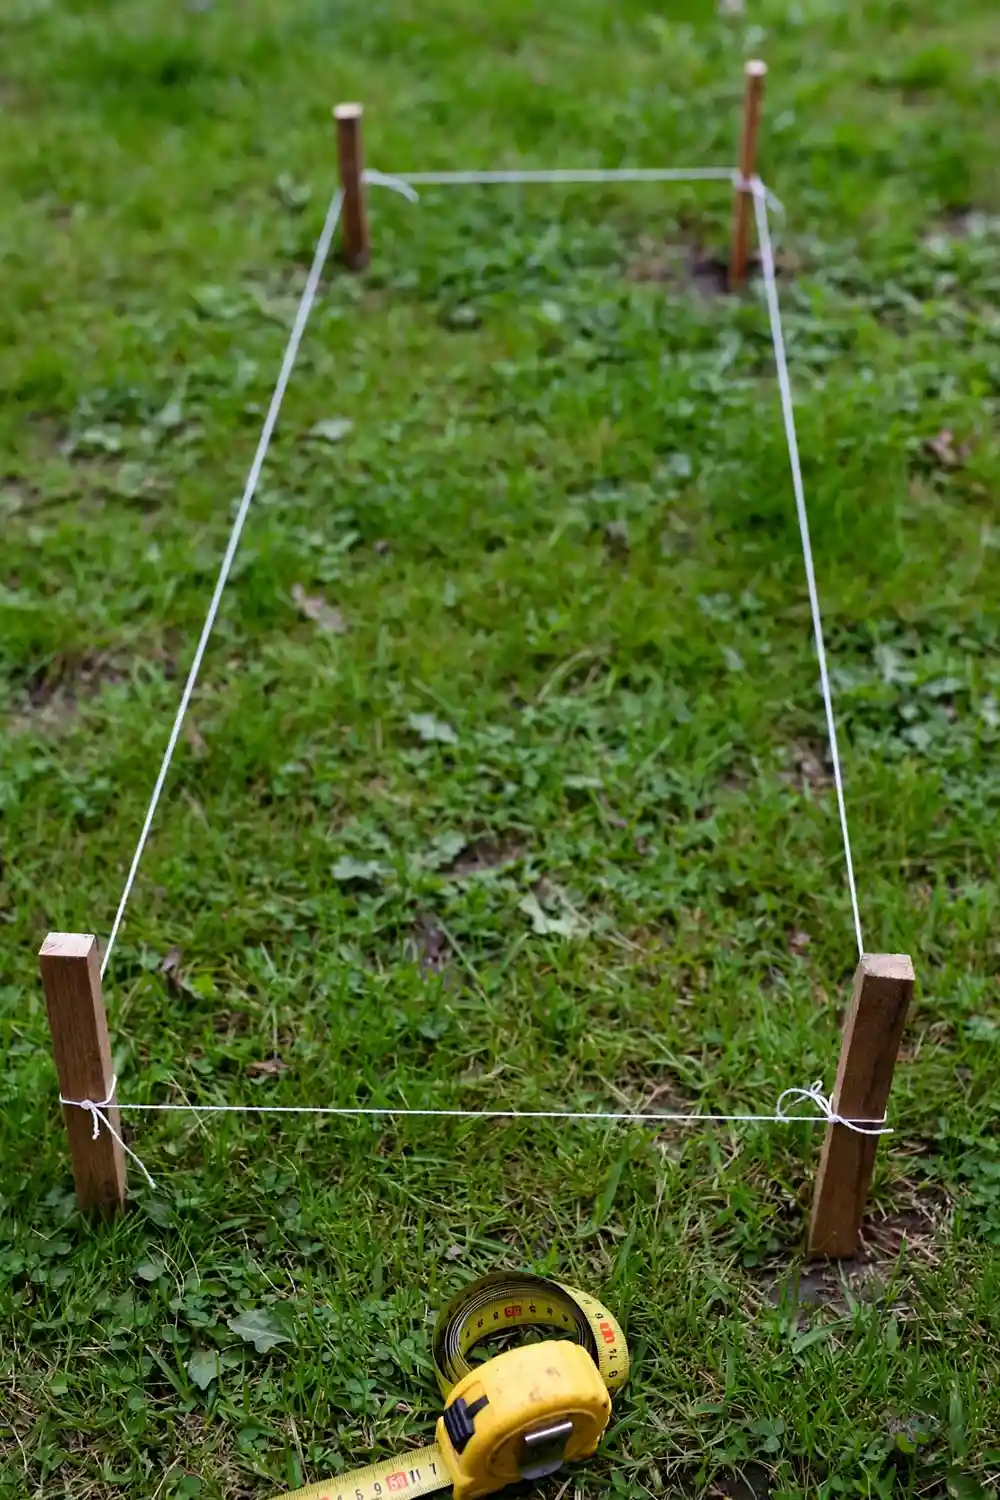
Before the first hole, run the approval numbers against your actual block and check what runs underground. Before You Dig Australia is the standard first call before digging anywhere near services.
Set the footprint out with string lines and pegs, then check the diagonals. Equal diagonals mean square corners, and ten minutes here decides whether the finished frame fights you for the rest of the build.
- Approvals, the exempt test run against your block
- Services, checked before any digging
- Square, equal diagonals on the string lines
Step 2: Dig the post holes
Dig at the marked corners, keeping the holes only as wide as the posts and concrete need. Loose, sloppy holes waste concrete and make it harder to get the posts plumb than it should be.
Keep the spoil in one pile and the edges clean. The holes are the foundation, and a pergola’s whole manners come from how honestly its posts start.
- Position, corners only, as marked
- Discipline, clean sides, spoil in one place
- Pause, re-check the diagonals before concrete
Step 3: Set the posts in concrete
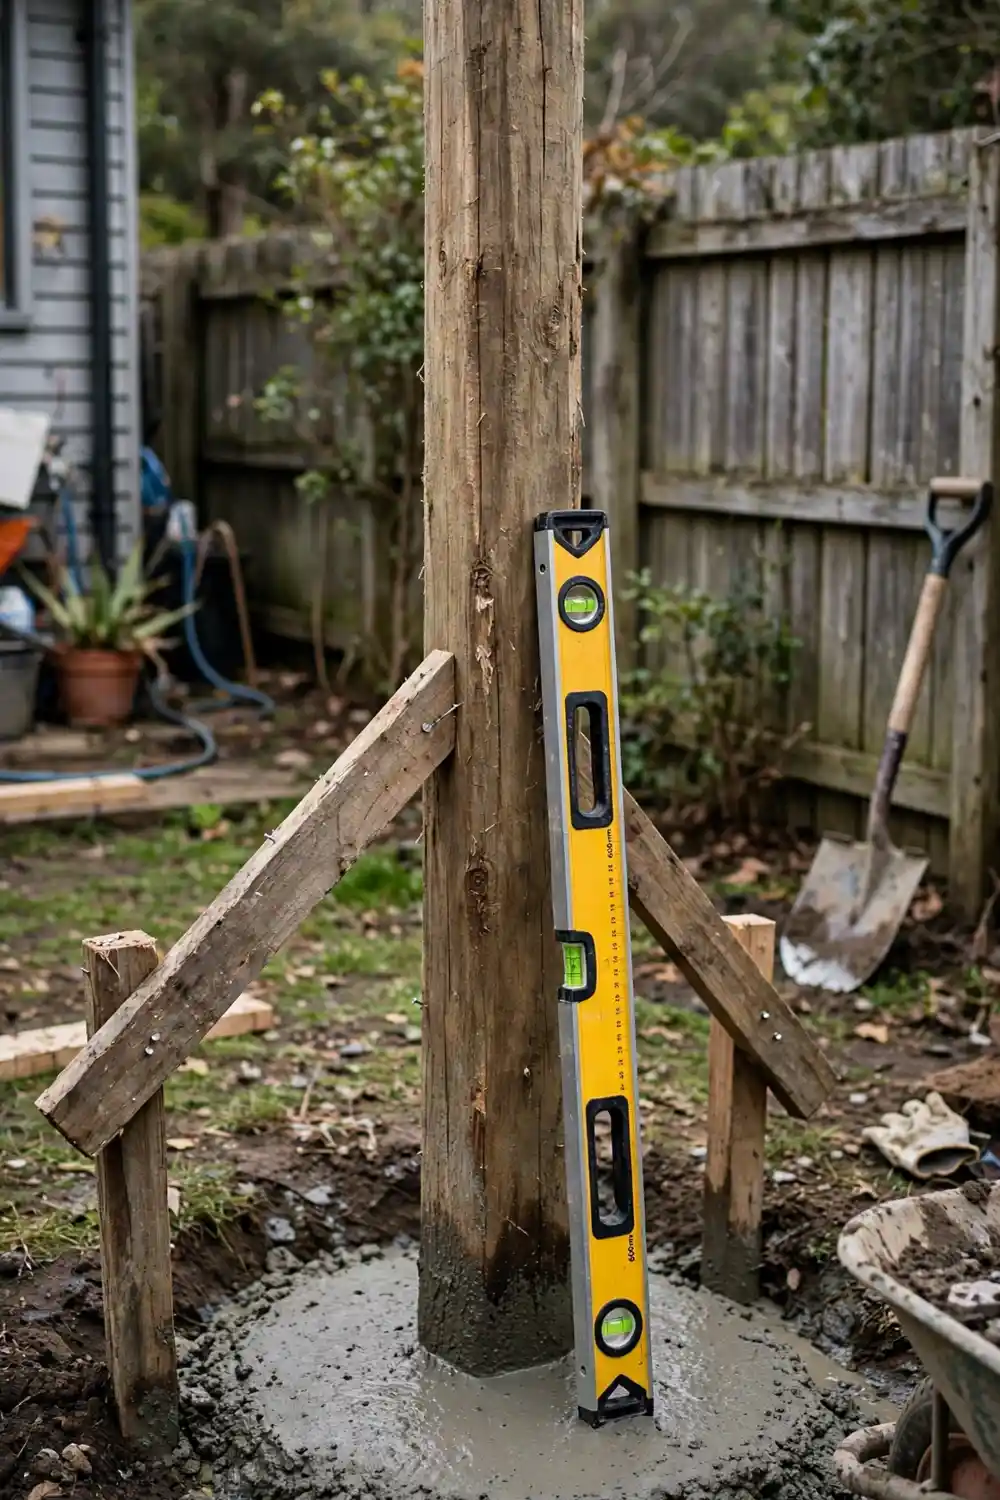
Stand each H4 post in its hole, pour the concrete, and plumb the post in both directions while it is still workable. Brace every post with scrap timber so nothing drifts as the concrete cures.
This is the patience step. A post locked a few degrees out shows in every line above it, and no amount of careful framing hides a lean you concreted in.
- Material, H4 posts, the in-ground class
- Plumb, checked on both faces
- Bracing, every post, until the concrete cures
Step 4: Fix the bearers
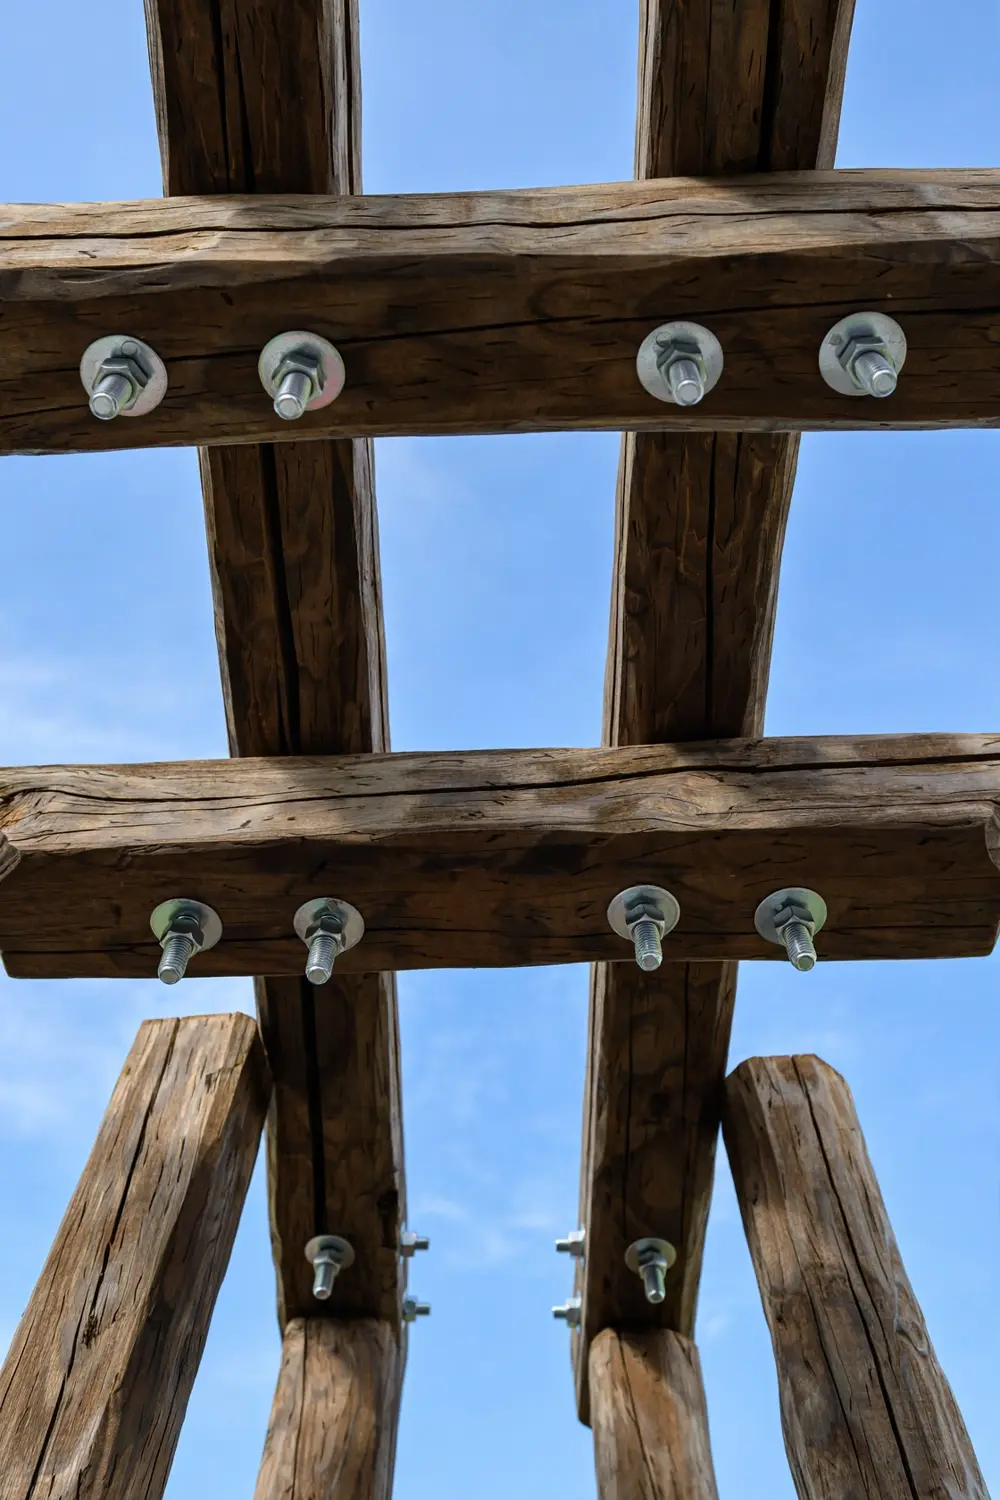
With the posts cured, the bearers go across the tops, level from post to post. Bolt them through with galvanised coach bolts rather than trusting screws alone, because the bearers carry the whole roof frame.
Steps 4 and 5 are ladder work, so use the ladder properly, the right ladder for the job, on a flat, stable surface with its feet secure, keeping three points of contact and another person nearby.
Check the level along each bearer and across the pair. Any fall you want for a future roof cover gets designed in here, deliberately, not discovered later.
- Connections, coach bolts through the posts
- Level, along and across, before tightening
- Fall, only where you planned it
Step 5: Lay the rafters
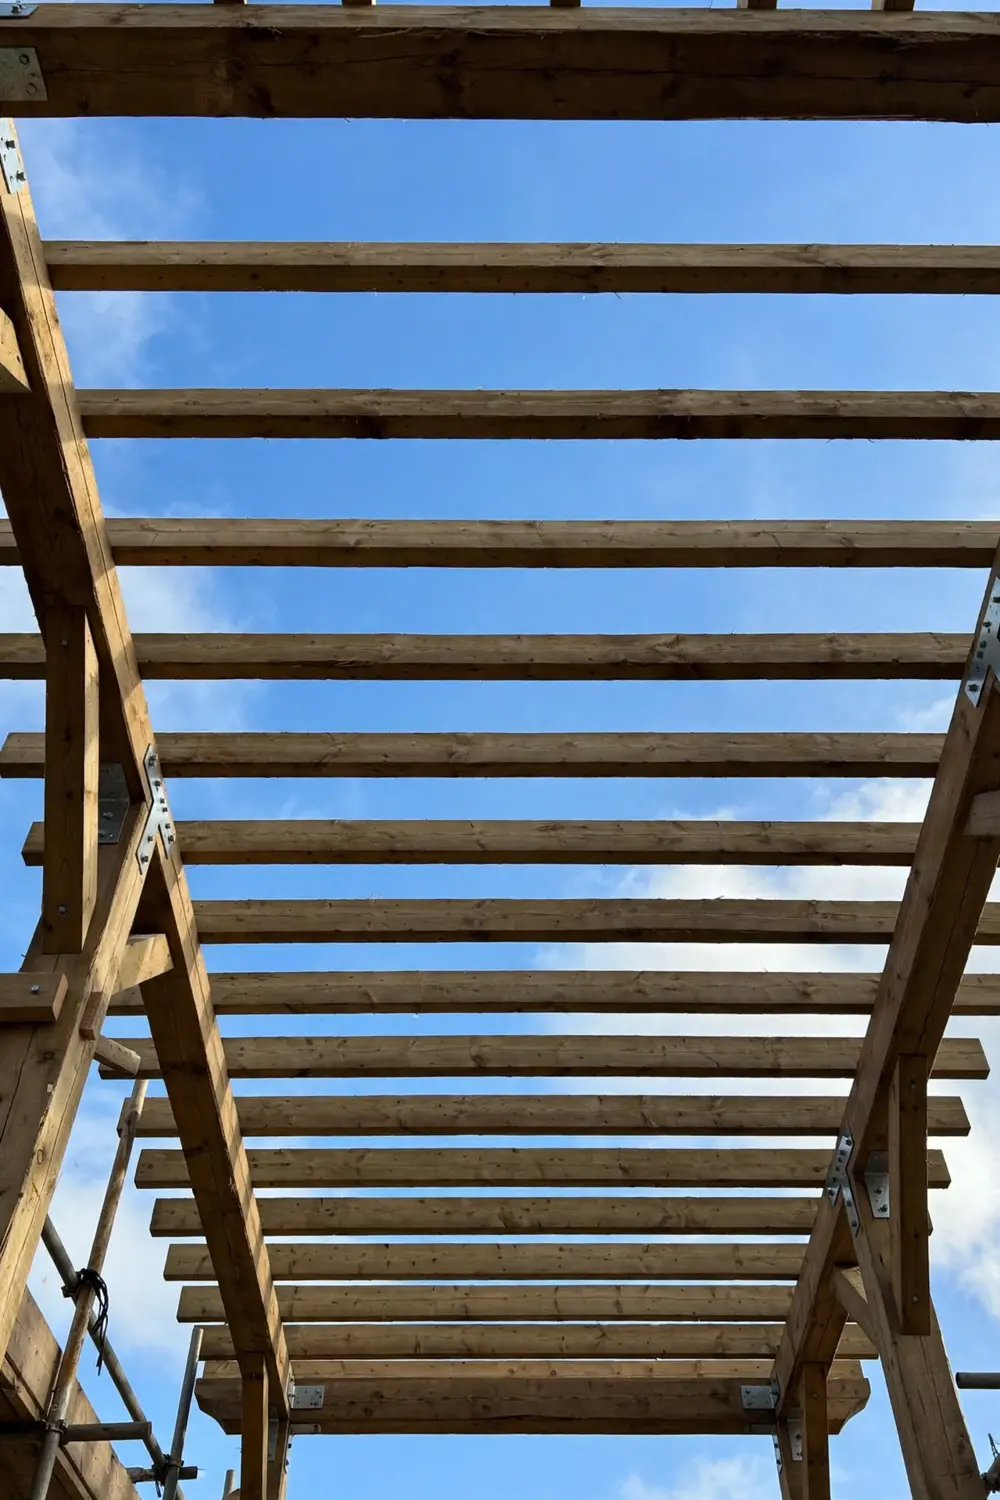
Rafters run across the bearers at even spacings, fixed down at every crossing. Even spacing is both the structure and the look, and your eye will find the one rafter that wandered for years afterwards.
Work from the ends inward so the pattern stays honest. A slight overhang past the bearers softens the frame’s edge and throws the shade line where you want it.
- Spacing, even, measured at both ends
- Fixing, at every bearer crossing
- Order, ends first, middle last
Step 6: Add battens or shade
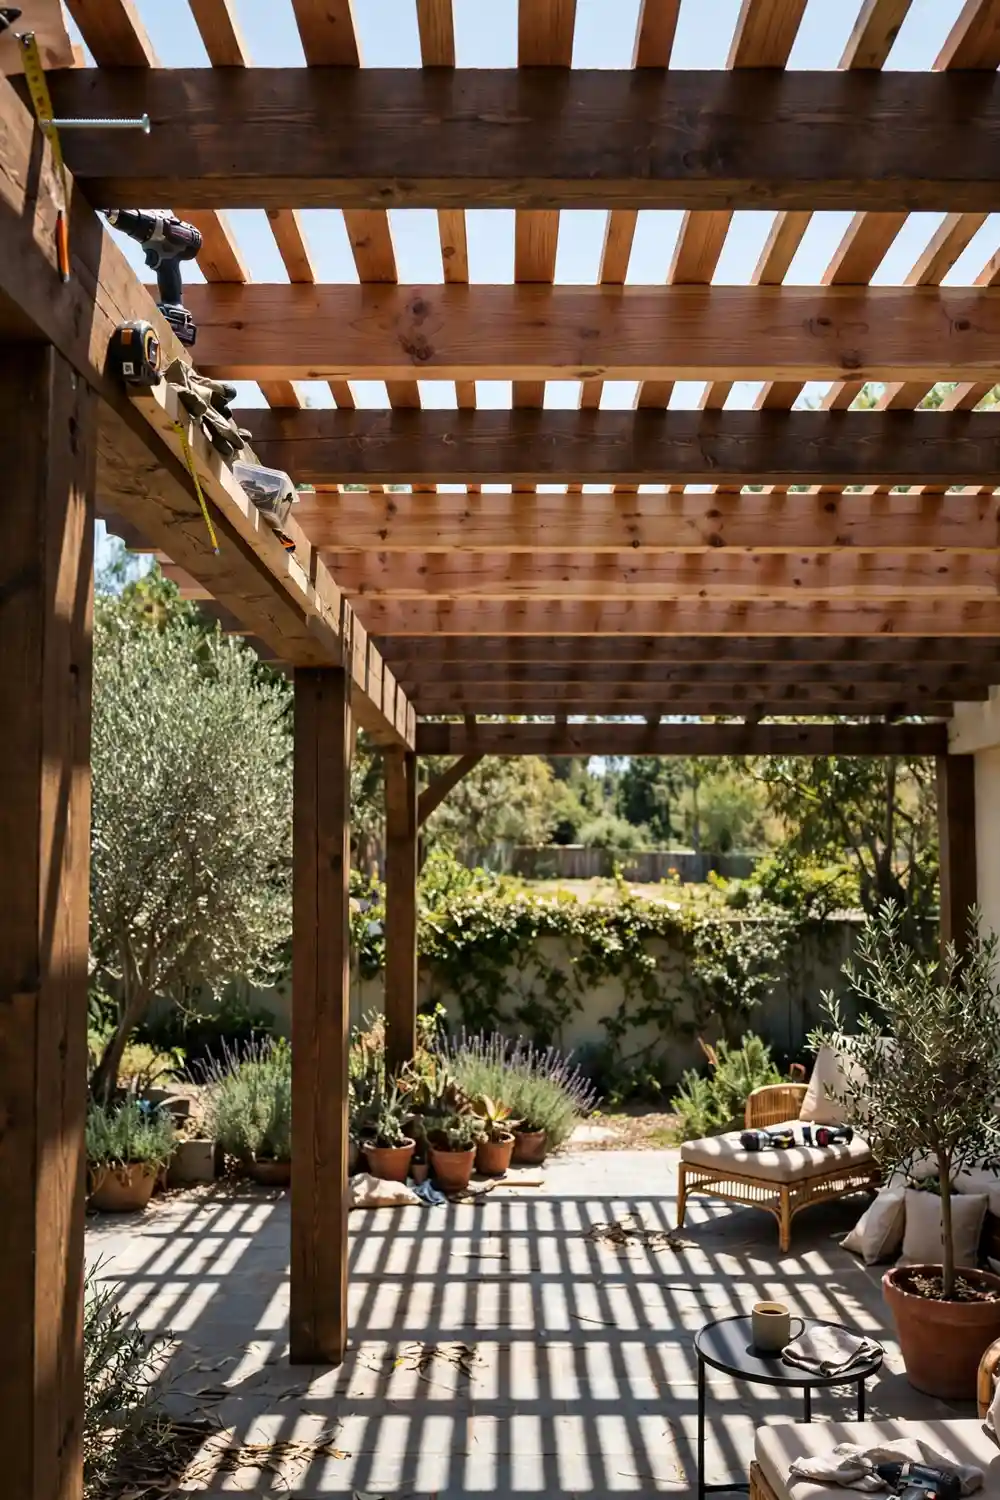
Battens across the rafters are the classic pergola top, and their spacing sets the shade, close for a deep shadow, wide for dappled light. A shade cloth or a roof cover can go over the same frame later if the summer argues for it.
If a roof cover is coming, it wants a slight fall so water drains the way you choose rather than pooling. Plan the direction now, while the fixings are easy.
- Battens, spacing sets the shade depth
- Options, shade cloth or a cover later
- Drainage, a planned fall, never a puddle
Step 7: Finish, seal and plant
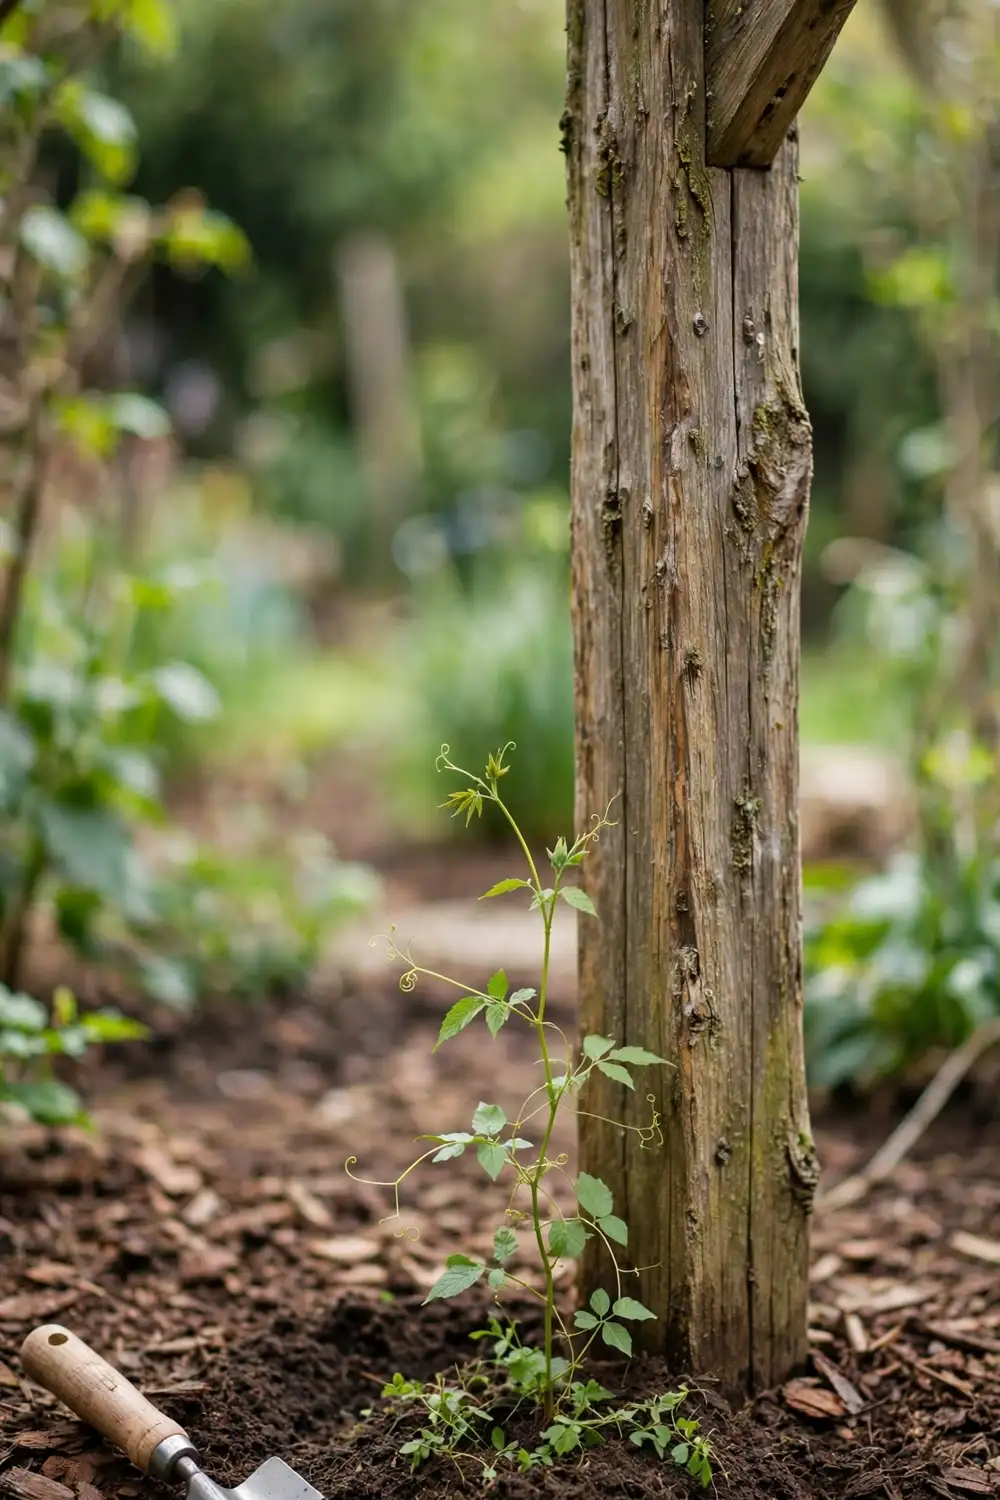
Sand the sharp edges, and seal the cut ends of treated timber as the treatment guidance directs, because every cut exposes untreated wood to the weather. Then stand back and check the whole structure once, plumb, level, bolts tight.
A climber at a post base is the traditional finish, and choose it with your eyes open. Bunnings’ own guidance warns that some decorative plants are poisonous to children and pets, and some are classified as weeds in certain states, so check your pick against your household and your state before it goes in.
- Cut ends, sealed against the weather
- Final check, plumb, level, every bolt
- Planting, checked for pets, kids and weed lists
One last warning, offered plainly. The three mistakes that age a pergola early are posts set out of plumb, screws where bolts belong, and a roof cover laid flat so it holds water, and all three are decided in the steps above rather than discovered in year three.
The bottom line
Approvals first, square and plumb foundations, bolted bearers, and the patience to let concrete cure before you load it. A freestanding pergola built in that order is a weekend or two of work and decades of shade, and none of it asks for anything exotic, just sequence and honesty.
Choose your spot well and the frame becomes the room the house was missing.