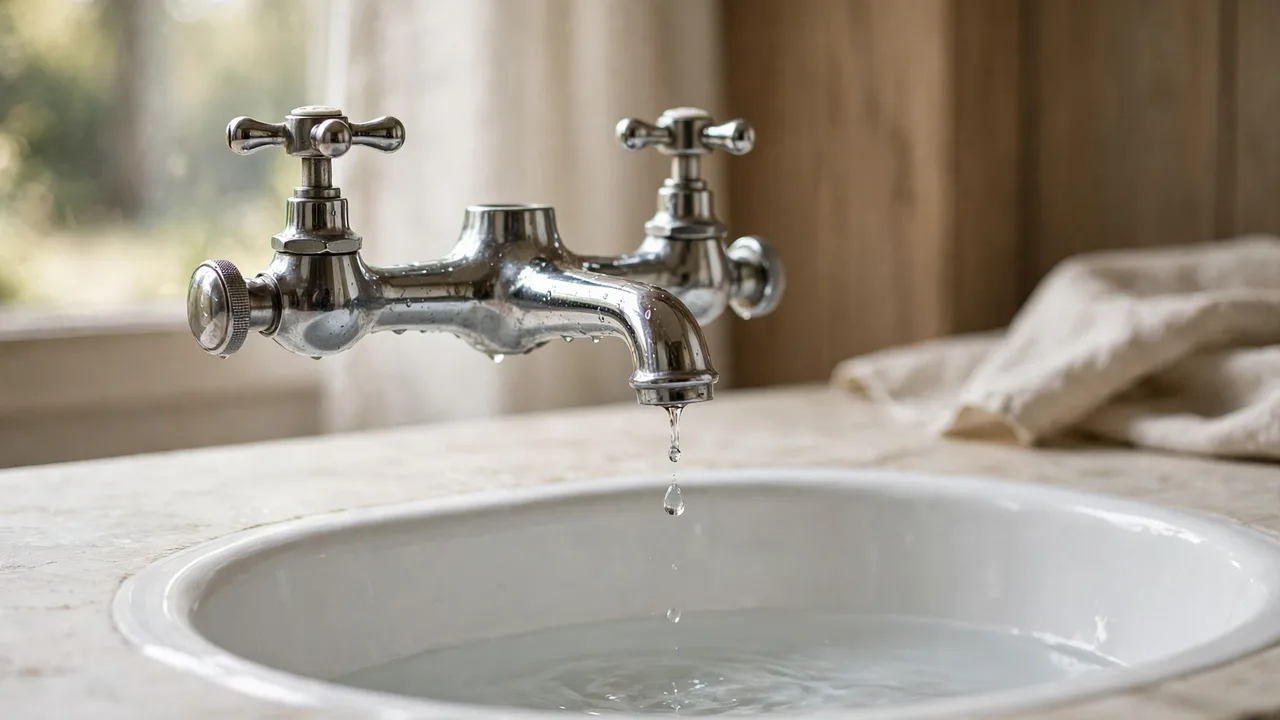
It starts as a sound you can ignore and becomes a sound you cannot. A tap that drips through the night is also dripping through the day, and Sydney Water puts the waste from a dripping tap at up to around 12,000 litres a year, depending on how fast it drips.
The good news is that the usual cause, a worn washer, sits on the short list of plumbing jobs the law leaves to householders, and this guide is about how to fix a leaking tap of exactly that kind. Queensland’s regulator, the QBCC, names replacing a jumper valve or washer in a tap as unregulated work anyone may do, and most states draw a similar line.
The washer change follows step by step, its legal boundary marked as clearly as its method. Check your own state or territory regulator’s list before you start, because the exact line is drawn state by state.
First, the law: what you may touch
Plumbing in Australia is licensed work, and the licence exists because bad plumbing contaminates water and floods houses. The householder exceptions are narrow, deliberate and listed, which is why the washer change is worth understanding precisely.
Queensland’s QBCC list of unregulated work, the jobs no licence is needed for, includes changing a shower head, replacing a domestic water filter cartridge, repairing the washers inside a toilet cistern, and replacing a jumper valve or washer in a tap. The work still has to meet the standards of the legislation, and householders can always hand any of it to a licensed plumber instead.
Everything past that list is licensed territory. Replacing a whole tap, fitting a new mixer, touching the pipework, the isolation valves or the flexible hoses under the basin, and any work on the breeching piece inside the wall all belong to a licensed plumber, in every state.
If you rent, skip the tools entirely. Report the leak to your landlord or agent promptly and let them arrange the repair, because the tap is part of their property, not yours to service.
Find the leak before you fix it
A tap assembly can leak from three places, and each one points at a different seal. Thirty seconds of diagnosis now decides whether the washer change below is even the right job.
A drip from the spout after the tap is turned off is the classic washer failure. The jumper valve’s washer has hardened or split, so it no longer seals against the seat inside the tap body.
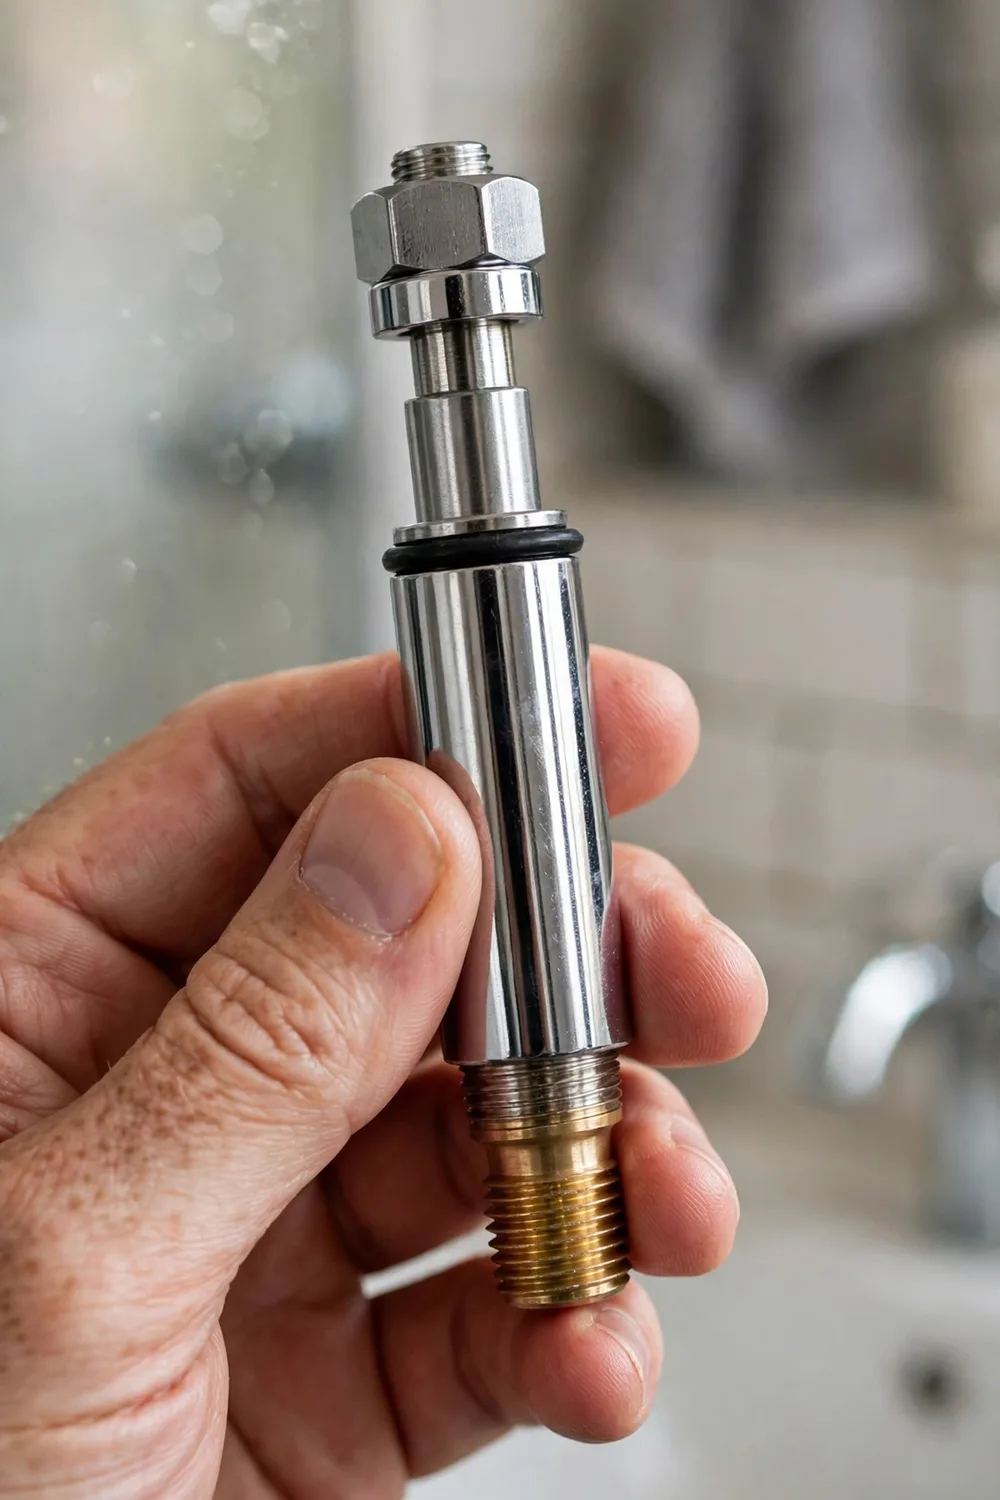
Water appearing around the handle or spindle while the tap is running is the spindle O-ring giving up. It is a separate seal in the same assembly, and the washer-change job below puts you right at it.
A weep at the base of the tap or where the spout swivels points to the body and spout seals. The repair below does not reach those seals, so a base weep is a diagnosis to hand to a plumber rather than a step in the fix.
What you need
Gather everything before the water goes off, because the household will not thank you for a mid-job hardware run. Take the old parts with you when you shop, because matching the old washer and O-ring is the reliable way to get the right sizes.
The tools are ordinary. A shifting spanner or tap spanner, a flat and a Phillips screwdriver, pliers, and a towel and small bucket for the water that will escape.
- Spanner, adjustable, for the bonnet
- Screwdrivers, flat and Phillips, for buttons and handle screws
- Pliers, for lifting out the old jumper valve
- Parts, a new washer or jumper valve matched to the old one, plus a spindle O-ring and fibre body washer
- A towel, and a bucket or container for residual water
The washer change, step by step
Step 1: Turn the water off and drain the line
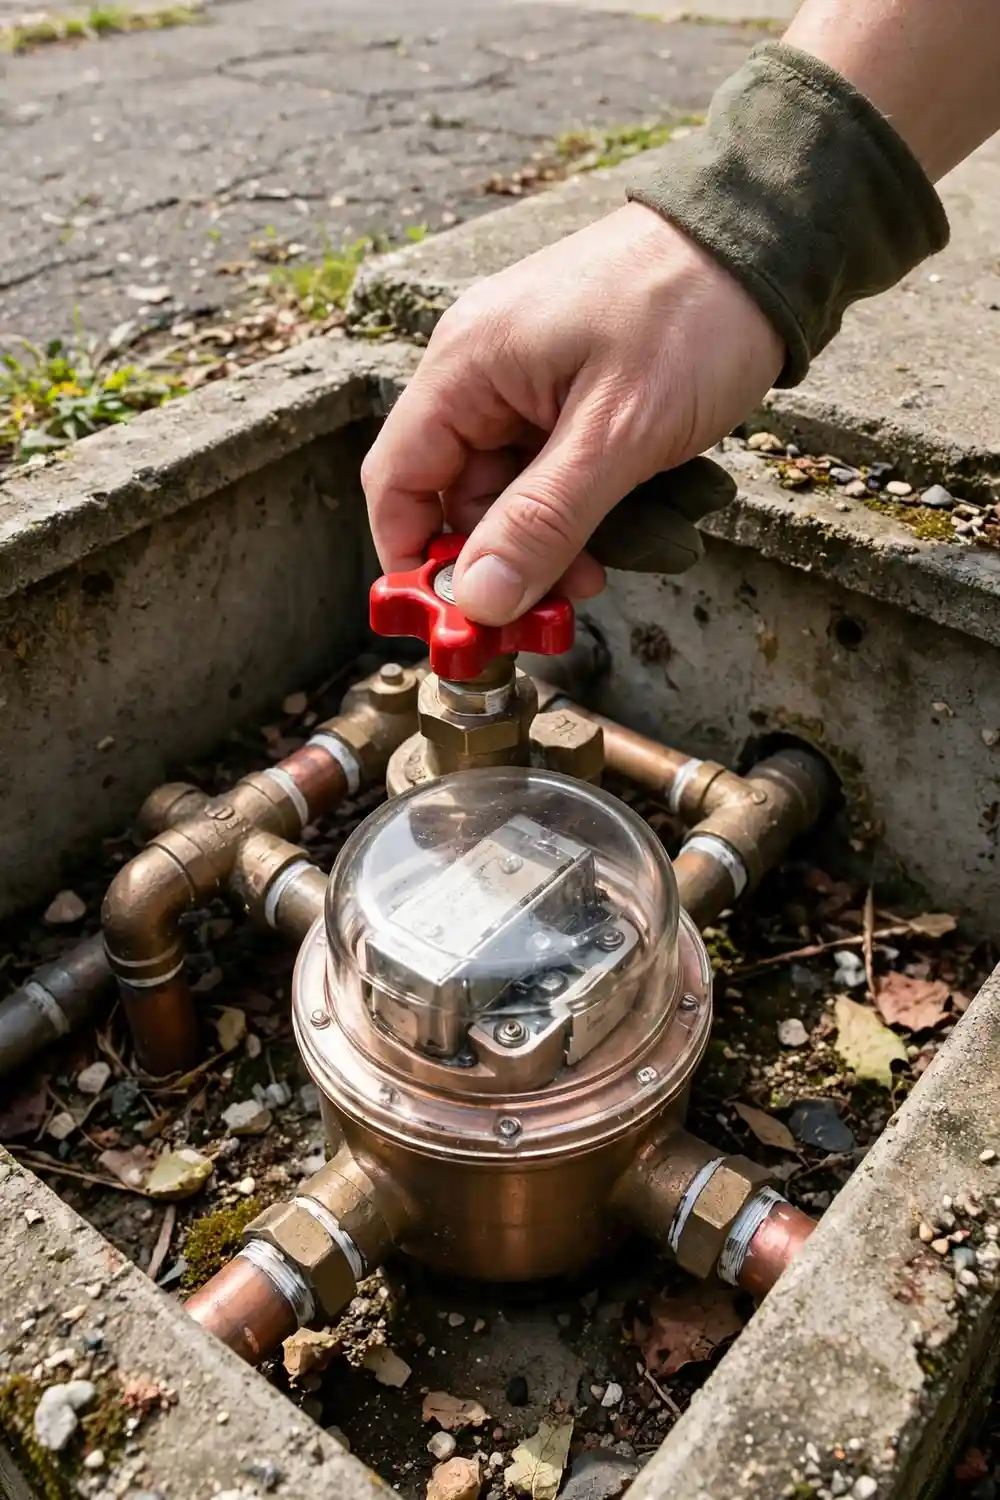
Find the water meter or mains tap and turn the supply off. Open the leaking tap and let it run until the flow stops, which empties the line and proves the isolation worked.
If the water will not stop, stop here. A supply you cannot isolate is a licensed plumber’s job, not a challenge.
For a hot tap, turn the water heater off as well. That is the licensed plumber’s own published sequence, and it protects both you and the heater.
- Isolate, at the meter or mains
- Prove it, tap open until the flow dies
- Hot tap, heater off too
Step 2: Strip the tap down to the jumper valve
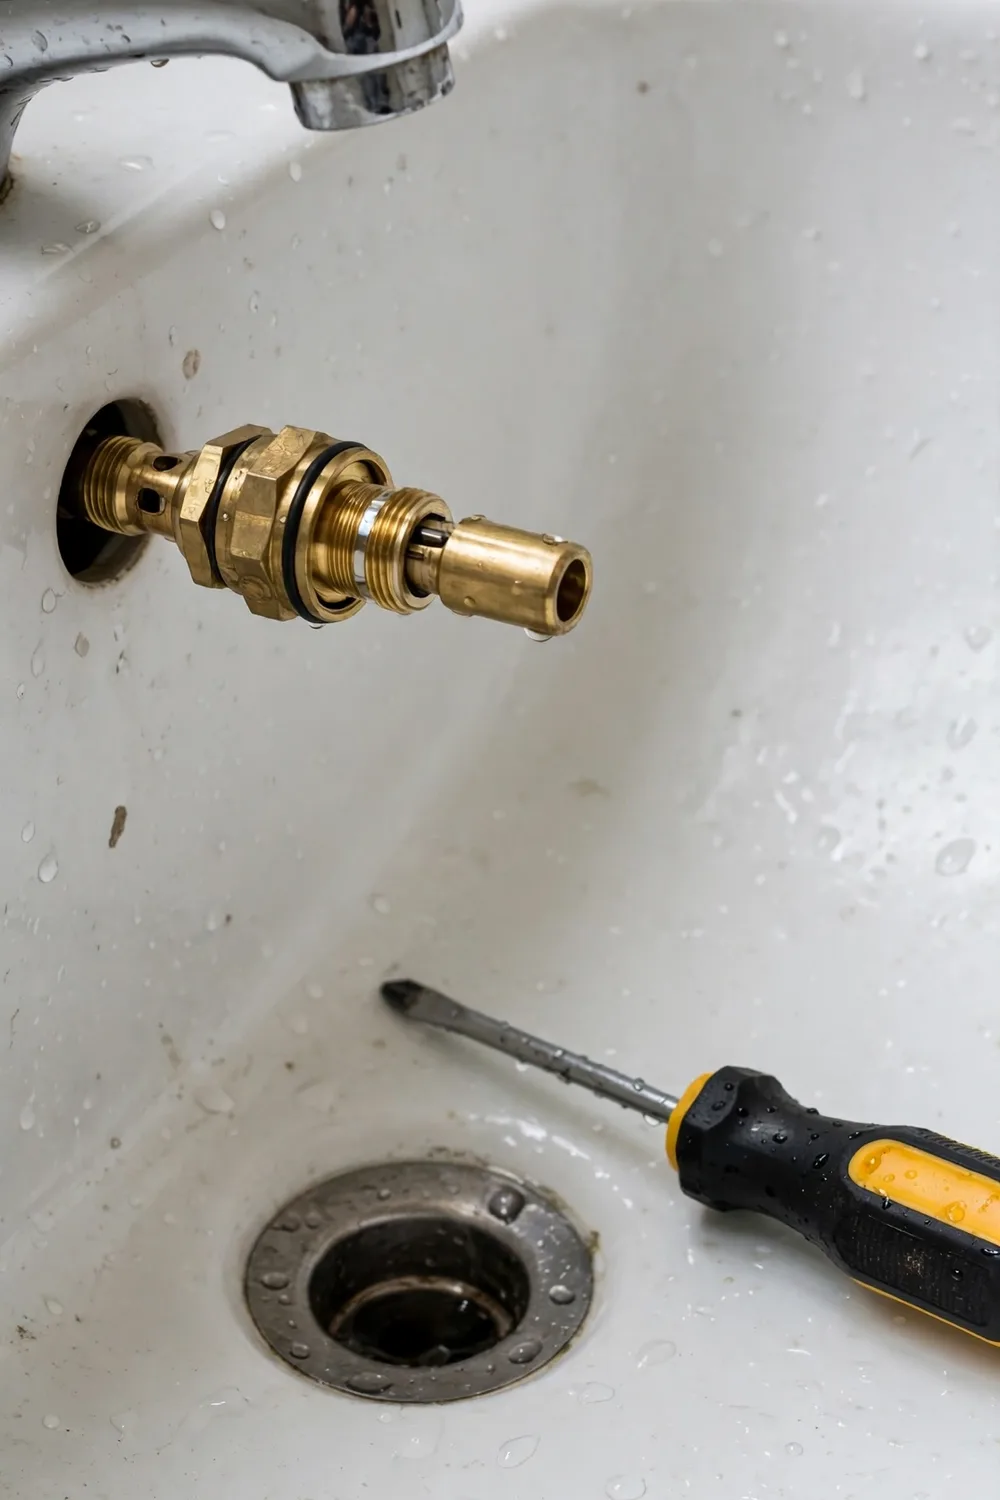
Pop the coloured button or cap off the handle, undo the screw beneath it and lift the handle away. Unscrew or slide off the cover flange or shroud that hides the working parts.
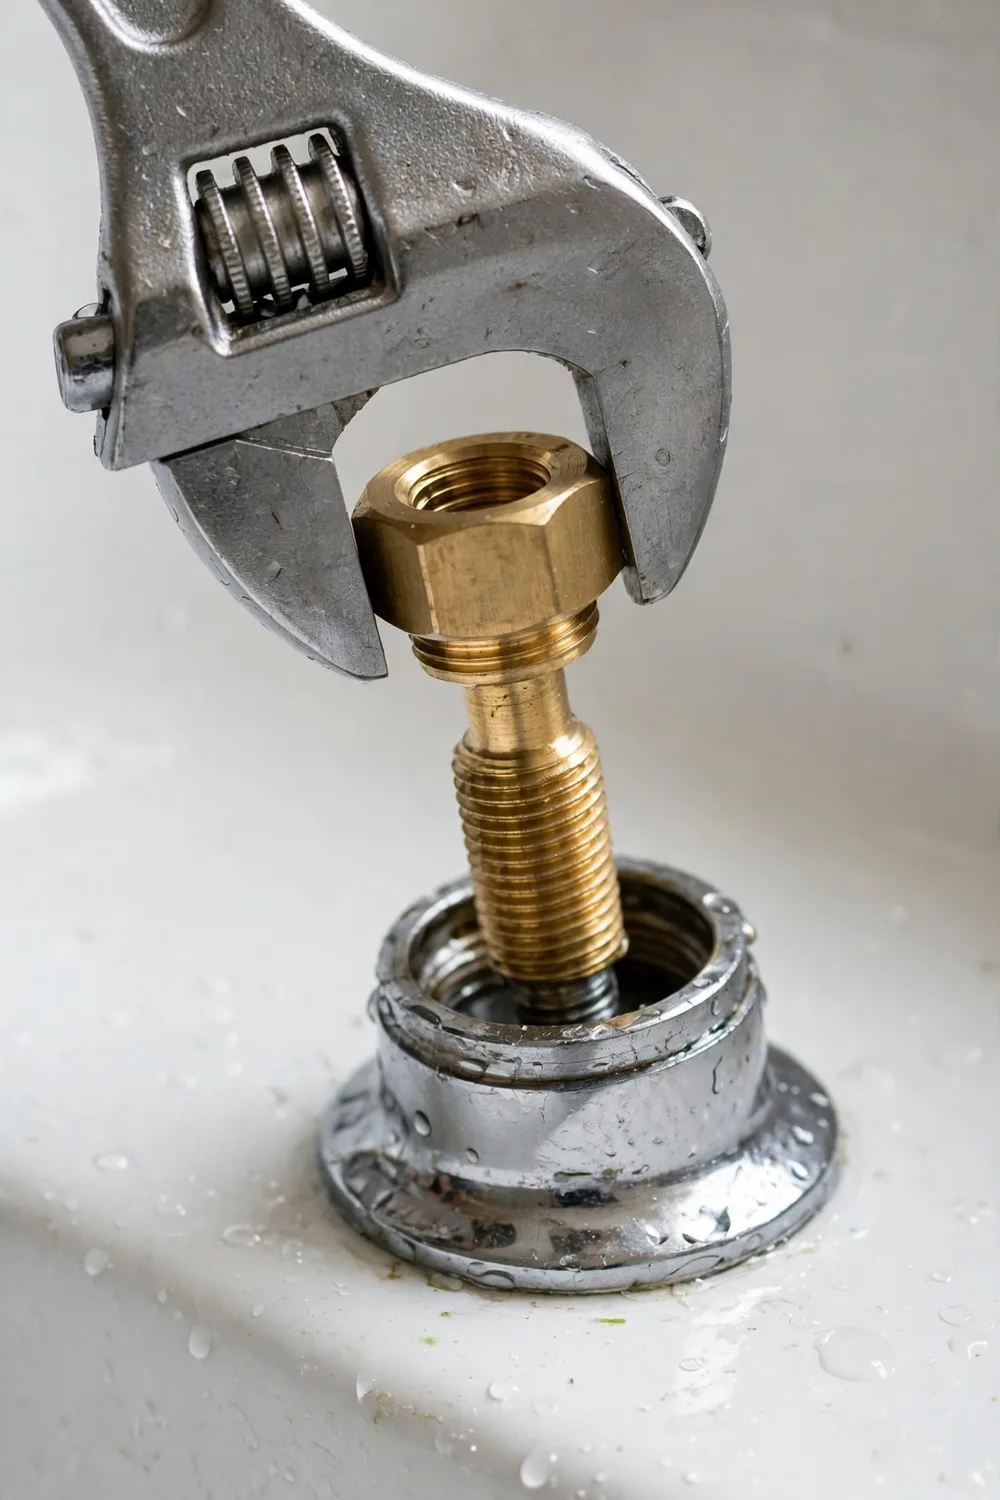
The bonnet, the hexagonal body of the tap, now shows. Grip it with the spanner and turn it anti-clockwise to unscrew the whole spindle assembly out of the tap body.
If the bonnet will not move with firm, steady pressure, stop and call a plumber. Forcing a seized bonnet can damage the fittings inside the wall, and that repair is neither small nor yours to make.
- Order, button, handle, cover, then bonnet
- Direction, anti-clockwise to release the spindle
- Stop point, a bonnet that will not budge
Step 3: Swap the washer and the spindle seals
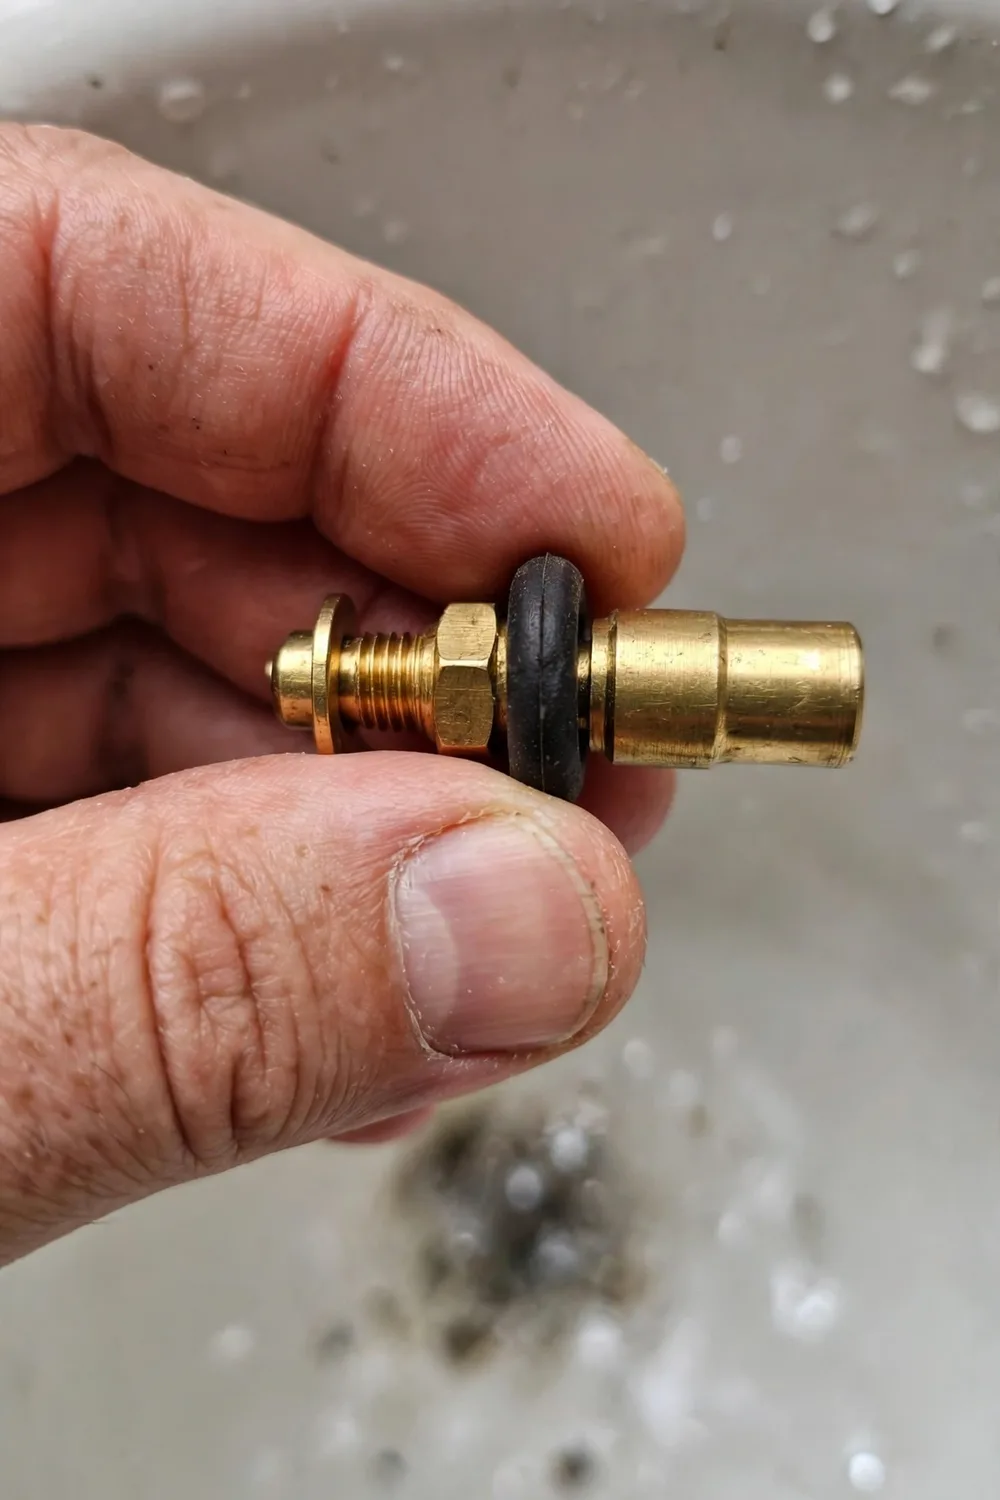
The jumper valve sits at the end of the spindle you have just removed, with the washer on its face. Lift the old valve out with pliers and clear away any fragments of the old washer left inside the tap body.
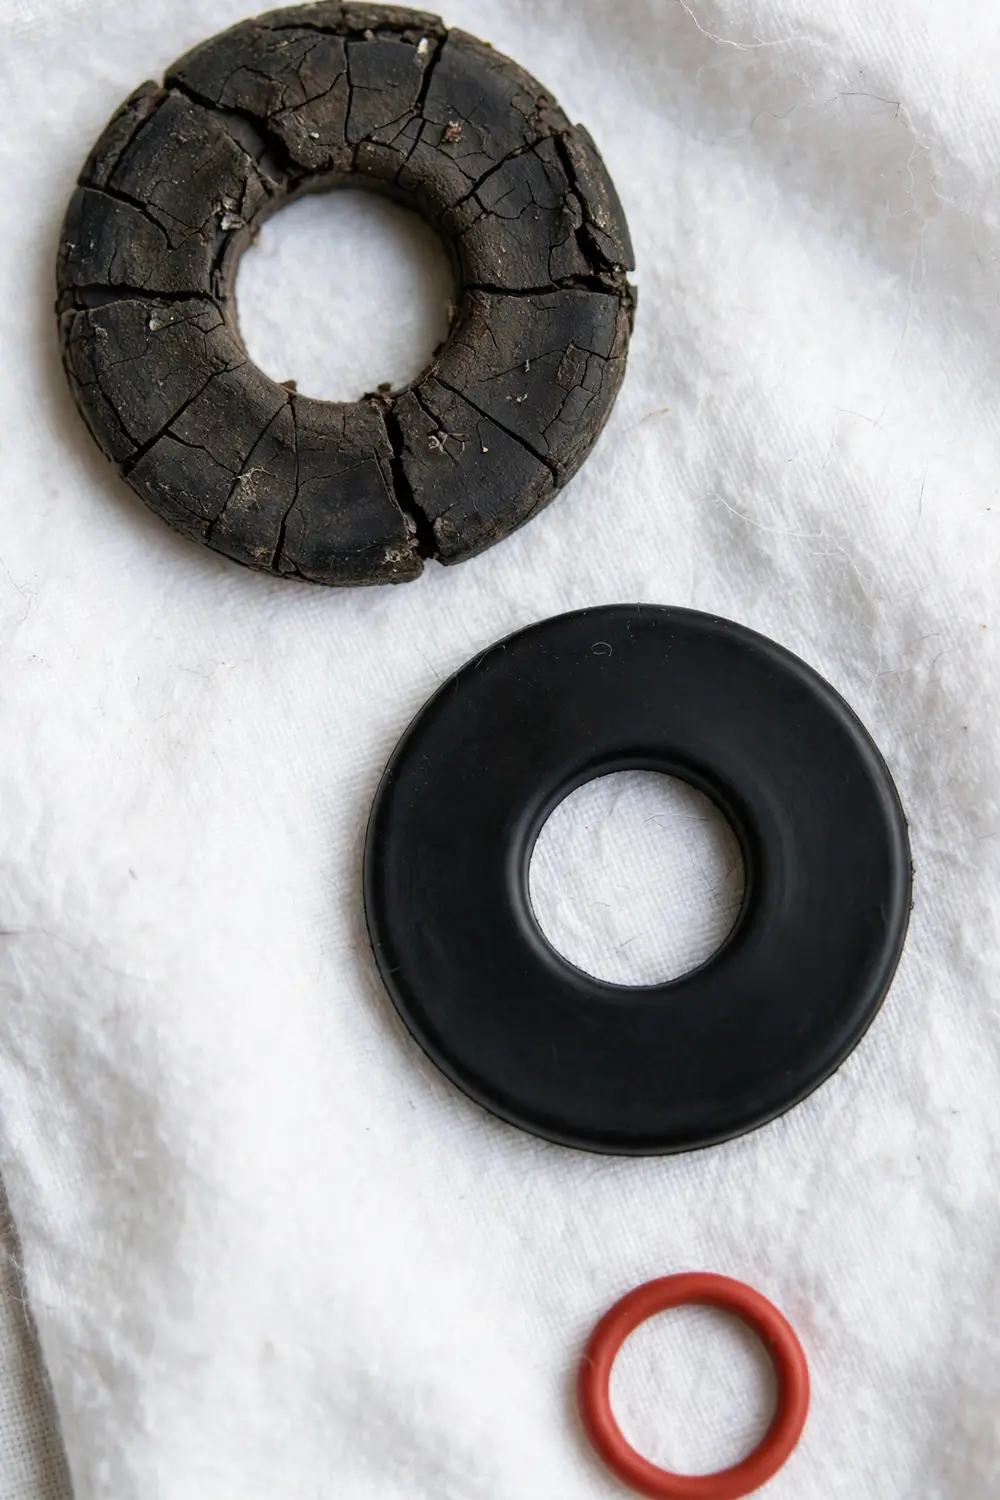
Fit the new washer or jumper valve in its place. While the tap is apart, roll the old O-ring off the spindle and fit the matched new one, and replace the fibre body washer if the old one is ragged.
Run a finger over the seat, the surface inside the tap body that the washer presses against. It should feel smooth, and what you feel decides the next step.
- Replace, washer or jumper valve, matched to the old
- Also, the spindle O-ring and fibre washer, while it is apart
- Check, the seat surface, smooth to the fingertip
Step 4: Rebuild the tap
Screw the spindle assembly back into the tap body and tighten the bonnet firmly with the spanner. Firm is the standard, not forced, because over-tightening distorts the seals you have just renewed.
Refit the cover or shroud, then the handle and its screw, then the button. Work in the reverse of the order you stripped it.
- Tighten, bonnet firm, never forced
- Refit, cover, handle, screw, button
- Leave, the tap turned off for the pressure test
Step 5: Turn the water on and test
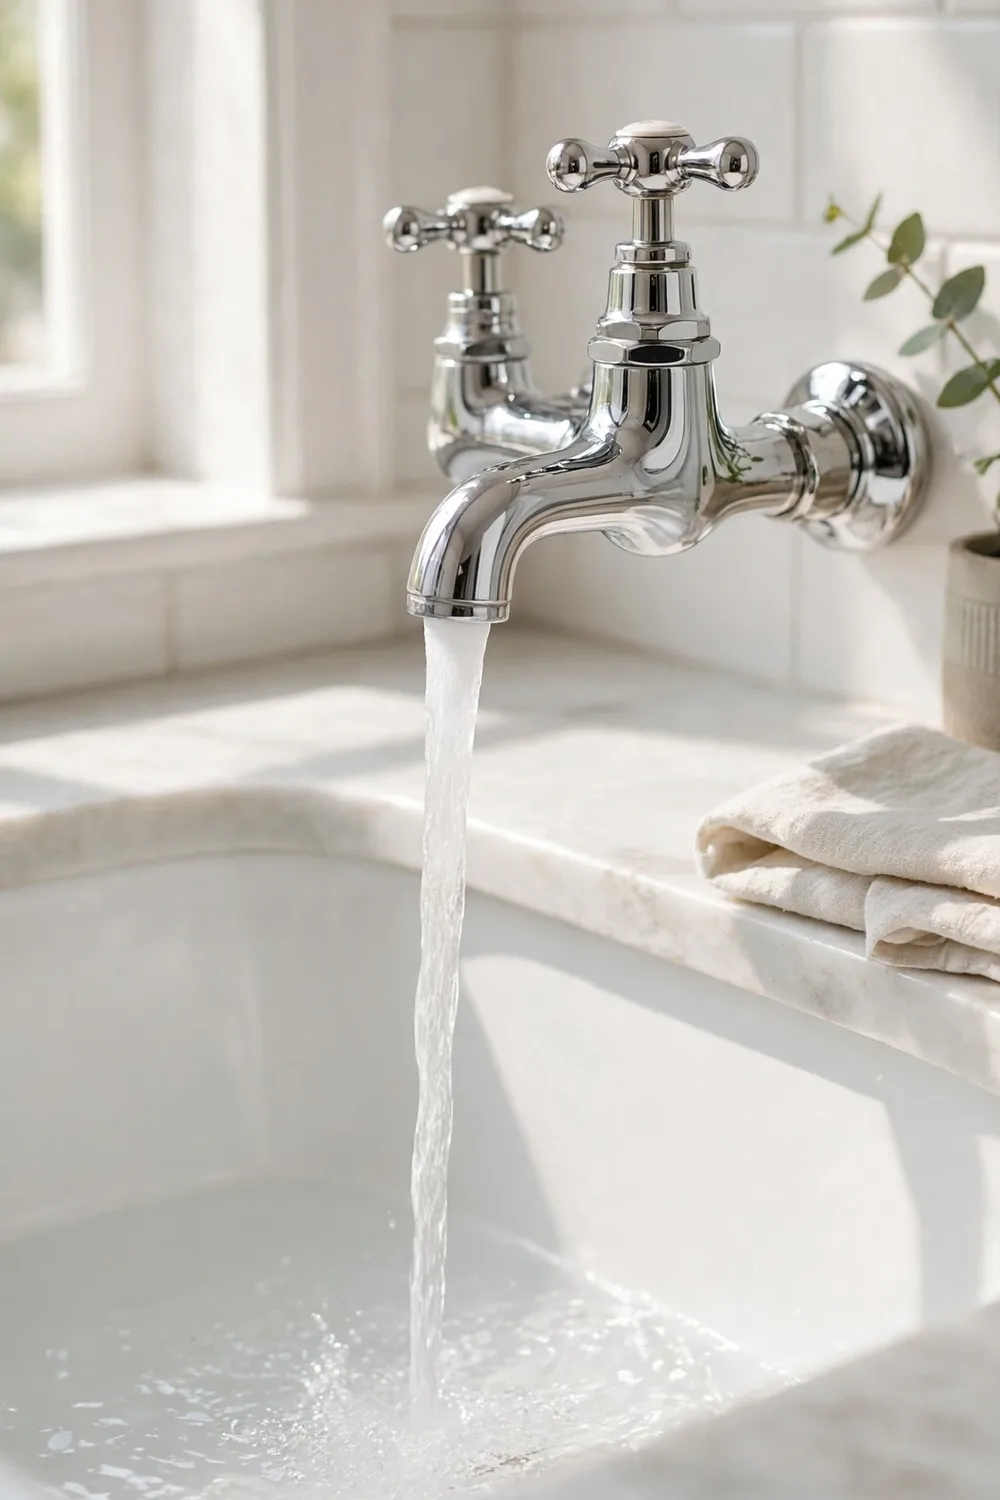
Turn the supply back on at the meter, slowly. Let the tap fill, then run it, turn it off, and watch the spout for a full minute.
Check all three leak points from the diagnosis, spout, spindle and base, with dry fingers. A dry assembly and a silent spout mean the job is done.
If it still drips from the spout with a new washer, the seat is the likely problem, pitted or scored so no washer can seal against it. Reseating or replacing that seat is a licensed plumber’s job, and this is the honest point to hand it over.
- Restore, supply on slowly at the meter
- Watch, the spout for a full minute after shut-off
- Touch, spindle and base with dry fingers
When the job is a plumber’s from the start
Some leaking taps never enter washer territory at all. A mixer tap has no washer to change, because a cartridge inside controls the flow, and replacing that cartridge or the mixer itself is licensed work.
Quarter-turn and half-turn taps work the same way, on ceramic cartridges rather than washers. If your tap turns a short quarter sweep instead of winding for several turns, it is a cartridge tap.
Wall-mounted sets hide their pipework behind tiles and wall sheets, so even reaching the fault means opening the wall. Add a pitted seat, a seized assembly, or any leak that comes from a pipe or fitting rather than the tap itself, and the whole list belongs to a licensed plumber.
Frequently asked questions
Can I change a tap washer myself?
In Queensland, yes. The QBCC lists replacing a jumper valve or washer in a tap as unregulated work that needs no licence, provided the work meets the legislation’s standards.
Most states treat basic tap maintenance similarly, but the lists are made state by state, so check your own regulator’s guidance before you start. Anything beyond the tap’s own seals, and anything involving the pipework or a replacement tap, needs a licensed plumber everywhere.
The bottom line
On Queensland’s regulator list, a leaking traditional tap is one of the few plumbing faults a householder may legally repair, most states draw a similar line, and the repair itself is five unhurried steps. Isolate the water, prove it, strip the tap, renew the seals, and test all three leak points before you call it done.
Keep the boundary as carefully as the method and the job stays small. And once the drip is gone, our guide to preventing common plumbing issues covers the habits that keep the next one from starting.