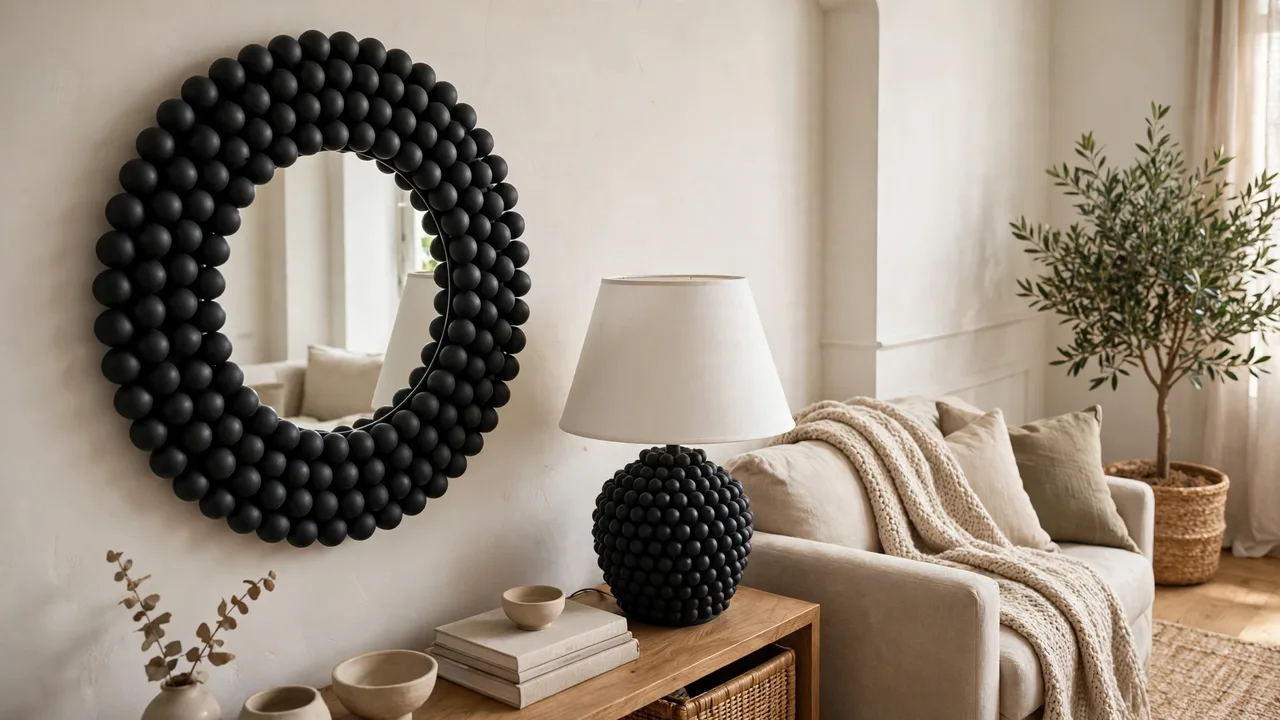
Sculptural bobble lamps and mirrors are the kind of high-end homewares that stop you mid-scroll — soft, rounded, playful, and priced like it. The designer versions carry the exorbitant price tag to match.
Chances are the project is already sitting in your house. A plain round mirror that no longer makes the cut, a tired table lamp on its way to the op shop — those are exactly the pieces this DIY bobble lamp and mirror project starts with.
It comes from Better Homes and Gardens Australia, where presenter Juliet Love turned those two lounge room pieces into the bobble look with ping pong balls, glue and paint. It needs one short kit, no power tools and no wiring of any kind.
What you need
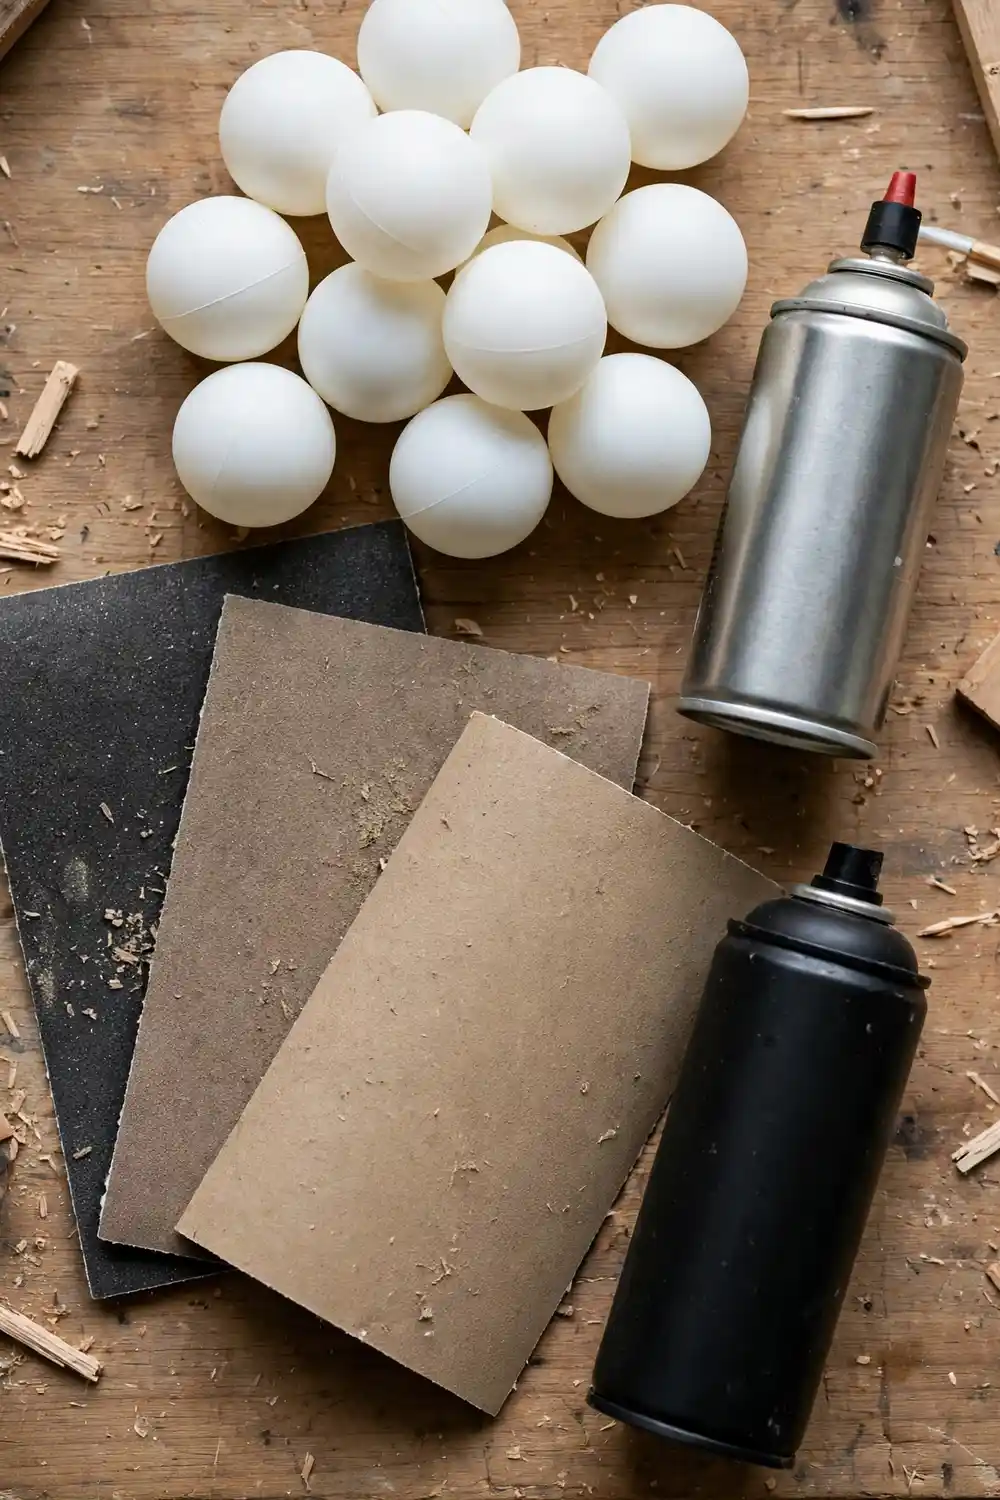
The mirror’s supply list is the one BH&G prints for the project:
- A round wood-framed mirror
- Medium- and coarse-grit sandpaper
- A thin sheet of cardboard
- Ping pong balls
- Selleys Liquid Nails Ezi Press
- Dulux Duramax Undercoat spray paint in Black (optional)
The lamp runs on the same kit — an existing table lamp, the balls, the same adhesive and the same paint. The adhesive matters to the method. BH&G names a construction adhesive, and the Ezi Press format dispenses at the press of a lever, so there is no caulking gun to buy or wrestle.
Skill level, honestly stated — beginner. There is no cutting, no drilling and no electrical work in this project at all, for reasons the lamp section covers.
Before you start
Sand the mirror frame first. The project supplies two grits because the frame needs a proper key — a surface the adhesive and paint can grip — rather than a quick once-over. The coarse grit does the heavy work of cutting back the old finish, and the medium grit smooths what the coarse one leaves behind. Skip either stage and the finish tells on you — glue bonds weakly to a glossy surface, and spray paint shows every scratch the coarse grit left. Wipe the dust away before any gluing starts.
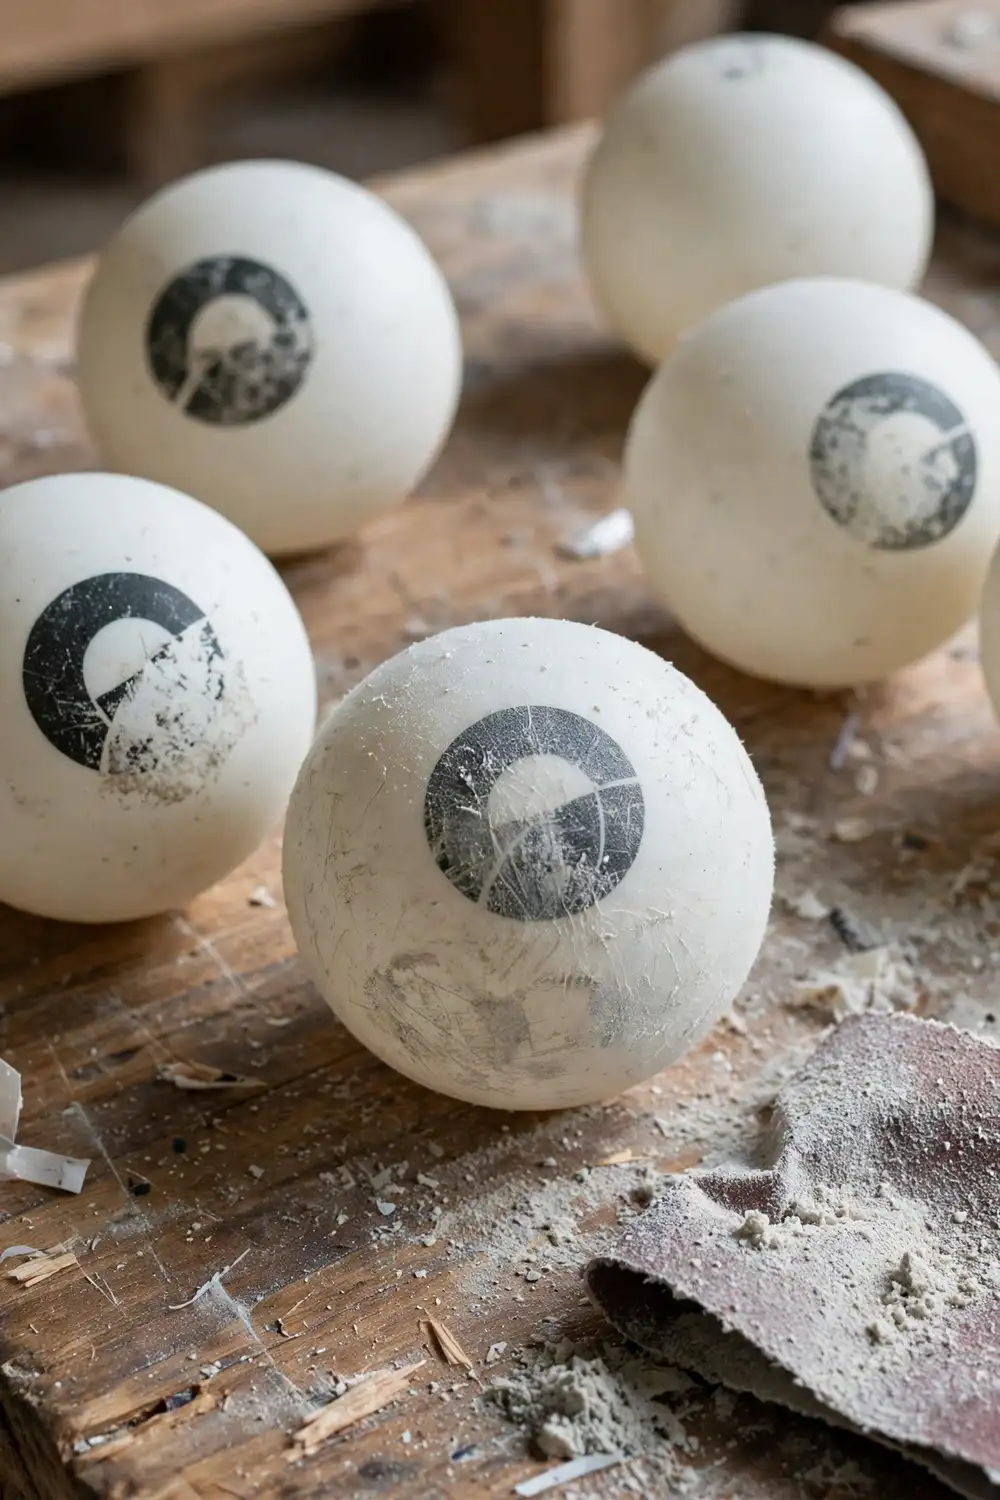
The balls need a once-over too. Ping pong balls usually carry a printed logo, and general practice is to sand it off or paint over it rather than leave it showing through the finish. A dented ball is not a wasted one either — a dip in hot water can pop the dent back out.
The bobble mirror
Prep the frame
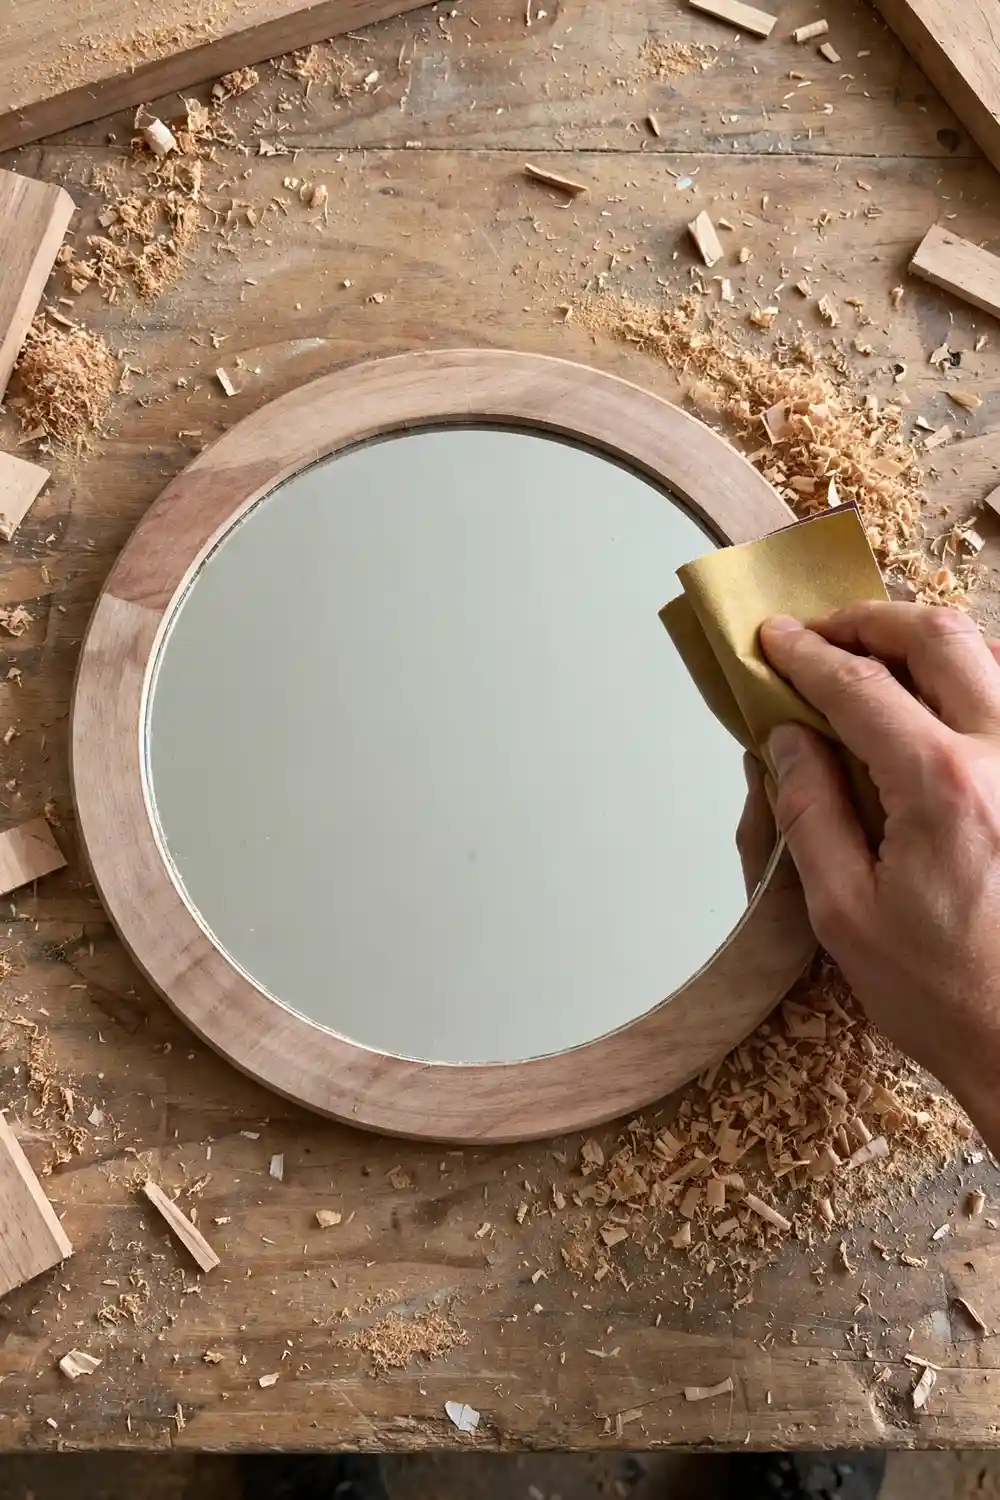
Work through the sanding until the frame feels evenly roughened, then wipe it clean. Paint and glue both fail on dust, so this unglamorous step decides how the finished piece holds up.
Plan the layout
Arrange the balls around the frame before the adhesive comes out. A dry run shows how the bobbles will sit against each other and against the frame’s curve, and it is far easier to adjust a layout that is not yet glued down.
Glue the balls on
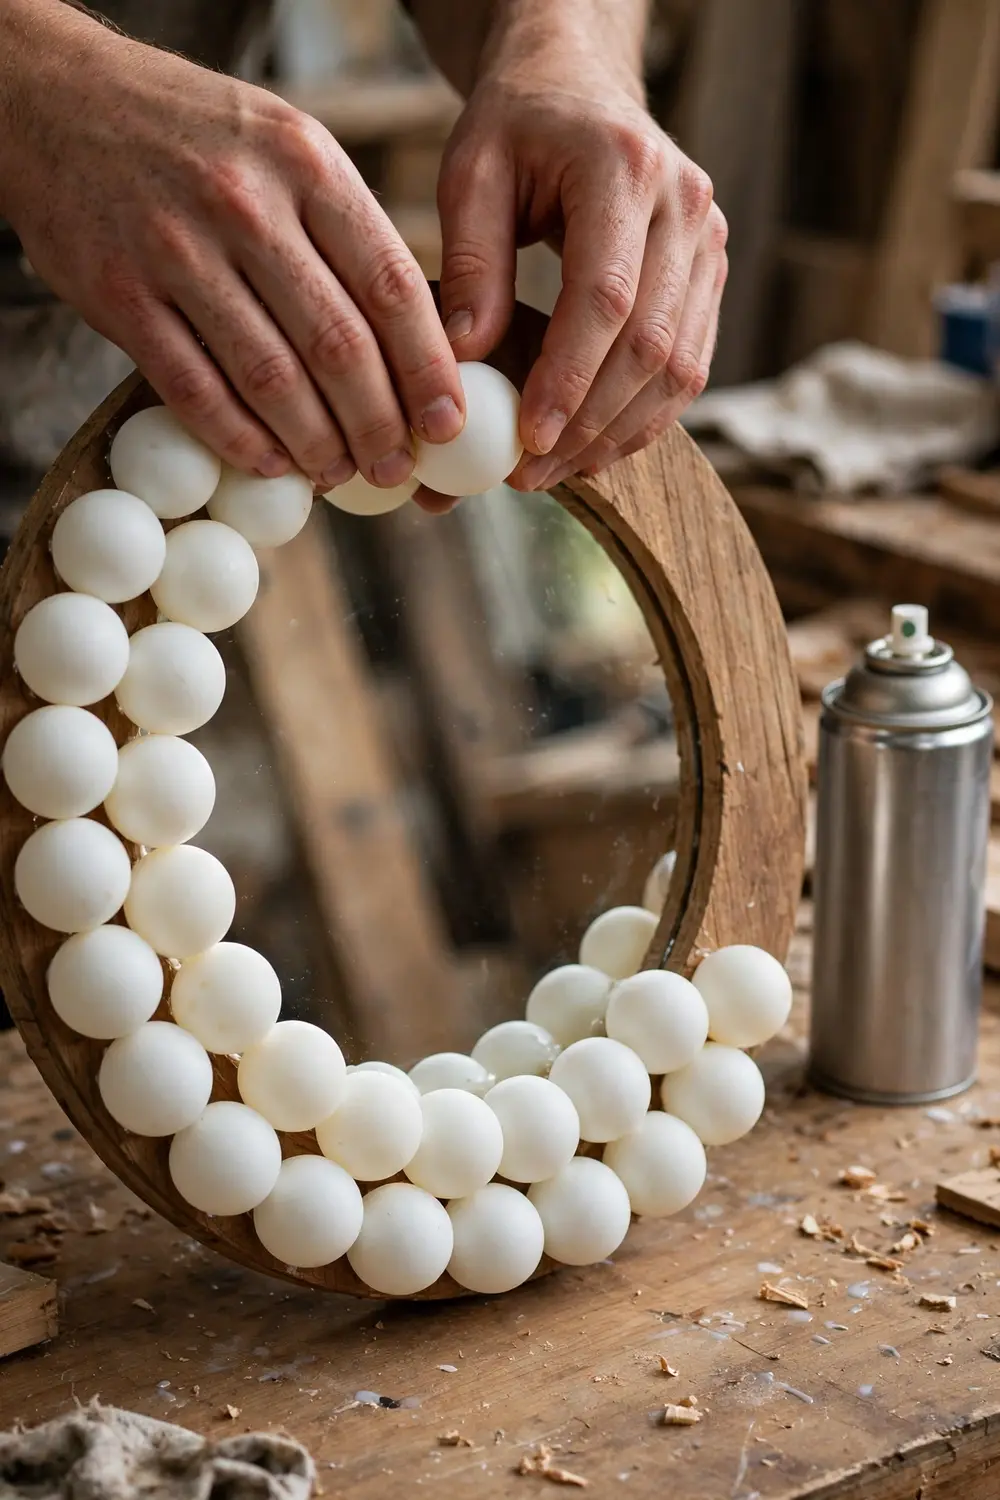
Apply the construction adhesive ball by ball and press each one into place on the frame, working around the circle. Build the surface evenly rather than finishing one patch completely — the sculptural effect comes from the rhythm of the whole ring, not from any single section. Step back and check the ring from the front as you go. Small gaps and crowding are easy to correct while the adhesive is fresh and much harder to disguise once the paint is on.
Paint and hang
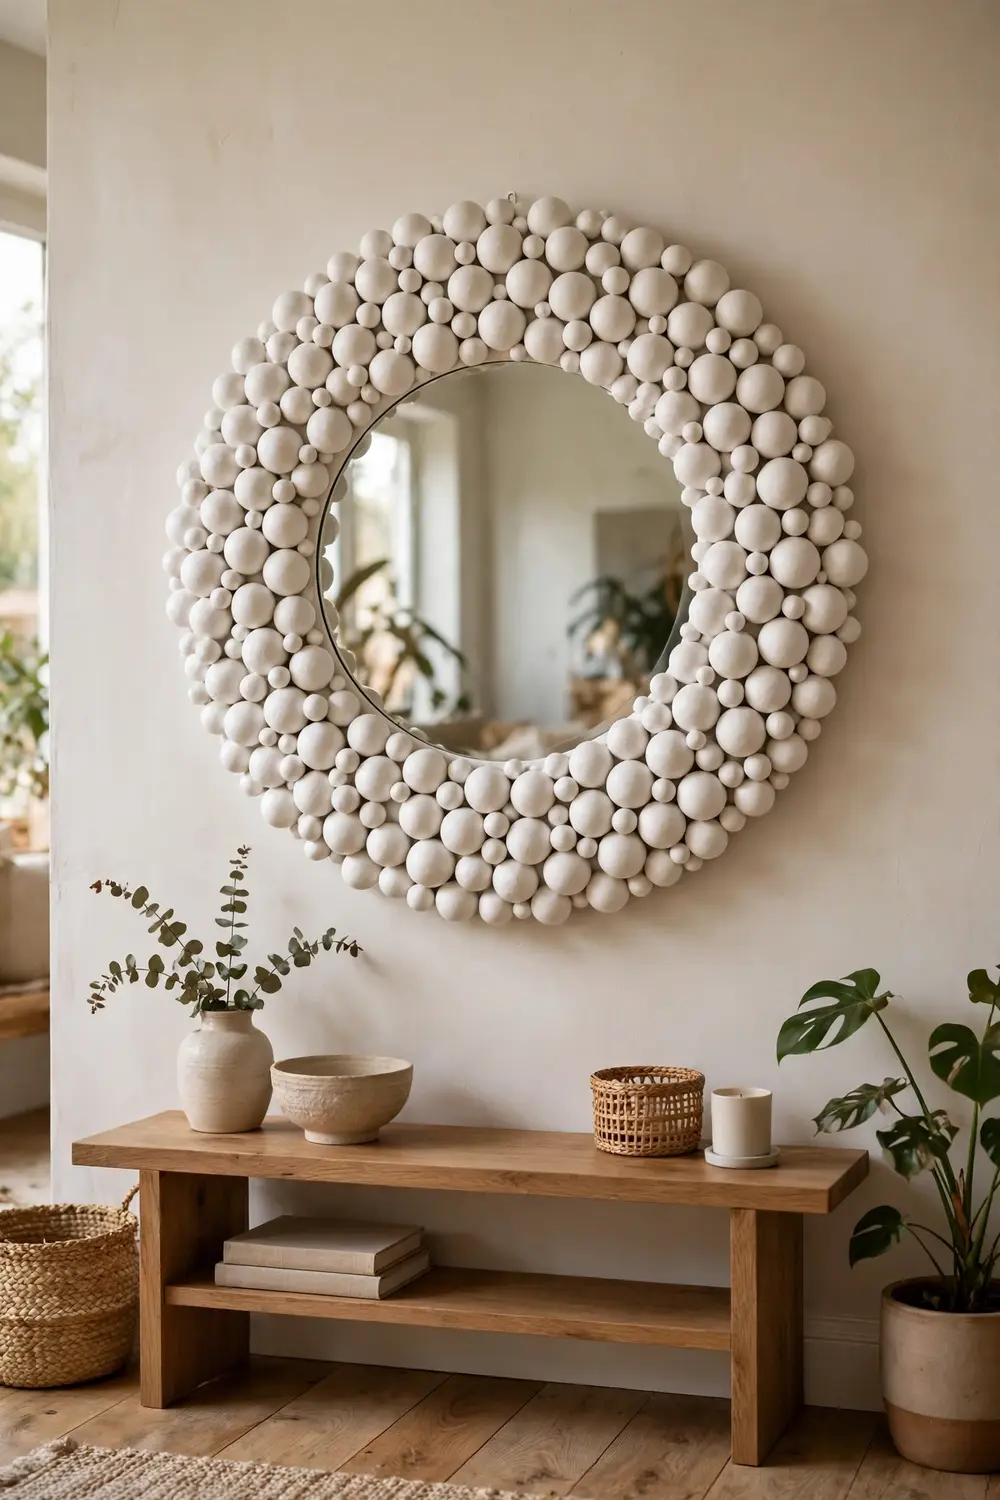
With the balls set, spray the piece to finish it. BH&G lists the black undercoat as the project’s optional spray, and a spray finish is what pulls balls and frame together into one object. Mask the mirror glass before spraying, work somewhere ventilated, and let the paint do the unifying — up close, individual balls; from across the room, one sculptural frame.
The bobble lamp
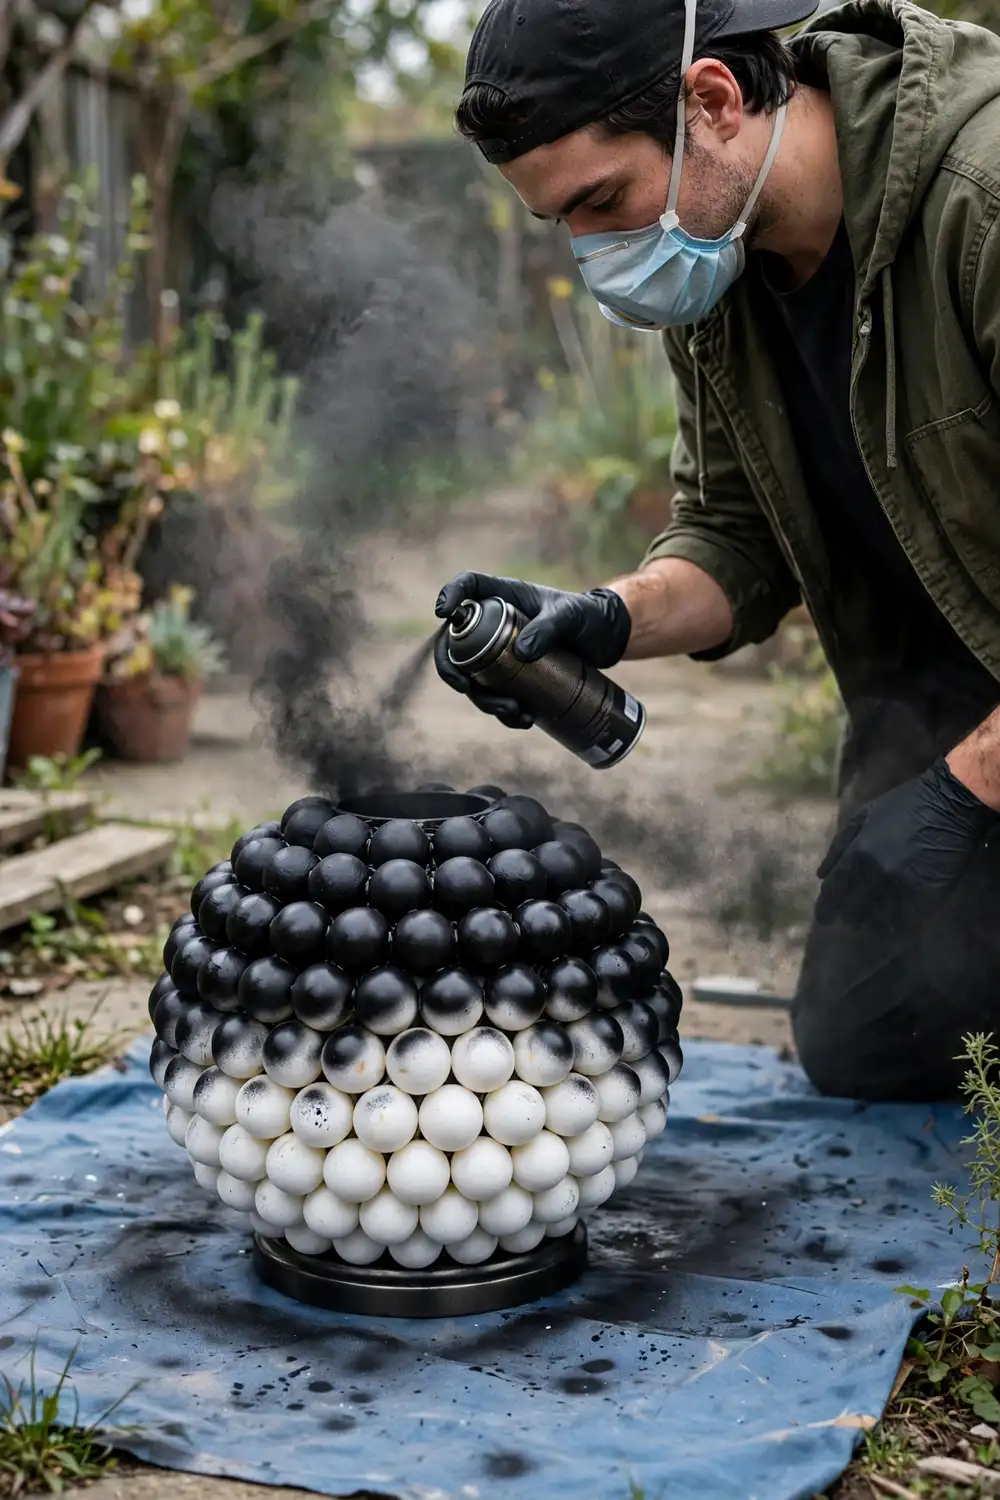
The lamp gets the same treatment. Clean and lightly sand the base so the adhesive grips, plan how the balls will run over its curves, then glue them on ball by ball and spray to finish, masking the fittings first.
The safety part — read this before the lamp comes out
This project decorates the outside of a finished lamp. It involves no electrical work, and keeping it that way is the whole safety story:
- Unplug the lamp before you start, and work on it unplugged throughout.
- Never open, rewire or modify the cord, plug, switch or socket.
- Keep adhesive and spray paint off the cord, plug and socket entirely.
- Keep the balls clear of the globe, and run a cool LED globe in the finished lamp — the balls are thin plastic and do not belong against heat.
Australian law is strict here for good reason. Queensland’s Electrical Safety Office states the position plainly — DIY electrical work counts as unlicensed electrical work and is illegal, with penalties of up to $40,000 for individuals under Queensland’s Electrical Safety Act. The licensing rule itself applies in every state and territory. If a lamp ever needs its wiring changed, that is a licensed electrician’s job, not a weekend one.
Finishing touches the project actually uses
Two variations are part of this project’s orbit rather than inventions. The first is BH&G’s own — the optional black undercoat, which gives the finished pieces their moody, gallery feel and hides any show-through from the balls’ printing.
The second is a layout choice. The balls do not have to stop at the frame’s edge. Letting them extend past it makes the silhouette more dramatic, and on a frame thick enough to take them, wrapping balls around the edges builds a genuinely three-dimensional effect. Both looks come from the same kit — the difference is only how far you build.
The finished pair
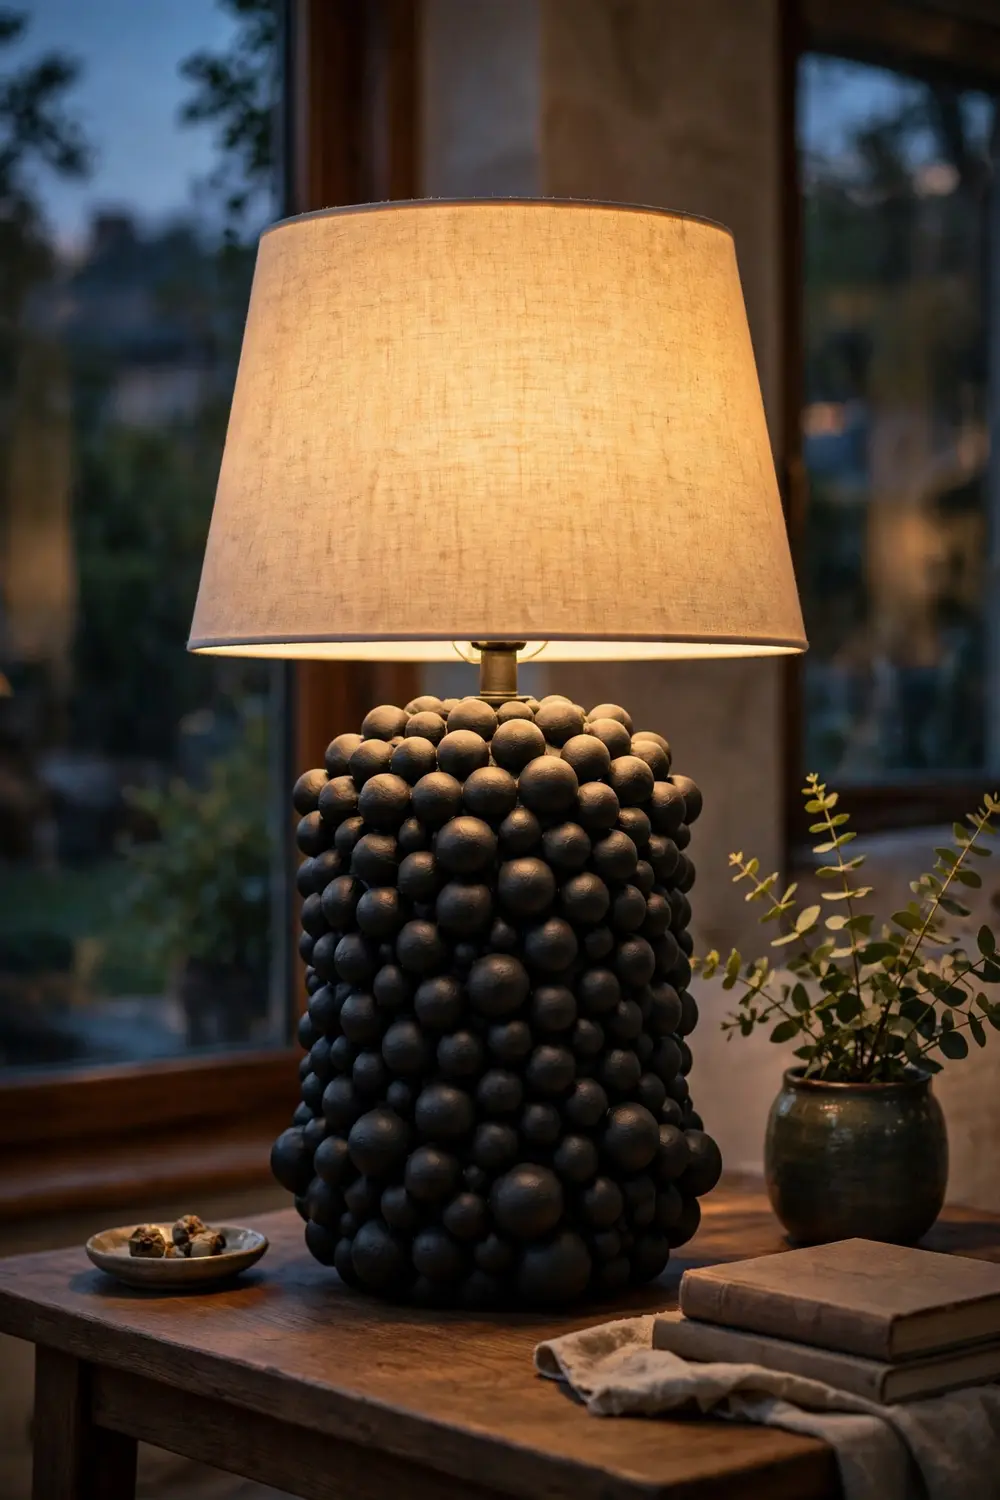
Style the pair where they will be seen together — a lamp on a side table beneath or beside the mirror turns two rescued pieces into a deliberate set, and our guide to interior styling covers how pieces like these anchor a room. If the upcycle bug bites, our DIY furniture makeovers are the natural next project.
BH&G’s own summary of the appeal is hard to improve on — the latest look in sculptural décor, for a fraction of the cost of the real thing. All it asks for is a mirror and a lamp you were ready to part with, and a bag of ping pong balls.